If you’ve ever struggled with an ill-fitting store-bought mattress cover that gaps, slips, or doesn’t accommodate your pillow-top or extra-deep mattress, sewing your own is a simple, cost-effective solution. A custom DIY cover lets you choose the exact fabric, fit, and protection level for your sleep needs, from soft organic cotton for everyday use to waterproof laminated material for kids, pets, or allergy sufferers.
With 10+ years of experience sewing home bedding, including custom covers for standard, memory foam, and 18-inch deep Euro-top mattresses, this guide walks you through every step of the process. You’ll learn how to choose the right fabric, measure accurately, sew three popular cover styles, and add custom protection features, with pro tips to avoid common mistakes and a cover that fits perfectly and lasts for years. You can also read our guide on are mattress toppers washable.
Why Make Your Own Mattress Cover?
Off-the-rack mattress covers rarely fit perfectly, especially for non-standard mattress sizes or deep pillow-top styles. Making your own eliminates that frustration, with added benefits:
- Custom fit: Accommodate odd-sized mattresses, extra-deep toppers, or unique bed frames without gaping fabric or slipping corners.
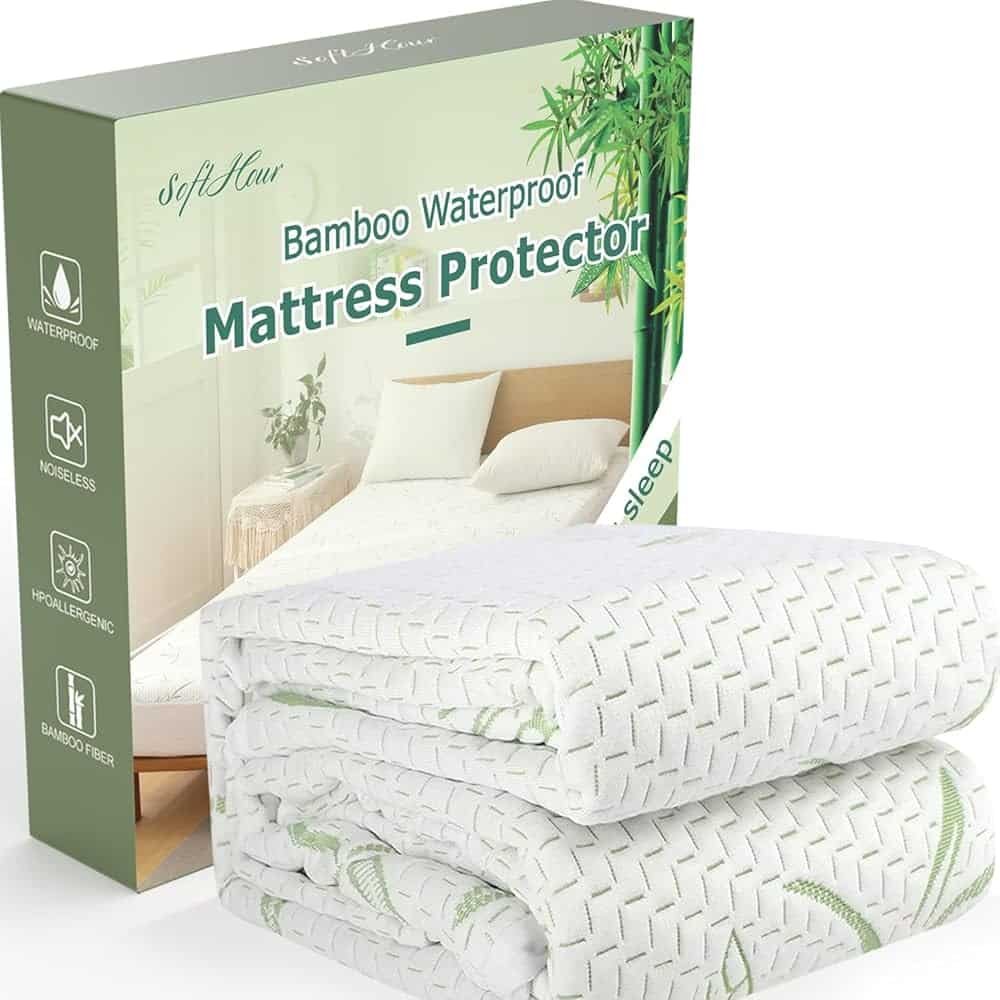
- Fabric choice: Select materials tailored to your needs: soft organic cotton for sensitive skin, waterproof PUL for spill protection, or tight-weave cotton for allergen blocking.
- Cost savings: A custom store-bought encasement can cost $100 or more, while a DIY cover uses just $20–$50 in materials, even for a King size.
- Custom features: Add corner ties, padded batting, or a removable waterproof liner to suit your lifestyle.
If you’re looking to extend the life of your existing bedding, pairing a new cover with a reviving feather toppers can add plush comfort without the cost of a new mattress.
Materials and Tools You’ll Need
Choosing the right supplies upfront saves time and frustration, and ensures your cover holds up to regular use. Always buy 10–20% extra fabric to account for cutting errors and fabric shrinkage; add 25% extra if you’re working with patterned material to match seams.
Essential Tools
- Heavy-duty fabric scissors or a rotary cutter with a self-healing mat
- Tape measure (retractable for easy storage)
- Sewing machine with a size 90/14 or 100/16 heavy-duty needle (use a denim needle for thick canvas or waterproof laminates)
- Thread matched to fabric weight (all-purpose thread works for cotton, use upholstery thread for heavy or waterproof materials)
- Separating zipper sized to your mattress depth (add 2 inches to the mattress depth for the zipper length)
- Fabric chalk, pins, and a seam ripper for adjustments
- Walking foot (optional but recommended for layered or waterproof fabrics)
Fabric Options
- Cotton or cotton-poly blend: Best for everyday use, easy to sew, and soft against skin. Pre-wash to avoid shrinkage.
- PUL (polyurethane laminate): Flexible, quiet waterproof fabric ideal for encasements that need to block spills and allergens.
- Bamboo or linen: Breathable, hypoallergenic options for sensitive sleepers. If you use bamboo bedding, following proper bamboo pillow care guidelines will keep both your cover and pillows in top condition.
- Canvas or duck cloth: Durable, heavy-duty option for high-traffic beds or pet owners.
Optional Add-Ons
- Elastic for snug fitted pockets
- Bias tape for clean finished edges
- Quilting batting for added padding
- Waterproof seam tape for fully leak-proof encasements
For regular maintenance of store-bought or DIY covers, follow mattress protector cleaning best practices to extend their lifespan.
 Gather all materials before starting to avoid mid-project trips to the craft store.
Source: youtube
Gather all materials before starting to avoid mid-project trips to the craft store.
Source: youtube
How To Measure Your Mattress Accurately
A perfect fit starts with precise measurements. Many DIYers make the mistake of only measuring the edge depth of their mattress, which leads to a cover that gaps or won’t fit over pillow-top bumps. Follow these steps for accurate results:
- Measure the mattress length from head to foot, with the mattress flat on the bed frame.
- Measure the width from side to edge, accounting for any pillow-top padding.
- Measure the depth at the thickest point (usually the center for pillow-top or Euro-top mattresses).
- Add 1.5 inches per seam and 2 inches of ease for a comfortable fit. For corner panels or overlapped closures, add an extra 4–6 inches total.
Use this formula to calculate your fabric dimensions for a full encasement:
Fabric Length = Mattress Length + 2*(Mattress Depth + 1.5" Seam Allowance) + 2" Ease
Fabric Width = Mattress Width + 2*(Mattress Depth + 1.5" Seam Allowance) + 2" Ease
For reference, here are standard mattress sizes and recommended fabric cut sizes for a zippered encasement:
| Mattress Size | Standard Dimensions (L x W x D) | Recommended Fabric Cut Size (L x W) |
|---|---|---|
| Twin | 39" x 75" x 8–10" | 45" x 81" |
| Full | 54" x 75" x 8–10" | 60" x 81" |
| Queen | 60" x 80" x 8–14" | 68" x 88" |
| King | 76" x 80" x 8–14" | 84" x 88" |
| Cal King | 72" x 84" x 8–14" | 80" x 92" |
Add 2–4 inches to the cut size for mattresses deeper than 14", or for styles with extra ease.
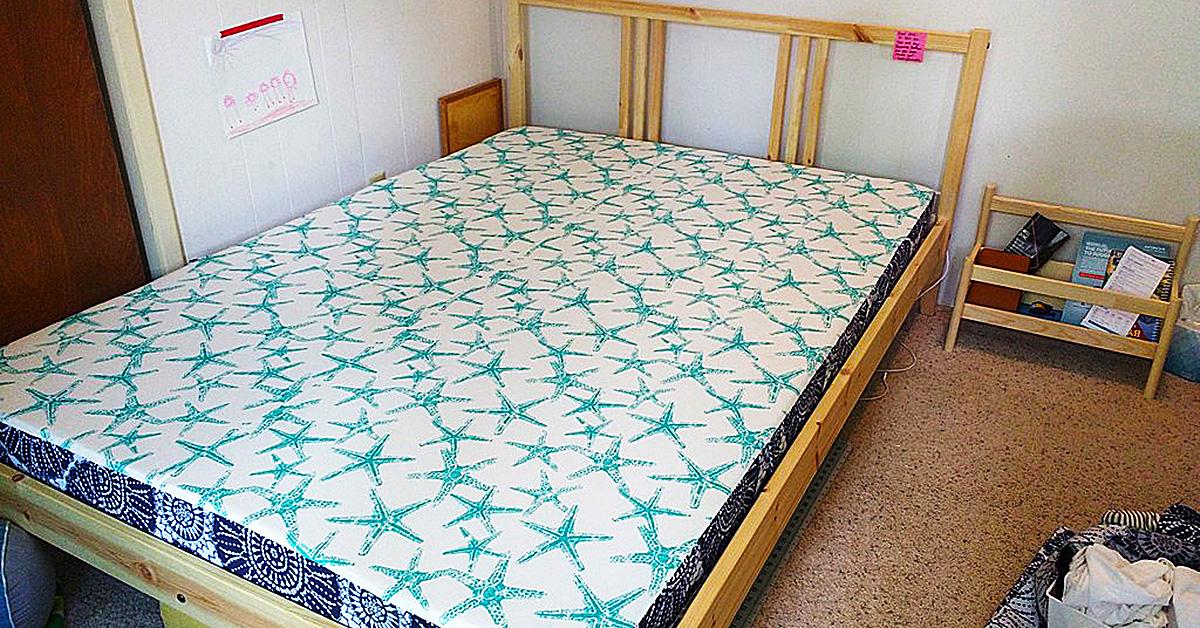 Measure the thickest point of your mattress, usually the center for pillow-top styles, to ensure a proper fit.
Source: sewingmachinesplus
Measure the thickest point of your mattress, usually the center for pillow-top styles, to ensure a proper fit.
Source: sewingmachinesplus
Cutting and Pattern Making for a Perfect Fit
For beginners or deep mattresses, a simple paper pattern eliminates guesswork and ensures consistent cuts. To make a pattern, trace your measured dimensions onto kraft paper, adding seam allowances, and mark the placement of darts, gussets, or zipper edges.
Follow these cutting tips for clean, accurate pieces:
- Lay fabric flat on a clean, hard surface to avoid warping or stretching.
- Pin the pattern to the fabric to prevent shifting, especially for slippery materials like PUL.
- Use a rotary cutter and self-healing mat for straight, precise edges; use sharp fabric scissors for curves or detailed cuts.
- Cut all fabric pieces at once to ensure consistency across panels.
- For patterned fabric, align the design so plaid lines or stripes match at the seams for a polished finish.
For fitted styles, cut 4 rectangular gusset panels sized to your mattress depth plus 1.5 inches of seam allowance. For zippered encasements, cut two full panels using your calculated fabric dimensions.
 Use a rotary cutter and self-healing mat for precise, straight cuts on all fabric types.
Source: youtube
Use a rotary cutter and self-healing mat for precise, straight cuts on all fabric types.
Source: youtube
Sewing Your Mattress Cover: 3 Popular Styles
Choose a style based on your skill level and protection needs. All styles use a ½-inch seam allowance unless noted otherwise, and require backstitching at the start and end of every seam to lock stitches in place.
Envelope Style (Beginner-Friendly)
This no-zipper style is perfect for first-time sewers or guest beds, and takes under an hour to complete:
- Place two fabric panels right sides together, aligning the edges.
- Sew three sides (left, right, and foot of the mattress) with a straight stitch.
- Turn the cover right side out and press seams flat with an iron.
- Fold the open head edge over 1 inch, press, and topstitch to create a hem.
- Optional: Sew small fabric loops to the corners and attach ties to secure the cover to the mattress.
Zippered Encasement (Best for Allergen & Spill Protection)
This fully enclosed style blocks dust mites, spills, and bed bugs, making it ideal for allergy sufferers or homes with kids and pets:
- Sew the two main panels together along three sides (left, right, and foot), leaving the head edge open.
- Baste the zipper tape to the open edge, right side up, aligning the zipper teeth with the fabric edge.
- Use a zipper foot to sew close to the zipper teeth, then topstitch 1/8 inch from the edge for a clean, secure finish.
- Test the zipper repeatedly to ensure it opens and closes smoothly before trimming excess zipper tape.
- Optional: Seal seams with waterproof tape for fully leak-proof protection.
For households with allergy sufferers, a zippered encasement made with a tight-weave or waterproof fabric can reduce exposure to dust mites and mold spores, which the EPA identifies as common indoor allergens.
Deep Fitted Style (For Pillow-Top Mattresses)
This style fits extra-deep mattresses (up to 18 inches) without slipping:
- Sew the gusset panels (cut in the cutting step) to the top and bottom main panels, forming a pocket the exact size of your mattress.
- Optional: Sew a casing along the bottom edge of the pocket and thread elastic through it for a snug, slip-proof fit.
- Add corner ties by sewing small fabric loops to each corner of the cover, then attaching elastic ties to loop around the mattress corners.
- If you have a plush topper like a Cuddle Bed, checking cuddle bed topper care instructions ensures your cover fits over both the mattress and topper without slipping.
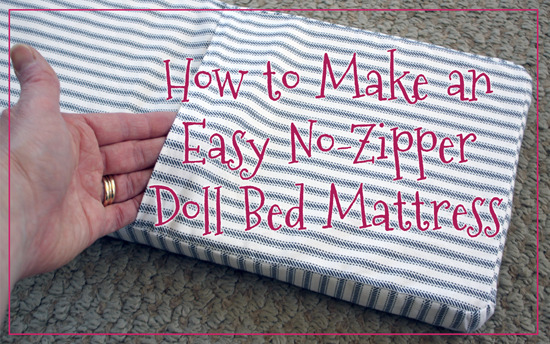 A straight stitch with a ½-inch seam allowance works for most mattress cover seams.
Source: clubmatilda
A straight stitch with a ½-inch seam allowance works for most mattress cover seams.
Source: clubmatilda
Waterproofing and Custom Protection Upgrades
Not all mattress covers need to be waterproof, but a waterproof layer is a game-changer for homes with kids, pets, or incontinence needs. There are two main levels of protection to choose from:
- Water-resistant: Repels spills and wipes clean easily, ideal for minor accidents. Made with tightly woven cotton or a water-repellent finish.
- Fully waterproof: Blocks all liquid penetration, perfect for complete spill protection or allergen blocking. Made with PUL, TPU membrane, or a laminated cotton fabric.
To add a removable waterproof layer without sewing a full encasement, create a separate liner that zips into the open edge of your cover. This lets you wash the liner separately when it gets dirty, extending the life of your main cover. For fully leak-proof encasements, seal all seams with waterproof tape to prevent liquid from seeping through stitch holes. When sewing with waterproof laminates, use a walking foot to prevent fabric shifting, and sew slowly to avoid perforating the waterproof layer with your needle.
 A separating zipper allows full removal of the cover for easy washing.
Source: youtube
A separating zipper allows full removal of the cover for easy washing.
Source: youtube
Pro Tips, Common Mistakes, and Troubleshooting
After sewing dozens of mattress covers for my own home and friends, these are the most important lessons I’ve learned to avoid frustration:
Common Mistakes to Avoid
- Skipping pre-washing: Cotton and canvas shrink 3–5% after the first wash, so pre-wash your fabric before cutting to avoid a cover that’s too small.
- Using the wrong needle: A universal needle works for cotton, but thick canvas or waterproof laminates require a denim or leather needle to avoid skipped stitches and fabric damage.
- Skipping the test fit: Before adding final topstitching or the zipper, drape the sewn cover over the mattress to check for gaps or tightness. Small adjustments are easy to make at this stage, but difficult after finishing.
Troubleshooting
- Stuck zipper: Check for fabric caught in the teeth, and rub a graphite pencil along the teeth to lubricate it. If the slider is broken, replace it instead of redoing the entire zipper seam.
- Puckered seams: This is usually caused by incorrect tension on your sewing machine, or pulling the fabric as you sew. Adjust your tension and let the fabric feed naturally under the presser foot.
- Cover is too tight: Add a small 2-inch wide gusset to the side panel, or replace the elastic with a longer piece for more ease.
If you occasionally go to bed with wet hair, following wet hair sleep risks mitigation tips prevents mold and mildew from growing on your new cover. A well-maintained cover lasts 3–5 years, but you’ll know it’s time for a replacement when you notice replacing gelform pads warning signs like persistent stains, torn seams, or loss of elasticity.
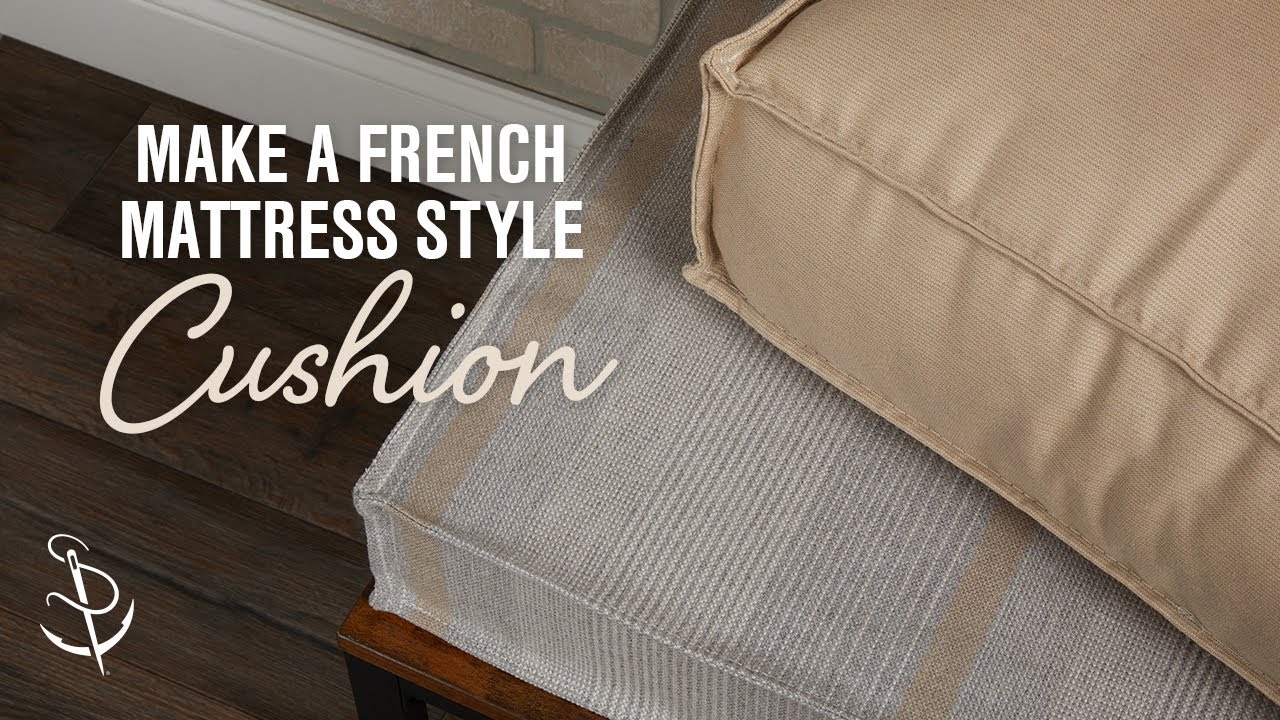 Keep a seam ripper on hand to fix small mistakes without damaging fabric.
Source: youtube
Keep a seam ripper on hand to fix small mistakes without damaging fabric.
Source: youtube
Care and Maintenance for Long-Lasting Use
Proper care will extend the life of your DIY cover to 3–5 years, comparable to store-bought options. Follow these guidelines based on your fabric type:
- Cotton/cotton-poly covers: Machine wash warm, tumble dry medium. Iron on medium heat if needed to remove wrinkles.
- Waterproof PUL/TPU covers: Machine wash cold on a gentle cycle, air dry or tumble dry low. High heat can degrade the waterproof polyurethane layer over time.
- Fitted covers with elastic: Avoid high heat when drying to prevent elastic degradation, which causes the cover to slip off the mattress.
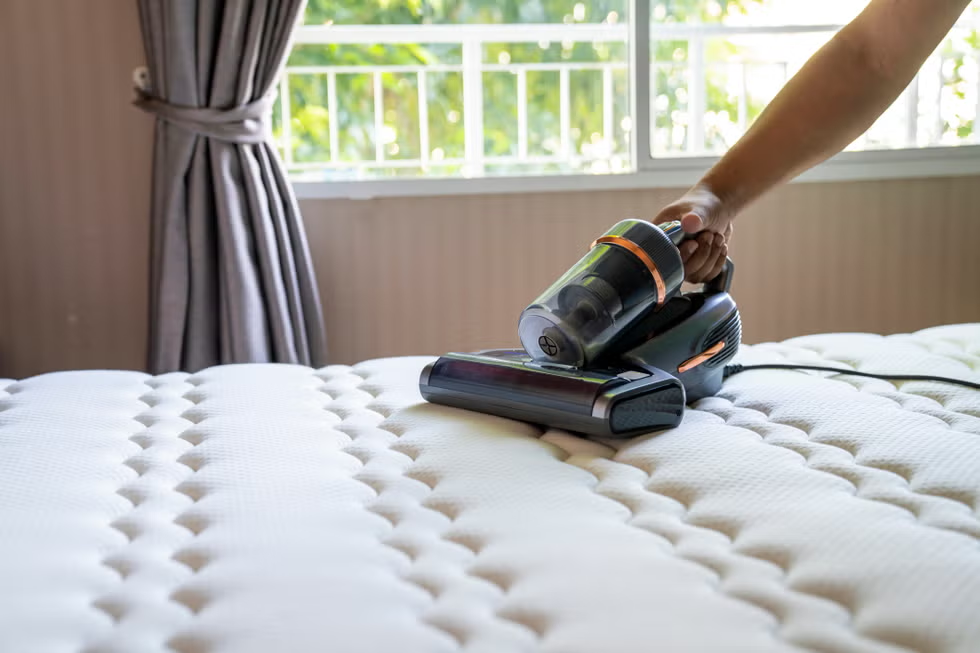
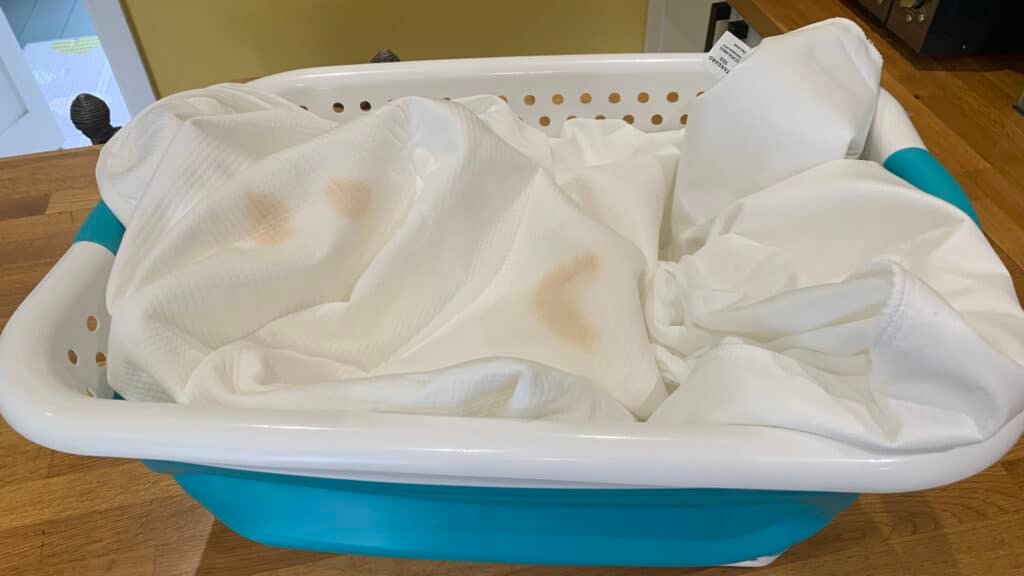
For regular maintenance, vacuum the cover monthly to remove dust and allergens, spot clean stains immediately with mild detergent and warm water, and repair loose seams as soon as you notice them to prevent larger tears. If you have a plush mattress topper under your cover, pairing it with a well-fitted cover prevents spills and allergens from seeping into the topper, extending its lifespan.
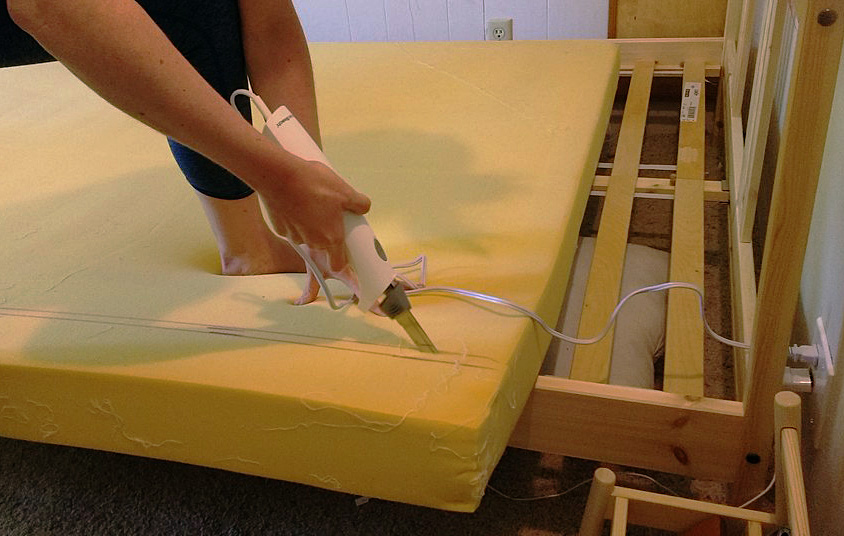 Machine wash cotton covers on a gentle warm cycle for best results.
Source: sewingmachinesplus
Machine wash cotton covers on a gentle warm cycle for best results.
Source: sewingmachinesplus
 A well-fitted cover protects your mattress from spills, allergens, and everyday wear.
Source: sleepfoundation
A well-fitted cover protects your mattress from spills, allergens, and everyday wear.
Source: sleepfoundation
Frequently Asked Questions
What fabric is best for a DIY mattress cover?
For everyday use, medium-weight cotton or a cotton-poly blend is ideal, as it’s soft, easy to sew, and machine washable. For waterproof protection, choose PUL (polyurethane laminate) or a laminated cotton fabric. For sensitive sleepers, bamboo or tightly woven organic cotton works well to block allergens.
How much extra fabric should I buy?
Always buy 10–20% extra fabric to account for cutting errors and shrinkage. If you’re working with patterned material, add 25% extra to ensure you can match seams and design elements.
Can I make a mattress cover without a sewing machine?
Yes. Hand-sewing a simple envelope-style cover is possible, though it will take 3–4 times longer than machine sewing. Use strong polyester thread and tight, even stitches to ensure durability.
What size zipper do I need for a queen mattress?
For a standard queen mattress (8–14 inches deep), a 12-inch separating zipper works perfectly. Add 2 inches of zipper length for every additional 2 inches of mattress depth.
Are DIY mattress covers as protective as store-bought ones?
Yes, if you use the right materials. A zippered encasement made with a tight-weave fabric or waterproof laminate blocks allergens and spills just as well as store-bought options, and can be customized to fit your mattress perfectly.
How do I make a fitted cover for a 16-inch deep mattress?
For mattresses deeper than 14 inches, add 2–4 inches to your fabric cut dimensions, and use 6-inch wide gusset panels to create a deep pocket. Add elastic casings to the bottom edge or corner ties to keep the cover securely in place.
Can I add padding to my DIY mattress cover?
Yes. Add a layer of quilting batting between the outer fabric and lining for extra cushioning. Just be sure to use a longer needle to pierce through all layers, and increase the seam allowance to ¾ inch to account for the extra thickness.
Conclusion
Making your own mattress cover is a straightforward DIY project that saves money, delivers a custom fit, and lets you tailor protection to your household’s needs. The key to success is measuring accurately, pre-washing fabric, and testing the fit before finalizing seams. Beginners should start with a simple envelope-style cover for a guest bed to practice sewing straight seams, then move on to a zippered encasement or deep fitted style for their main mattress. With proper care, your DIY cover will protect your mattress for years to come. For more tips to keep your sleep space comfortable and well-maintained, browse our full library of bedding and sleep care guides.

Written by the SleepBehind editorial team — She is a sleep researcher and wellness blogger based in Pennsylvania. Passionate about helping people optimize their sleep.