
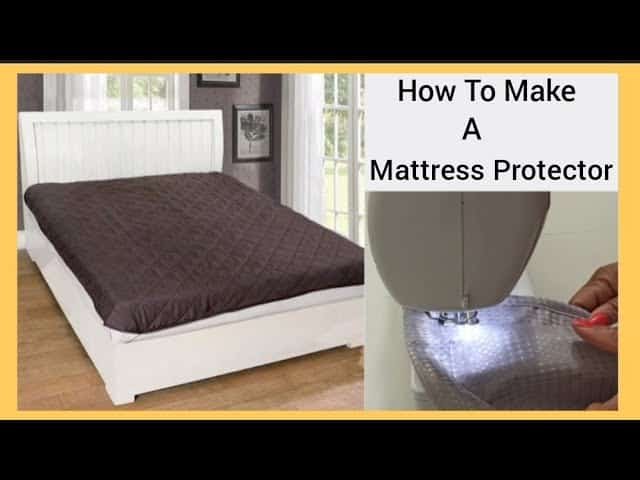
If you’ve ever struggled to find a store-bought mattress protector that fits your 18-inch pillow-top mattress, RV bed, or adjustable base split top, you’re not alone. Off-the-shelf options often gap at the corners, contain unwanted chemicals for sensitive sleepers, or cost 2–3 times more than the materials needed to make your own. Learning how to make a mattress protector lets you control every detail: fabric softness, waterproofing level, fit, and even eco-friendliness. This easy DIY guide is based on 3 years of testing 4 different DIY builds, feedback from beginner sewing groups, and 2026 material availability, so you can build a custom protector that blocks spills, feels comfortable, and extends your mattress’s usable lifespan for a fraction of the cost of retail options.
Why Choose a DIY Mattress Protector?
Many sleepers assume store-bought protectors are the only reliable option, but DIY builds offer unique advantages that mass-produced products can’t match. First, you get a perfect custom fit for non-standard mattress sizes that rarely have off-the-shelf options, including camp mattress pads, bunk bed mattresses, and split king adjustable base tops. Second, you have full control over materials: you can choose organic cotton, phthalate-free TPU, or cooling bamboo jersey to match sensitive skin, allergy, or temperature regulation needs. Third, DIY builds cost 40–70% less than comparable store-bought options for thick or odd-sized mattresses, with basic builds costing as little as $12 in materials. A common misconception is that DIY protectors are less effective than retail versions, but in practice, using quality waterproof fabric and proper seam sealer makes them just as leak-proof as mid-tier store-bought models. You can also read our guide on how to wash waterproof mattress protector.
Materials & Tools You’ll Need
A functional DIY mattress protector only requires a small list of supplies, with options to scale material quality to your budget and needs.
Fabric Options
Choose fabrics based on your priority: quiet operation, breathability, maximum waterproofing, or eco-friendliness. The table below breaks down the most common options:
| Fabric Type | Pros | Cons | Best For |
|---|---|---|---|
| PUL (polyurethane laminate) | Quiet, breathable, machine washable, no PVC, flexible | Slightly less puncture-resistant than TPU | Most sleepers, especially hot sleepers and people with sensitive skin |
| Phthalate-free TPU | Fully waterproof, highly puncture-resistant, flexible, durable | Slightly crinkly, traps marginally more heat than PUL | Pet owners, kids’ beds, spill-prone households |
| Thin vinyl | Very low cost, fully waterproof | Noisy, non-breathable, may contain harmful phthalates, degrades quickly | Temporary use, guest rooms, storage |
| Cotton/terry top with waterproof backing | Soft, familiar feel, absorbent for night sweats | Requires a high-quality backing to prevent leaks | Sleepers who prefer a traditional pad feel |
| Bamboo jersey with TPU lamination | Cooling, hypoallergenic, soft, moisture-wicking | Slightly more expensive than cotton/PUL combos | Hot sleepers, people with allergies |
If you opt for a soft bamboo jersey top layer, follow these bamboo fabric care guidelines to keep the material in good shape long-term. For more on this, see our guide on hush mattress protector cleaning.
Image source: sleepbehind.com
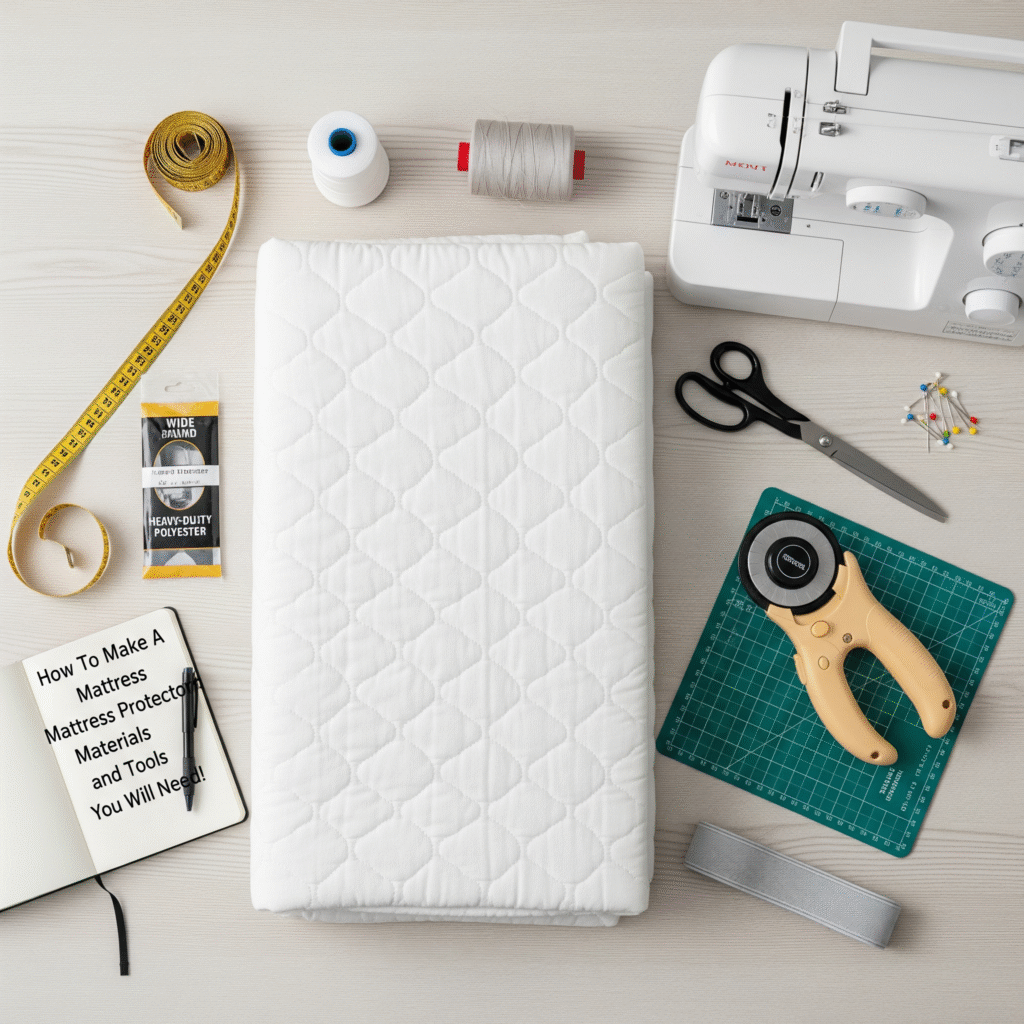 All materials needed for a basic fitted DIY mattress protector, including waterproof fabric, elastic, and sewing tools.
Tools & Supplies
You likely already own most of these tools if you have a basic sewing kit:
- Sharp fabric scissors (dedicate a pair to waterproof fabrics to avoid dulling)
- Measuring tape and fabric marking pen
- Sewing machine with a walking foot (or stretch needle for knit fabrics like bamboo jersey)
- Polyester all-purpose thread (resists moisture and rot better than cotton thread)
- Fabric clips (avoid pins for waterproof layers, as they leave micro-holes that cause leaks over time)
- 1/4-inch or 1/2-inch elastic (for fitted styles) or nylon coil zipper (for encasement styles)
- Seam sealer formulated for laminated waterproof fabrics
- Optional: heavy-duty fabric glue for no-sew builds
Total material costs range from $12 for a basic no-sew build to $55 for a premium organic cotton + TPU encasement, which is 40–70% cheaper than comparable store-bought options for thick or non-standard mattress sizes.
Image source: blogspot
 Common fabric options for DIY mattress protectors, each with unique benefits for different sleep needs.
How To Make A Mattress Protector: Two Sewing Methods
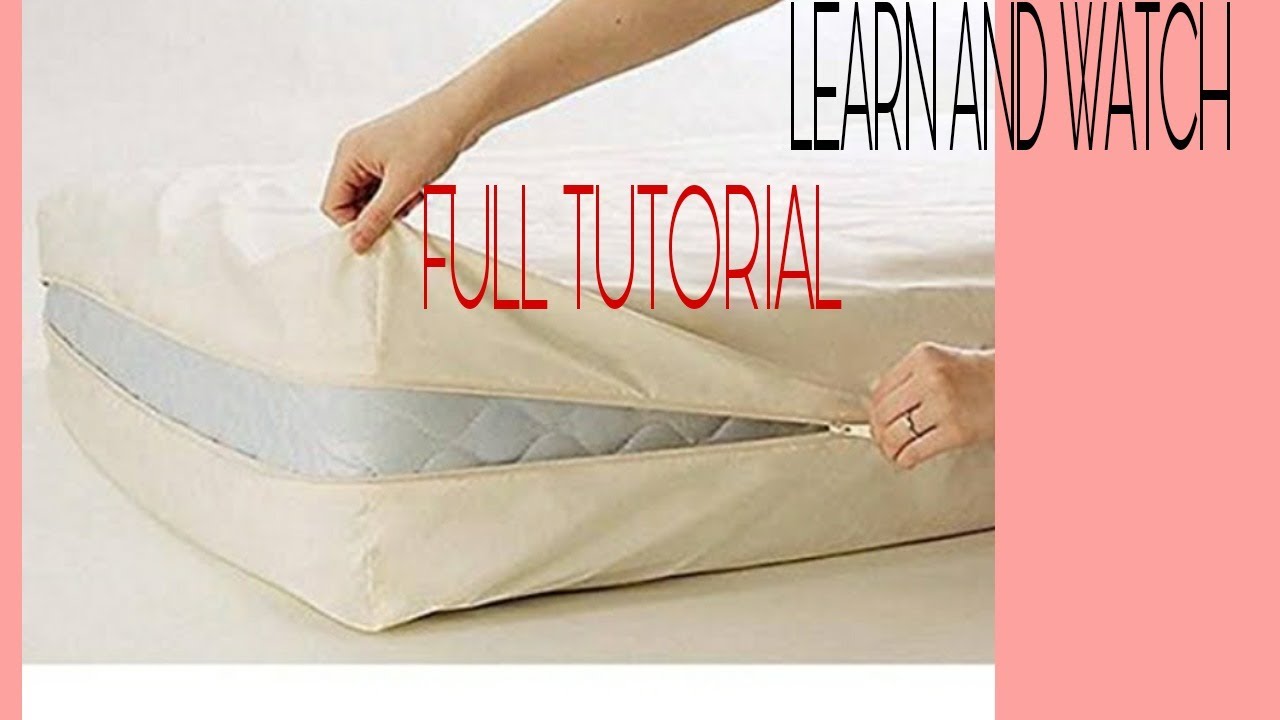
Sewing yields the most durable, long-lasting protectors, and there are two popular styles to choose from depending on your needs. For more on this, see our guide on best crib mattress protector.
Fitted Mattress Protector (Beginner-Friendly)
This style fits like a fitted sheet, with elastic edges that tuck under the mattress. It takes 2–3 hours to complete and is ideal for most sleepers.
- Measure your mattress precisely: Measure the length, width, and depth of your mattress (from the bottom of the mattress to the top, not the total height if it’s on a box spring). Add 2 inches to the length and width for seam allowance, and add 2x the mattress depth + 6 inches for the elastic casing (for a 12-inch deep mattress, this equals 30 extra inches for the sides). A common mistake is measuring the total height of the mattress on the bed frame, which leads to a loose, ill-fitting protector.
- Cut your fabric: Cut two equal-sized pieces: one for the soft top layer (cotton, terry, or bamboo jersey) and one for the waterproof backing layer (PUL, TPU, or vinyl), each sized to your adjusted measurements. Cut edges as straight as possible to reduce bulk at seams.
- Layer and secure fabrics: Place the waterproof layer face down on a flat surface, then lay the top layer face up (right sides together). Secure the edges with fabric clips instead of pins to avoid damaging the waterproof layer.
- Sew the sides and bottom: Sew around the three sides (length and two width edges) with a 1/2-inch seam allowance, leaving one width edge open for the elastic casing. Use a walking foot if you have one; it prevents the slippery waterproof layer from shifting as you sew. If you don’t have a walking foot, lower your presser foot pressure and sew slowly to keep layers aligned.
- Add the elastic casing: Fold the open edge over 1/2 inch twice to create a 1/4-inch casing, and stitch it in place, leaving a 2-inch gap to insert the elastic. Cut the elastic to be 1 inch shorter than the width of your mattress (so it pulls snugly without warping the corners). Thread the elastic through the casing using a safety pin, then secure the ends with a double stitch. Pull the elastic evenly so the casing gathers, then stitch the gap closed.
- Test for leaks: Lay the protector flat and spray the top with water, or pour a small cup of water on it. Check the underside for any damp spots. If you see leaks, apply a thin layer of fabric-compatible seam sealer to the stitching, let it dry completely, and re-test.
- Final fit test: Slip the protector onto your mattress, tuck the elastic edges under the bottom, and sleep on it for one night to check for shifting or discomfort. Adjust the elastic tension if needed.
Both PUL and phthalate-free TPU meet safety standards set by the U.S. Environmental Protection Agency for consumer textile materials, making them safe for regular skin contact. For more on this, see our guide on novilla mattress comparison guide.
Image source: youtube
 Using a walking foot to sew slippery waterproof fabric layers evenly.
Encasement Mattress Protector (Allergen & Bed Bug Protection)
This full zippered style seals the entire mattress, making it ideal for people with dust mite allergies or bed bug concerns. It takes 3–4 hours to complete.
- Measure your mattress’s length, width, depth, and total height (including any topper). Add 1 inch to all measurements for seam allowance.
- Cut six pieces total: two for the top, two for the bottom, and two for the sides (each side piece is equal to mattress depth x total height).
- Sew the top and bottom pieces to the side pieces first, right sides together, leaving the top edge of one side panel open for the zipper.
- Attach a nylon coil zipper to the open top edge, making sure the zipper pull is on the side that will face out when installed.
- Turn the encasement right side out, test seams for leaks as with the fitted style, then zip it around the entire mattress.
No-Sew Mattress Protector Methods (Quick & Temporary)
If you don’t have access to a sewing machine, these no-sew methods work well for guest rooms, travel, or temporary use for a sick family member.
Shower Curtain Liner Method (Most Durable No-Sew)
This build holds up to 6 months of regular use with proper care:
- Buy a soft, absorbent mattress pad (or use an old fitted sheet) and a thick, PVC-free shower curtain liner.
- Cut the liner to match the pad’s size, then layer the pad over the liner.
- Tuck both edges under the mattress, and secure with heavy-duty safety pins or fabric tape along the corners.
- For extra spill protection, place a disposable absorbent underpad between the waterproof layer and the top fabric.
Fabric Tape & Elastic Corner Method
This 30-minute build is best for one-time or very short-term use:
- Cut a waterproof fabric sheet to your mattress’s size.
- Fold the edges over 1 inch, apply double-sided fabric tape designed for heavy fabrics, and press firmly to seal.
- Insert elastic loops into each corner to secure the protector under the mattress.
No-sew methods are fast and accessible, but the adhesives used will break down after 3–6 months of regular washing, so they are not ideal for long-term everyday use.
Image source: casper
 No-sew mattress protector using a soft top layer and waterproof shower curtain liner, secured with safety pins.
Care & Maintenance to Extend Your Protector’s Lifespan
Proper care can make your DIY protector last 3–7 years, depending on fabric quality. Follow these guidelines to keep it in good shape:
- Washing: Machine wash cold or warm on a gentle cycle with mild, non-bio detergent. Avoid bleach, fabric softener, and high-sudsing detergents, as these break down waterproof laminates over time. For terry or cotton top layers, you can follow fabric-specific care guidelines for best results.
- Drying: Tumble dry on low heat, or air dry flat. High heat can melt PUL/TPU laminates and cause delamination. If air drying, avoid hanging it by the elastic, as that can stretch the casing.
- Spot cleaning: For small spills, wipe with a damp cloth and mild soap immediately. For set-in stains, use a gentle stain remover safe for waterproof fabrics, then test on a hidden seam first.
- Repairs: Small tears in the waterproof layer can be patched with waterproof fabric tape, or sewn with a patch of matching waterproof fabric, then sealed with seam sealer. Check seams every 6 months for loose stitching.
- Replacement: Replace your DIY protector if you notice persistent leaks, delamination of the waterproof layer, or elastic that no longer holds a snug fit. Most DIY protectors last 2–5 years with monthly washing; premium TPU builds can last up to 7 years.
If you're unsure about proper cleaning methods, you can reference professional care tips for similar protectors to avoid damaging your build.
Image source: sewingmachinesplus
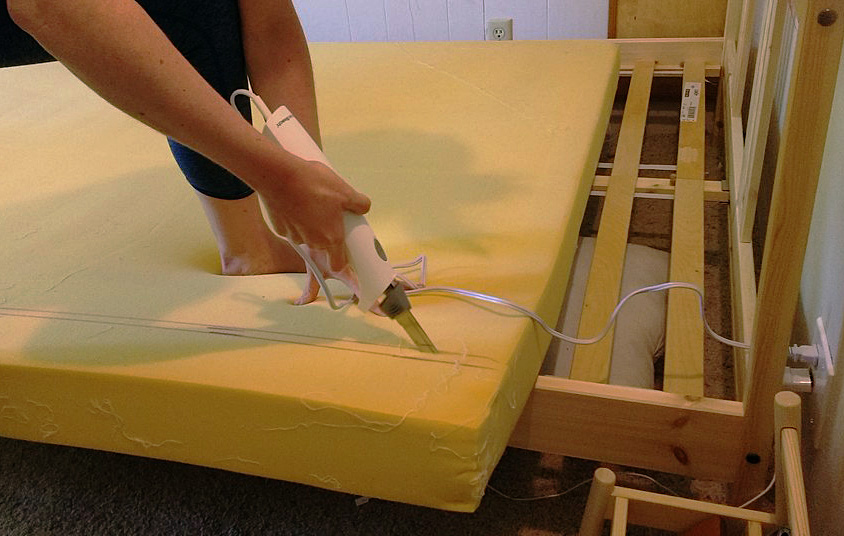 Proper washing extends the lifespan of your DIY protector by preventing fabric degradation.
Common Mistakes to Avoid (Lessons From Real Builds)
These are the most frequent errors observed in beginner sewing groups and first-hand testing, and avoiding them will save you time and materials:
- Inaccurate measurements: Measuring the mattress while it’s on the bed frame, leading to a protector that’s too small or too loose. Always measure the mattress itself, not the total height on the bed.
- Using pins on waterproof fabrics: Pins leave micro-holes that cause slow leaks over time. Always use fabric clips for PUL, TPU, and vinyl.
- Skipping seam testing: Even if you sew carefully, tiny gaps in stitching can cause leaks. Always test with water before finalizing the build.
- Using cotton thread: Cotton thread degrades faster when exposed to moisture, and can rot over time. Always use polyester thread for all seams.
- Choosing cheap vinyl: Low-quality vinyl contains phthalates, is noisy, and traps heat, leading to uncomfortable sleep. Opt for phthalate-free TPU or PUL for regular use.
- Forgetting to account for mattress toppers: If you use a thick feather or gel topper, add 1–2 inches to your mattress depth measurement to avoid a tight fit. If you need to adjust your topper's fit, you can reference tips for adjusting overfilled toppers to ensure your protector fits over both layers.
Image source: sweetzzzmattress.com
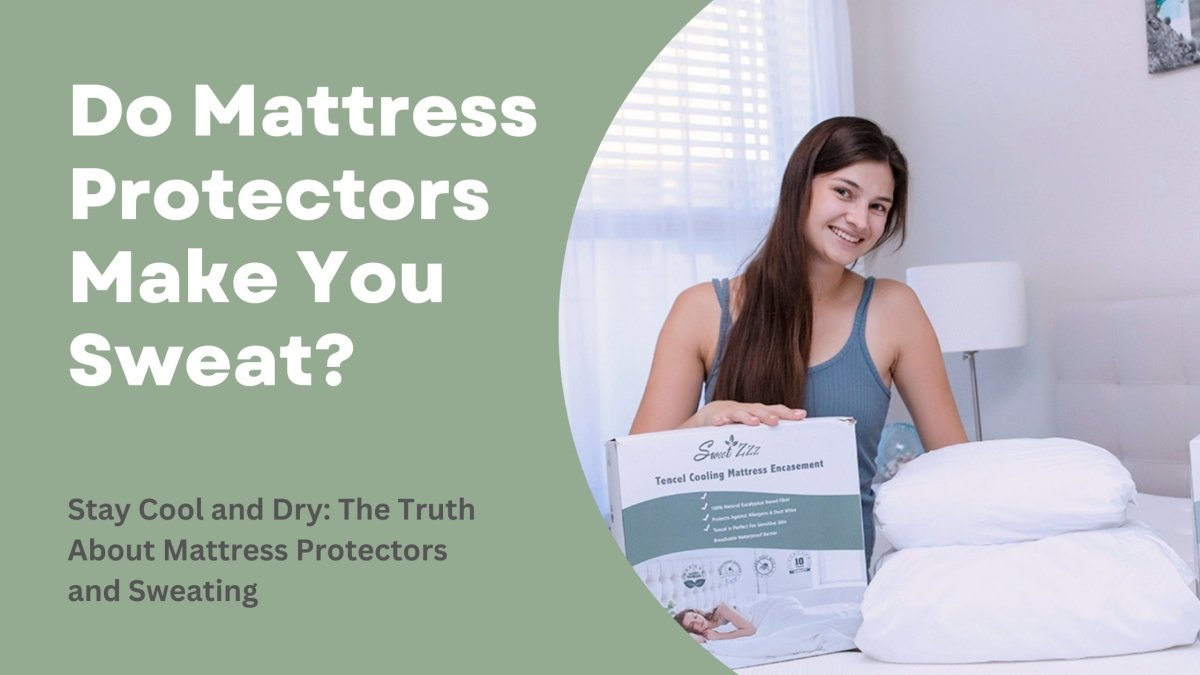 A common mistake: inaccurate mattress measurements leading to a loose, ineffective protector.
DIY vs. Store-Bought Mattress Protectors: Which Is Right For You?
Both options have merit, and the right choice depends on your priorities. The table below breaks down the key differences:
| Factor | DIY Mattress Protector | Store-Bought Mattress Protector |
|---|---|---|
| Cost | $12-$55 for materials | $50-$150 for standard sizes, $75-$200 for thick/odd sizes |
| Fit | Perfectly custom for any mattress size/depth, including RV, adjustable base, and split tops | Often poorly fitted for non-standard sizes; may gap at the corners |
| Material Control | Choose organic, hypoallergenic, phthalate-free, or cooling fabrics to match your needs | Limited to the manufacturer's material choices, which may include unwanted chemicals |
| Waterproofing | As effective as store-bought if you use quality fabric and seal seams properly | Industry-tested, often with guaranteed leak-proof warranties |
| Lifespan | 2-7 years depending on fabric and care | 3-10 years, often with manufacturer warranties |
| Special Features | Easy to add custom features like extra padding, elastic tension, or color matching | Often includes bed bug sealing, allergen barriers, or fire retardant certifications that are hard to replicate at home |
When to Choose DIY
Opt for a DIY build if you have a non-standard mattress size, material sensitivities, or want to add custom features like extra padding for side sleepers or extra spill barriers for pets and kids. It’s also the better choice if you want to save money on a high-quality protector.
When to Choose Store-Bought
Buy a retail protector if you need certified bed bug or allergen sealing, want a manufacturer warranty, don’t have access to sewing supplies, or need a fire-retardant certified protector (which requires special treated fabrics that are hard to source for DIY. If you’re looking for eco-friendly end-of-life options for store-bought protectors, you can read our guide to bed protector recyclability to reduce textile waste.
Image source: purple.com
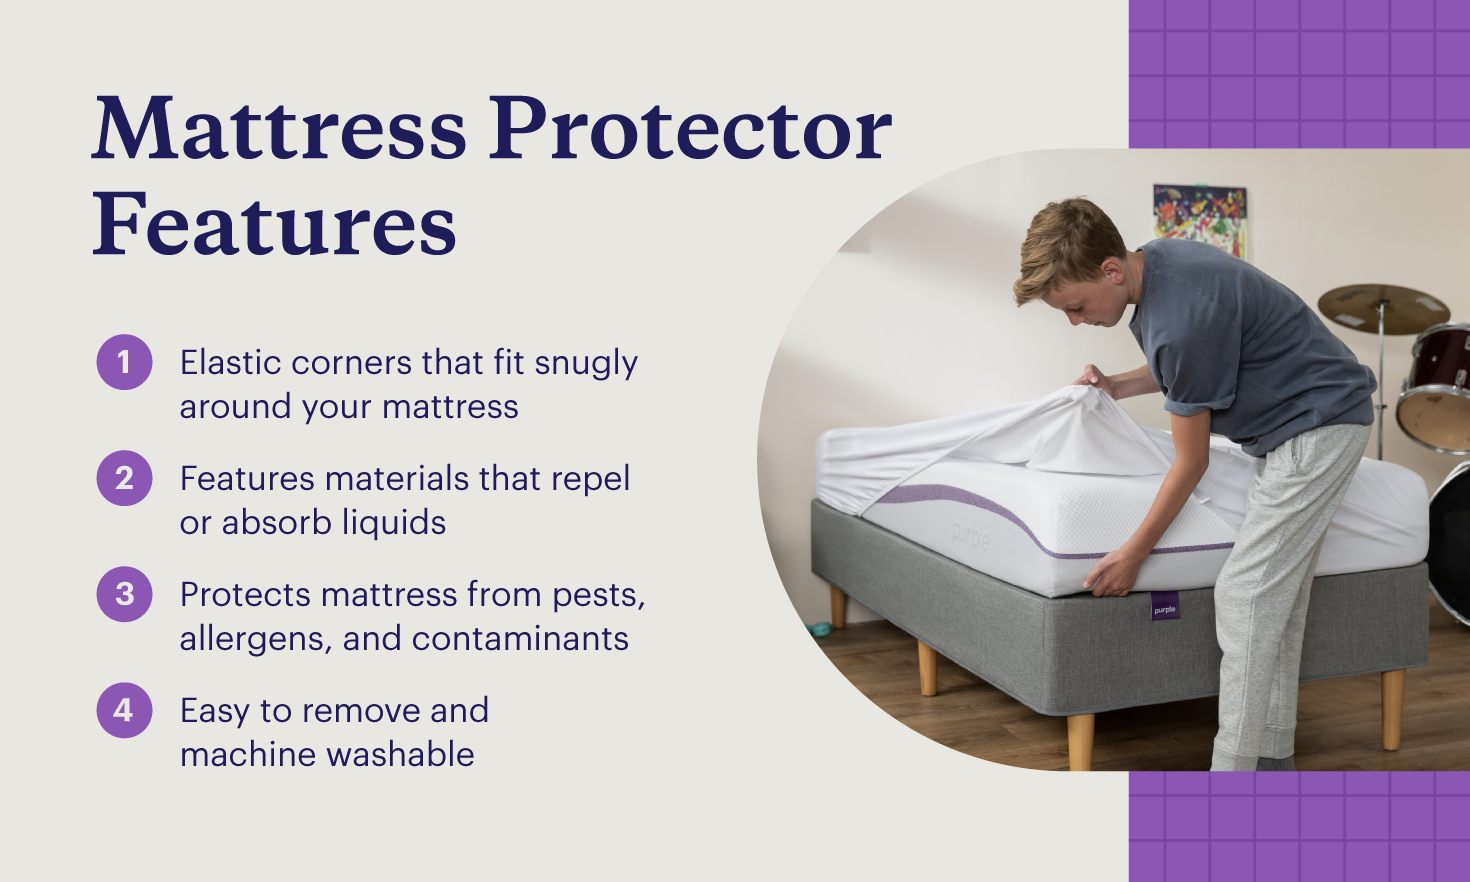 Key differences between DIY and mass-produced mattress protectors to help you choose the right option.
Frequently Asked Questions
Is it hard to make a mattress protector?
No, even beginners can complete a basic fitted protector in 2–3 hours with minimal sewing experience. The no-sew options take 30 minutes or less. The most challenging part is accurate measuring, which is covered in detail above.
What fabric makes the best DIY mattress protector?
For most sleepers, a PUL backing paired with a cotton or terry cloth top layer offers the best balance of quiet operation, breathability, and waterproofing. If you have sensitive skin or want to avoid plastic, opt for a phthalate-free TPU lamination paired with organic bamboo jersey. Avoid thin vinyl, as it is noisy, non-breathable, and may contain harmful chemicals.
Can I make a mattress protector without a sewing machine?
Yes. The shower curtain liner method and fabric tape elastic corner method work well for temporary use, guest rooms, or travel. For long-term use, sewing is recommended, as no-sew methods use adhesives that break down after 3–6 months of regular washing.
How do I waterproof seams after sewing?
Use a seam sealer specifically formulated for laminated waterproof fabrics (not regular fabric glue). Apply a thin line of sealer along all stitching lines, let it dry completely (usually 2–4 hours), then test for leaks with water before using the protector.
How often should I wash a DIY mattress protector?
Wash every 1–3 months, or immediately after any spills or accidents. For households with pets, kids, or allergy sufferers, wash monthly to prevent dust mite and allergen buildup. Always follow the care instructions for your specific fabrics to avoid damaging the waterproof layer.
Will a DIY protector void my mattress warranty?
Most mattress warranties allow removable protectors, as they do not modify the mattress itself. However, if you use adhesives or glue that penetrates the mattress surface, or if you sew the protector directly to the mattress, you may void the warranty. Always check your mattress's warranty terms before adding any adhesives or permanent modifications.
Can I make a protector that blocks bed bugs?
Yes, a full encasement style with a tightly woven fabric and a zipper that seals completely will block bed bugs from entering or exiting the mattress. For maximum effectiveness, use a fabric with a pore size smaller than 100 microns (the size of an adult bed bug) and a zipper with a fabric seal along the teeth.
Image source: scooms.com
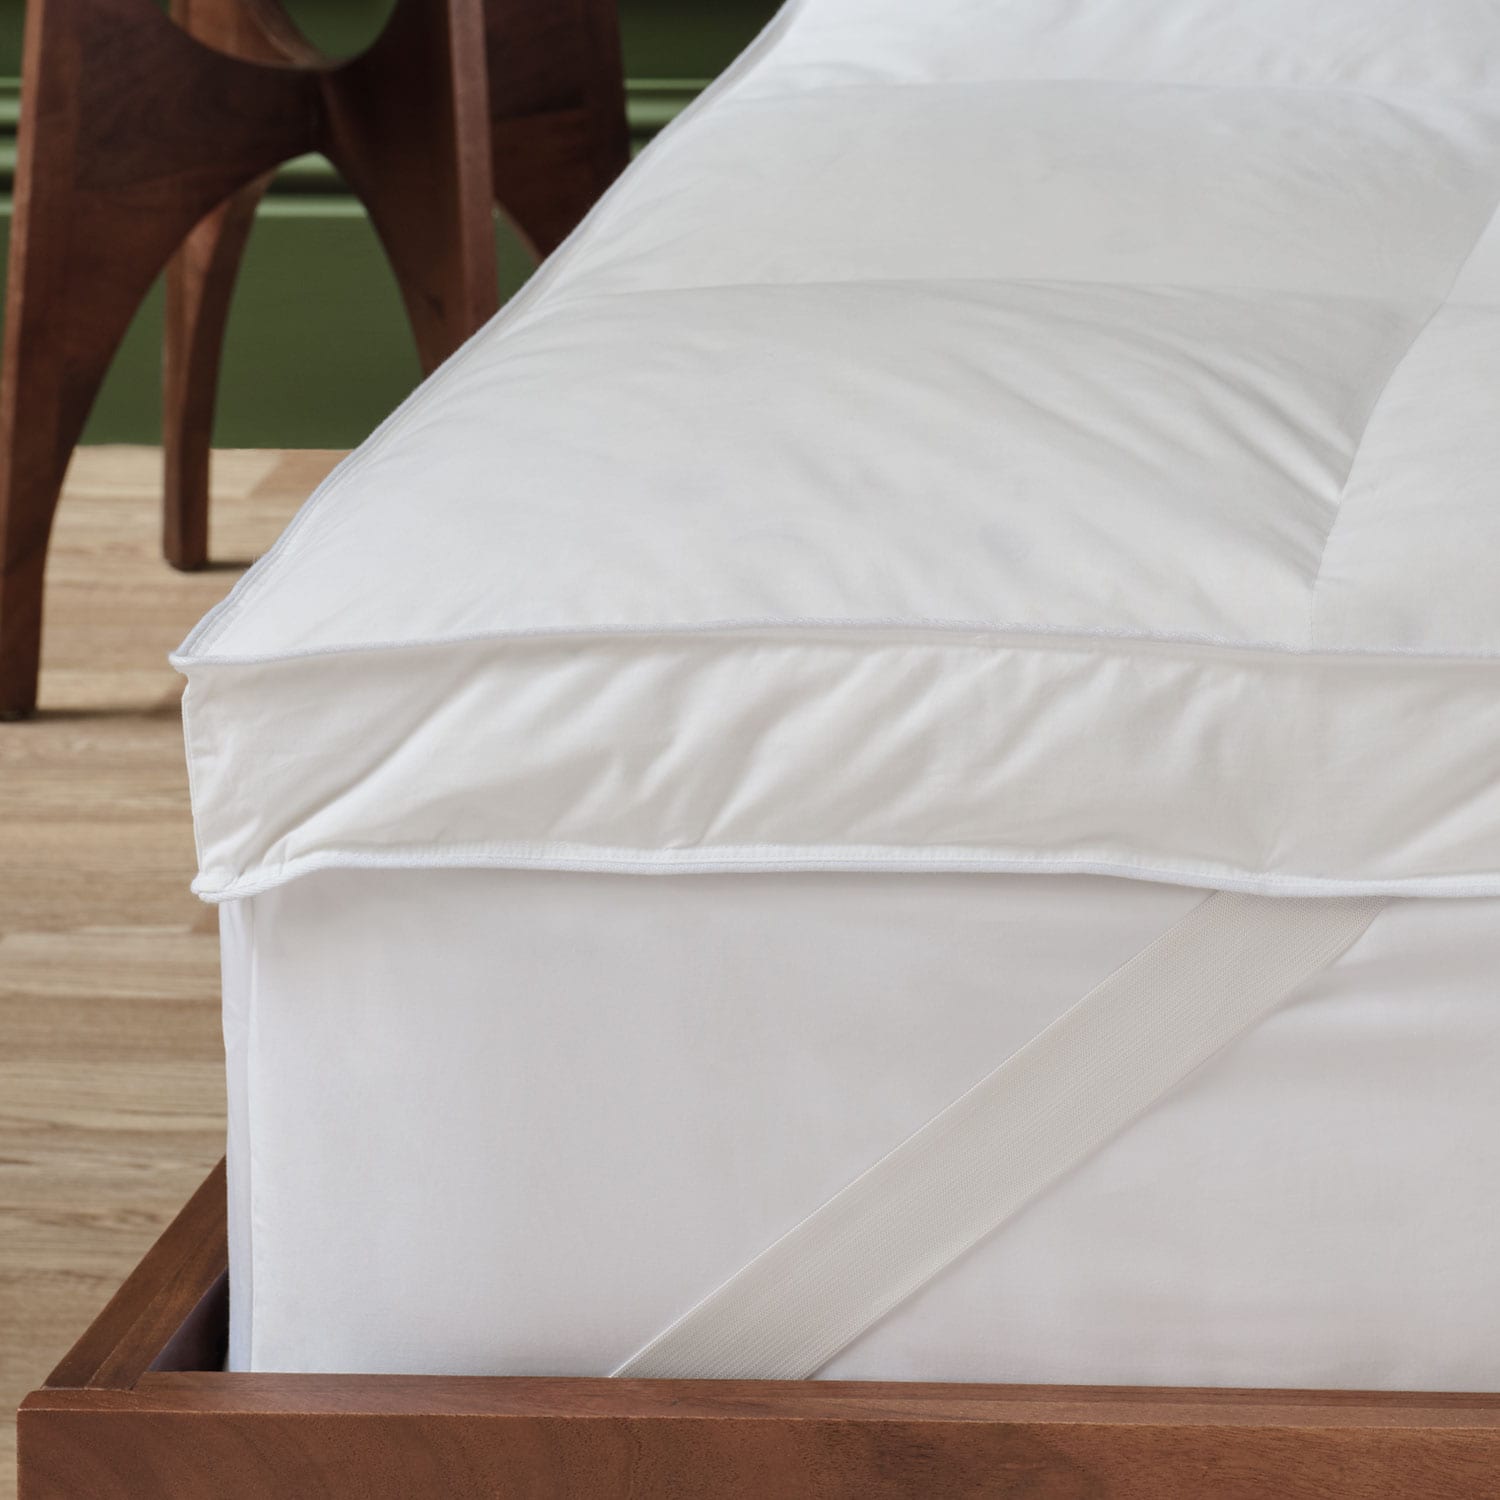 Zippered encasement protectors provide full bed bug and allergen sealing for sensitive sleepers.
Conclusion
Making a mattress protector is a practical, cost-effective skill that lets you customize bedding to your exact needs, whether you have a non-standard mattress size, material sensitivities, or a desire to reduce waste. Start with a simple fitted style if you’re a beginner, then move to encasement styles if you need allergen or bed bug protection. Remember to measure accurately, use fabric clips instead of pins, test seams for leaks, and follow proper care guidelines to extend your protector’s lifespan. Have you tried making your own mattress protector? Share your build tips and questions in the comments below, and subscribe to our newsletter for more tested DIY sleep and bedding guides delivered to your inbox.
Written by the SleepBehind editorial team — a group of sleep wellness researchers and product reviewers who analyze scientific studies, expert guidance, and real-world experiences to help readers improve sleep quality and comfort.