Cutting a mattress topper is a practical, cost-saving DIY skill that lets you customize your sleep setup for non-standard beds, repurpose damaged foam, and reduce household waste. Many people assume this project requires professional tools or expertise, but with the right preparation, tools, and technique, you can get clean, straight edges in under an hour, even if you’ve never done a DIY cut before. This guide combines hands-on testing across memory foam, latex, polyfoam, and egg crate toppers with industry best practices to help you cut safely, accurately, and without ruining your bedding. A properly cut topper eliminates gaps and pressure points, supporting sleep positions that reduce morning tangles for more comfortable rest. Whether you’re trimming a topper for an RV bed, splitting one for a split king mattress, or turning an old compressed topper into a pet bed, these steps will walk you through the entire process.
 Common use cases include RV beds, split mattresses, and repurposing old foam
Why Cut A Mattress Topper?
The most common reason homeowners cut mattress toppers is to fit non-standard bed sizes that don’t work with off-the-shelf toppers. RV, camper, and boat beds often have custom dimensions that are 1-4 inches shorter or narrower than standard queen or full mattresses, and pre-made custom toppers for these sizes can cost 2-3x more than a standard topper you cut yourself. Split king and split queen beds, designed for couples with different firmness preferences, often require two separate toppers that are narrower than standard sizes — cutting a single topper in half is far cheaper than buying two custom split toppers. Other common use cases include trimming compressed or damaged toppers to extend their lifespan, repurposing old foam for pet beds, craft projects, or soundproofing, and adjusting topper thickness for sleepers who prefer extra cushioning in specific areas like the shoulders or hips. Cutting your own topper also supports sustainability by keeping foam out of landfills, as most foam is not biodegradable and takes hundreds of years to break down in landfill conditions.
Pre-Cut Considerations: Assess Your Topper First
Before you pick up a knife, evaluate your topper’s material and condition to avoid costly mistakes. If your topper is heavily compressed, sagging, or has large tears, check the signs it's time to replace before investing time in cutting it — a damaged topper will not provide proper support even after trimming. Always remove the topper’s removable cover before cutting to avoid accidentally slicing the fabric, and let vacuum-sealed toppers fully expand for 24-48 hours before measuring to ensure you get accurate dimensions. Before cutting, properly clean the topper surface to remove dust and debris that could cause slipping while cutting. If your topper has a fire-retardant barrier or embedded cooling layer, account for these when marking your cut lines to avoid damaging the core foam.
Matching Tools To Your Topper Material
The material of your topper is the single biggest factor in choosing the right cutting tool, as different densities and textures respond very differently to blades:
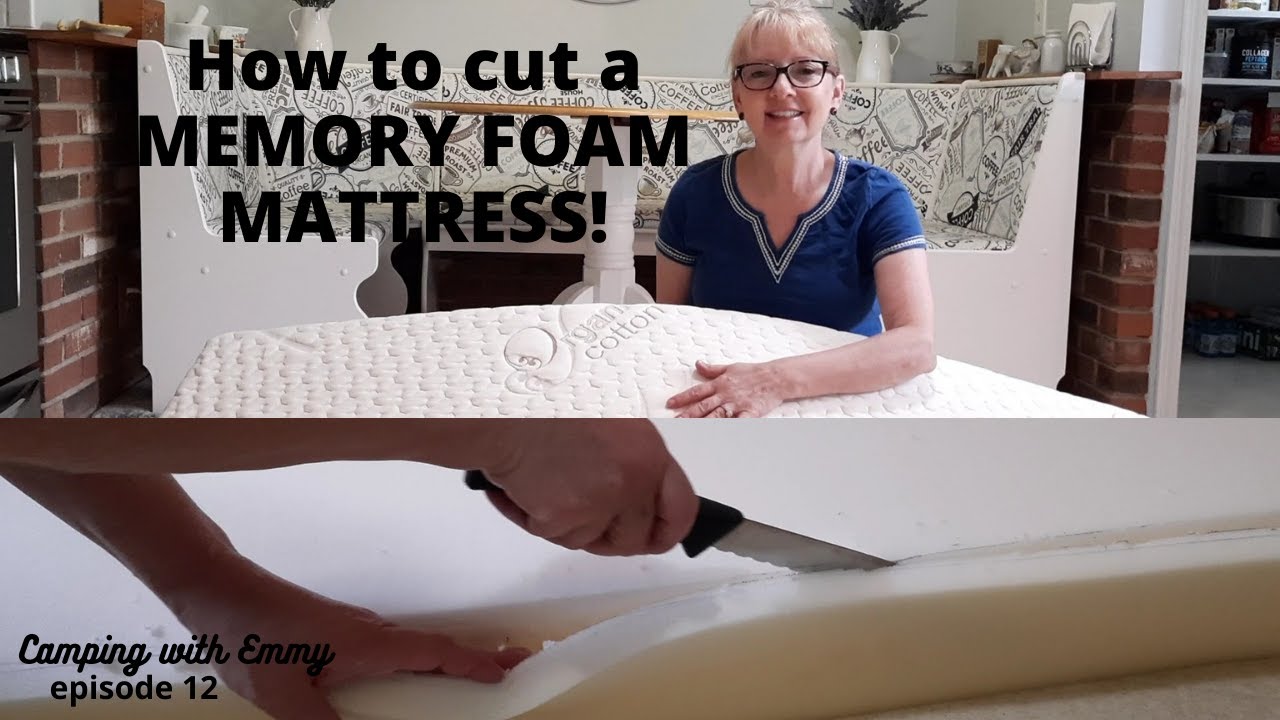
- Memory foam (2-4lb density, most common): Dense and holds its shape well. Use a sharp serrated bread knife or electric carving knife for the cleanest cuts. A hot-wire cutter works for smooth edges, but avoid dull utility knives, which tear the dense foam and leave ragged edges.
- Polyfoam (low-density, budget toppers): Light and easy to cut. A sharp utility knife works for toppers 2 inches thick or thinner, while a serrated knife is better for thicker polyfoam.
- Latex (natural or synthetic, dense and springy): Use a sharp serrated knife or electric carving knife, and cut slowly to avoid tearing the springy material. Hot-wire cutters can melt latex, so avoid them for this material.
- Egg crate foam (fragile, textured): Place a plywood sheet under the foam for support while cutting, and use a gentle serrated blade to avoid tearing the delicate raised sections.
- Feather/down toppers: Never cut the foam core of a feather topper, as this will cause the fill to leak out. If you have a damaged feather topper, you can revive it instead of cutting to extend its lifespan without altering the fill. If your topper has a large split or tear, check repair options first to see if it can be fixed without cutting.
- Wool/fiber toppers: You can cut the fabric cover to size, but redistributing the fill evenly requires professional upholstery skills. Avoid cutting the core of these toppers at home.
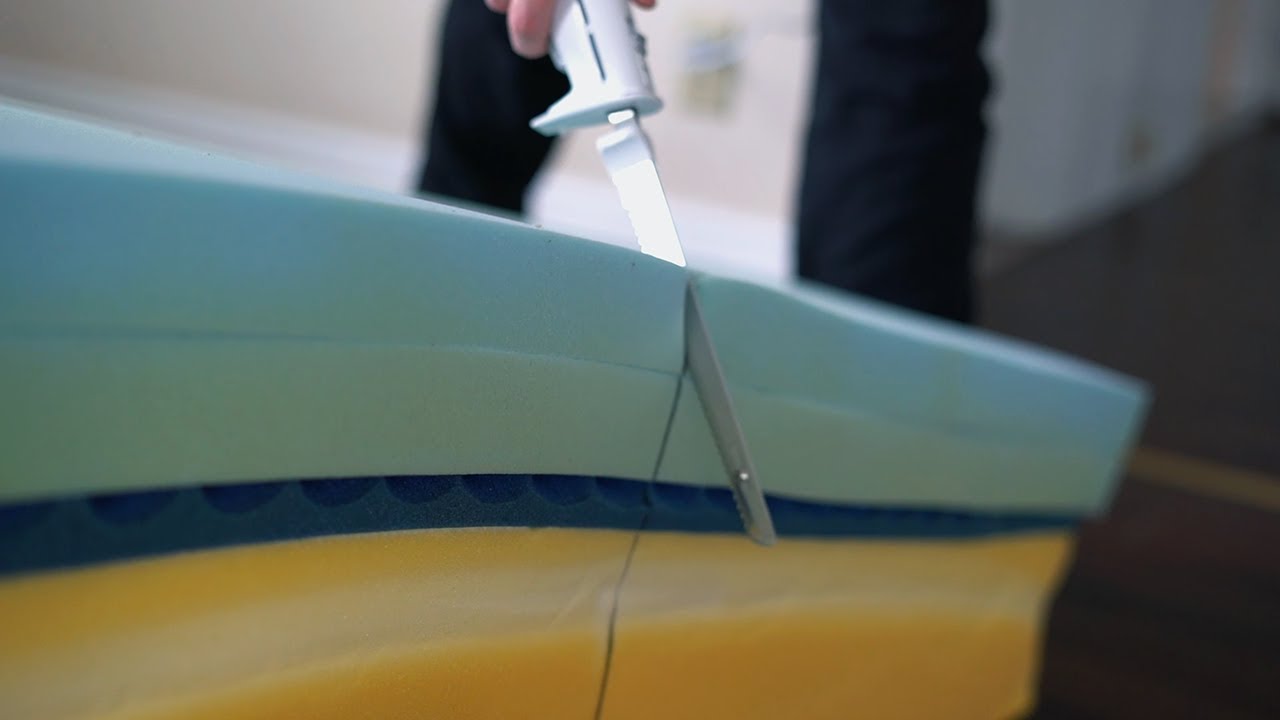 Material type is the biggest factor in choosing your cutting tool
Required Tools & Materials
Using the right tools will make the cutting process faster, safer, and produce much cleaner results. Here’s what you’ll need:
- 12ft measuring tape for accurate measurements of large toppers and beds
- Permanent marker or tailor’s chalk for visible cut lines on all foam colors
- 4ft straightedge (a level works perfectly) clamped in place to guide your blade
- Sharp 9-10 inch serrated bread knife for most foam cutting tasks
- Electric carving knife (the kind used for slicing turkey) for fast, smooth cuts on thick foam
- Hot-wire cutter (optional) for ultra-smooth edges on polyfoam and memory foam
- Sharp utility knife (only for toppers 2 inches thick or thinner)
- 120-grit fine sandpaper for smoothing rough foam edges
- Spray adhesive (3M Super 77 or similar) for reattaching covers or patching foam
- Nitrile gloves, safety glasses, and an N95 mask for personal protection
- Drop cloth to catch foam dust and debris
- Plywood board for supporting soft or thin foam while cutting
Foam dust can irritate eyes, skin, and respiratory passages, so proper protection is non-negotiable per OSHA home improvement safety guidelines. Never cut foam in a closed, unventilated space, and keep blades sharp to reduce the risk of slipping and injury.
Step-By-Step Guide To Cutting A Mattress Topper (No Mess, Straight Edges)
Follow these detailed steps to get a clean, accurate cut every time, whether you’re trimming a topper for a standard bed or a custom RV shape.
Step 1: Prep Your Workspace & Topper
Start by setting up a stable, flat workspace: a garage floor, large work table, or plywood sheet on sawhorses all work well. Avoid carpet, as it compresses foam and leads to uneven cuts. Lay a drop cloth over the entire surface to catch foam dust, which is difficult to remove from carpet and flooring. If you’re cutting thin or soft foam (like egg crate), place a second sheet of plywood under the section you’ll be cutting to prevent the foam from compressing as you saw. If you’re using a hot-wire cutter, make sure your workspace is well-ventilated and far away from flammable materials like curtains, paper, or gasoline, as foam is highly flammable.
Step 2: Measure & Mark Your Cut Lines Accurately
The old adage “measure twice, cut once” is especially true for mattress toppers, as there’s no way to add foam back once it’s removed. Measure the target space (mattress, RV bed, daybed) at least 3 times in multiple spots, as many non-standard beds have uneven edges that can throw off your measurements if you only measure once. For straight cuts: use a clamped straightedge to draw your cut line with a permanent marker, which is visible on all foam colors. For curved or custom shapes: make a cardboard or paper template first by tracing the mattress or bed frame, then tape the template to the topper and trace around it for perfect accuracy. Always add a 1/8 to 1/4 inch buffer to your cut line if you’re unsure — you can always trim more later, but you can’t add foam back. I once cut an RV topper 1/2 inch too short and had to glue on a foam filler strip, a fix that was completely avoidable with a small buffer.
Step 3: Cut Safely & Accurately
Clamp your straightedge or template down tightly to prevent it from shifting while you cut — a moving guide is the #1 cause of crooked cuts. Use tool-specific techniques for the cleanest results:
- Serrated or electric knives: Use long, steady, slow strokes, and let the blade do the work without pressing down hard. Pressing causes the foam to tear and the blade to skip, leading to ragged edges.
- Utility knives (thin toppers only): Make 3-4 shallow passes instead of one deep cut to avoid the blade catching and tearing the foam. Replace the blade every 10-15 cuts to keep it sharp.
- Hot-wire cutters: Move at a consistent, slow pace. Moving too fast leaves ragged edges, while moving too slow melts the foam and leaves burn marks. For toppers 4 inches thick or thicker: cut halfway through from the top side, then flip the topper over and cut from the other side to meet the first cut. This prevents the foam from compressing and tearing on the bottom side, which is a common mistake for first-time cutters. If you need to cut a topper in half for a split bed, cut the length first, then the width, and test fit each half as you go to avoid cutting too much.
Step 4: Finish & Smooth The Edges
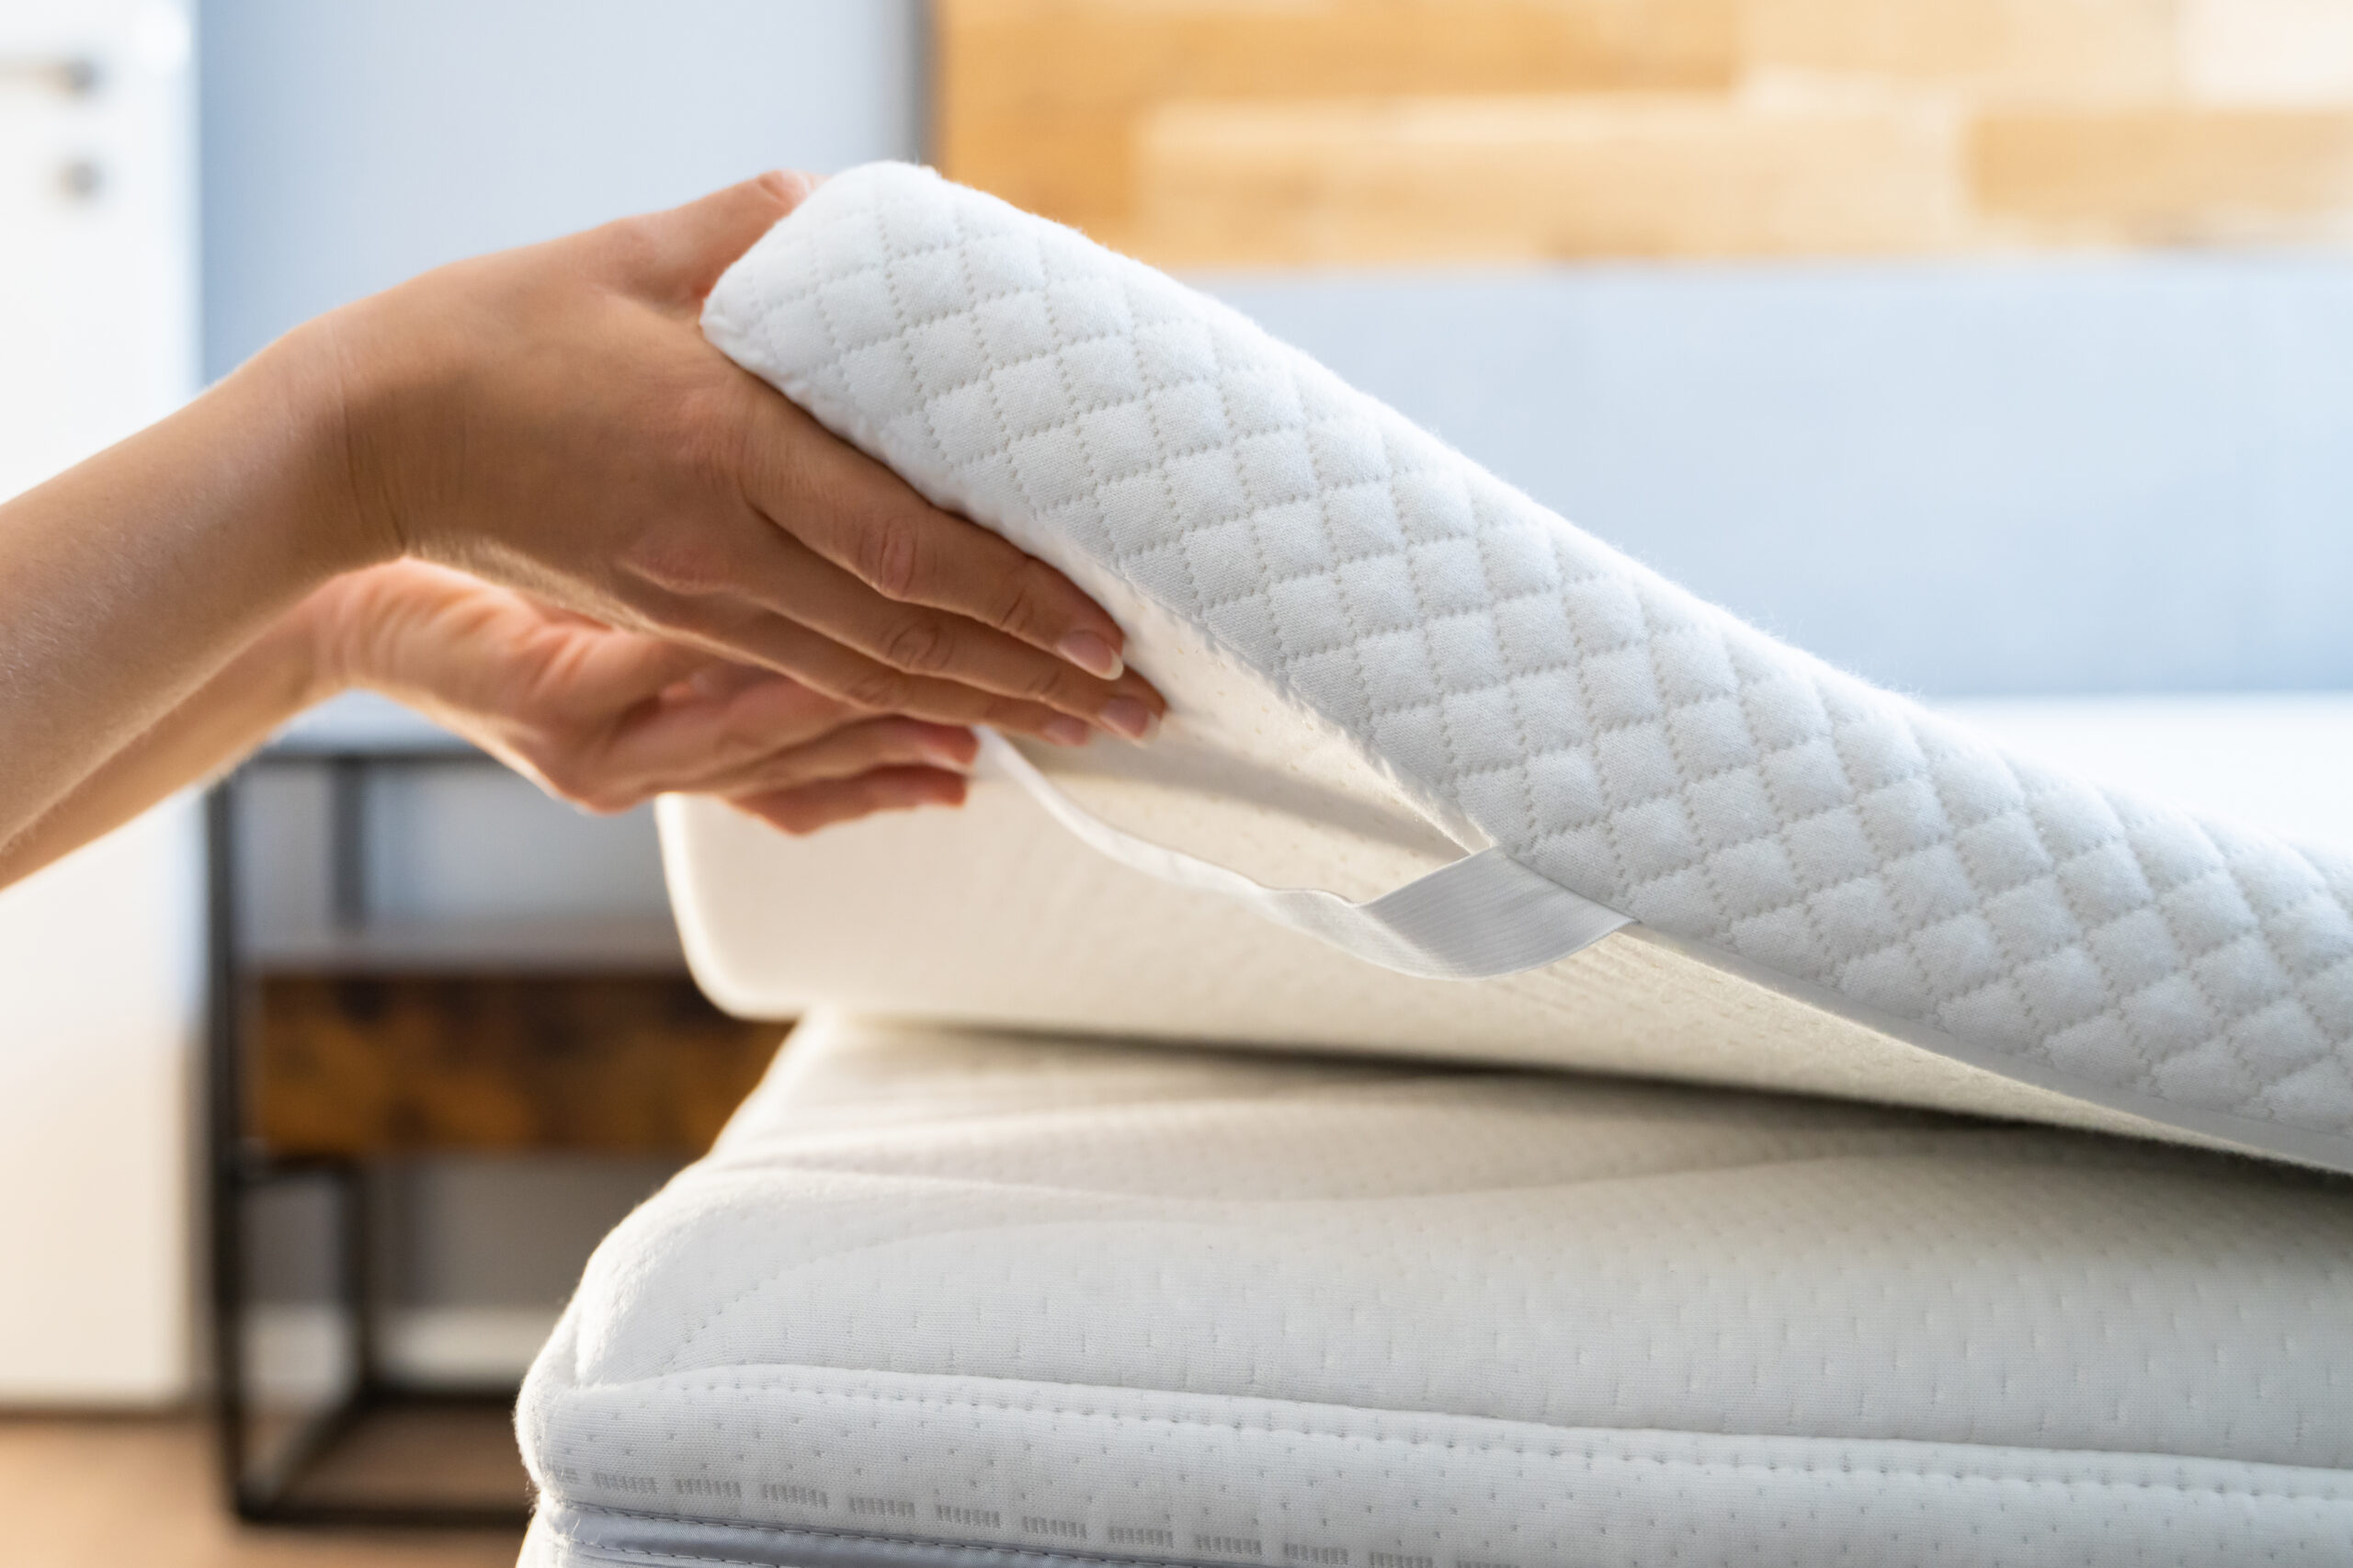
Once you’ve completed the cut, peel off any tape used to secure the guide, then smooth the edges for a professional finish. For foam toppers, sand any rough or fuzzy edges lightly with 120-grit sandpaper, moving in a circular motion to avoid rounding the edges. For latex toppers, avoid sanding, as it can create small tears — instead, use a sharp utility knife to trim any rough spots, or have a professional upholsterer finish the edge if you want a seamless look. To hide raw edges and secure the topper to its cover, use spray adhesive to attach the existing cover, or sew a simple fitted cover from cotton or bamboo fabric to match the new dimensions. If you’re reusing a branded topper cover, check specific washing guidelines to avoid shrinking or damaging the fabric before reattaching it.
 Not all topper materials can be safely cut at home
Non-Negotiable Safety Best Practices
Cutting mattress toppers is low-risk if you follow basic safety rules, but ignoring them can lead to injury or damaged property:
- Always wear nitrile gloves, safety glasses, and an N95 mask: foam dust can cause skin irritation, and small shards can fly up while cutting, causing eye damage. Inhalation of foam dust can also trigger asthma or allergic reactions, especially for sensitive individuals.
- Keep blades sharp: dull blades require more pressure to cut, increasing the risk of the blade slipping and cutting your hand, and leading to uneven, torn edges.
- Cut away from your body: never hold the topper with one hand and cut with the other — use clamps to secure the straightedge and keep your fingers clear of the cutting path at all times.
- If using a hot-wire cutter: never leave it unattended while hot, keep it away from flammable materials, and work in a well-ventilated area to avoid inhaling fumes from melted foam.
- Keep children and pets away from your workspace: sharp blades and small foam shards are serious hazards for curious kids and animals.
 Protective gear prevents injury from sharp blades and foam dust
Troubleshooting Common Cutting Problems
Even with careful preparation, small mistakes can happen. Here’s how to fix the most common issues fast:
- Crooked cut: If the cut is only slightly off, sand it straight with 120-grit sandpaper, or trim the edge with a sharp serrated knife. If the cut is severely crooked, cut the topper 1/2 inch larger on that side and adjust the cover to hide the gap.
- Torn or ragged edges: This is almost always caused by a dull blade or pressing too hard while cutting. Replace the blade, use a fresh straightedge, and cut slower. For small tears, sand them smooth, or cover the edge with fabric binding if it will be visible.
- Foam compresses while cutting: This happens when you don’t have support under the foam. Place a plywood sheet under the section you’re cutting to keep it rigid.
- Strong chemical smell after cutting: All new foam has a slight off-gassing smell that dissipates in 24-48 hours in a well-ventilated space. If the smell is strong and chemical, it may be a low-quality foam with high VOC levels — the EPA recommends choosing low-VOC bedding to reduce indoor air pollution risks, so consider replacing the topper with a CertiPUR-US certified model for long-term safety. If you run into persistent issues with ragged edges, advanced foam cutting techniques can help you achieve a professional finish.
- Topper is too small after cutting: If you only cut off a small amount, glue a foam filler strip to the edge with spray adhesive, then cover the seam with fabric. If you cut off a large section, you can order a custom foam replacement piece cut to size from most foam suppliers, or repurpose the remaining topper for a smaller bed or pet bed.
Creative Uses For Leftover Foam Offcuts
Don’t throw away foam scraps — they’re incredibly useful for household projects, and repurposing them reduces waste:
- Make custom pet beds or crate mats by cutting offcuts to fit your dog or cat’s existing bed frame, and covering with washable fabric.
- Create throw pillows, bench cushions, or outdoor seating cushions by wrapping foam in weather-resistant fabric and gluing or sewing the edges.
- Use small foam pieces as soundproofing for home offices or bedrooms, gluing them to walls or doors to reduce echo and noise transfer.
- Make draft stoppers for exterior doors by rolling up long offcuts, covering them with fabric, and placing them at the base of doors to block cold air in winter.
- Donate usable offcuts to local animal shelters, community craft centers, or schools, which often use foam for art projects and animal bedding.
- Recycle foam by checking with your local recycling center — many accept foam for recycling into carpet padding, furniture stuffing, and other products, though not all facilities do, so call ahead to confirm.
 Leftover foam offcuts can be turned into useful household items
Cutting A Mattress Topper For Special Bed Types
Non-standard beds require extra planning to get a perfect fit. Use these tips for common custom bed setups:
- Split king/split queen beds: Measure each half of the mattress separately, as split beds often have a 1-2 inch gap between the two sides. Cut the topper into two equal halves, and use spray adhesive to secure the cover to each half if needed. For couples with different firmness preferences, you can even cut two different toppers to fit each side for customized comfort.
- RV/camper/boat beds: These are almost always non-standard sizes, so make a cardboard template first by tracing the mattress surface. Cut slowly around curves with a serrated knife, and test fit the topper as you go to avoid cutting too much. For my last camper project, a paper template taped to the topper saved me from multiple shape errors and cut my fitting time in half.
- Bunk beds/daybeds: These often have thinner mattresses than standard beds, so measure the depth carefully — you may only need to trim the width, not the length, to avoid making the topper too small for the frame.
- Custom shaped beds (round, tapered, etc.): Make a full paper or cardboard template first, tape it to the topper, and cut in small sections to avoid mistakes. For round cuts, use a compass or a round household object (like a dinner plate) as a guide for the curve.
 Custom templates make cutting non-standard bed shapes easy
Frequently Asked Questions
How do I cut a memory foam mattress topper without making a mess?
Use a sharp serrated bread knife or electric carving knife, and tape the cut line with masking tape to reduce fuzzing. Work in slow, steady strokes, place a plywood sheet under the foam for support, and sand the edges lightly with 120-grit sandpaper after cutting to remove any rough spots.
Can I use a utility knife to cut a thick mattress topper?
A standard utility knife is only suitable for toppers 2 inches thick or thinner. For thicker memory foam, latex, or polyfoam, a serrated knife or electric carving knife will give a much cleaner, straighter cut with less effort, and reduce the risk of the blade slipping and causing injury.
Is it safe to use a hot-wire cutter on a mattress topper?
Hot-wire cutters work well for foam toppers and produce very smooth edges, but they can release fumes when melting foam, and can be a fire hazard if used near flammable materials. Only use a hot-wire cutter in a well-ventilated area, away from curtains, paper, or other flammable items, and avoid using it on latex or fire-retardant treated foam, which can release toxic fumes when heated.
How do I measure a topper to fit a custom bed shape?
For straight cuts, measure the target space at least 3 times in multiple spots to account for uneven edges. For curved or custom shapes, make a cardboard or paper template by tracing the mattress or bed frame, then tape the template to the topper and trace around it. Always add a 1/8 inch buffer to your cut line to avoid trimming off too much.
What should I do if I cut off too much from my topper?
If you only cut off a small amount, glue a foam filler strip to the edge with spray adhesive, then cover the seam with fabric or binding. If you cut off a large section, you can order a custom foam replacement piece cut to size from most foam suppliers, or repurpose the remaining topper for a smaller bed or pet bed.
Can I cut a mattress topper that's still in its plastic packaging?
No, always remove the plastic packaging before cutting. The plastic can cause the blade to slip, and cutting through plastic can create sharp shards that are a safety hazard. Most foam toppers are vacuum-sealed, so unroll them and let them expand to their full size for 24-48 hours before measuring and cutting to ensure accurate dimensions.
Will cutting a mattress topper void its warranty?
Most manufacturers consider cutting a topper a modification that voids the warranty, as it alters the intended structure and support of the product. Check your topper’s warranty terms before cutting, especially if it’s a high-end or specialty model.
Do I need to replace the cover after cutting?
Not necessarily. If you cut the topper to be slightly smaller than the original cover, you can stretch the cover over the new edge and secure it with spray adhesive or safety pins. For a more permanent, neat finish, sew a simple fitted cover from cotton or bamboo fabric that matches the new dimensions.
 Most cutting errors are easy to fix with simple tools
Conclusion
Cutting a mattress topper is a simple, cost-effective DIY project that lets you get a perfect fit for non-standard beds, repurpose damaged foam, and reduce household waste. The key to success is matching your tool to your topper’s material, measuring carefully, working slowly, and using proper safety gear. Whether you’re trimming a topper for an RV, splitting one for a split king bed, or turning old foam into a pet bed, these steps will help you get clean, straight edges every time. If you found this guide helpful, share your topper project tips and photos in the comments below, or browse our other bedding care guides to keep your sleep setup comfortable and sustainable year-round.
Related Posts
How To Sleep With Shoulder Pain: 9 Easy Tips Tonight

Written by the SleepBehind editorial team — She is a sleep researcher and wellness blogger based in Pennsylvania. Passionate about helping people optimize their sleep.