
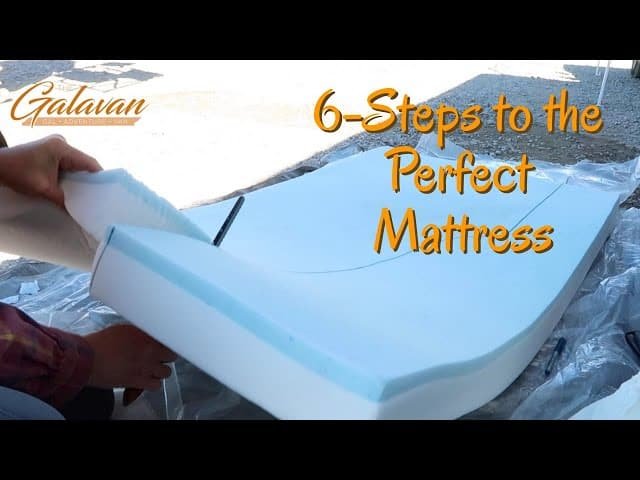
Oversized mattress toppers are a common headache for anyone with a non-standard bed frame: tiny home beds, RV short queens, bunk beds, guest room twins, antique hospital beds, or split adjustable bases often don’t fit standard topper sizes. Instead of shelling out for a pricey custom topper or dealing with bunching, sliding, and excess material stuffed under your mattress, you can trim a standard topper to fit perfectly with basic tools and careful measuring. This guide covers every step of the process, from prepping your work area to finishing edges for a professional result, with material-specific tips for memory foam, latex, egg crate, down alternative, and feather toppers. Whether you’re a first-time DIYer or have experience with fabric projects, these tested techniques will help you get a snug, secure fit that improves your sleep comfort without wasting money or materials.
Why Cut a Mattress Topper Instead of Replacing It?
Standard mattress toppers are sized to fit Twin, Full, Queen, and King mattresses, but millions of people sleep on beds that fall outside these standard dimensions. Cutting a topper to fit your small or irregular bed saves you the 2-3x cost of a custom-sized topper, reduces textile waste, and eliminates the frustration of an oversized topper that slides around or bunches up during the night. It’s also a great way to extend the life of a topper you already own that’s too large for your current bed frame, rather than sending it to a landfill. If you’re looking for ways to extend the life of an existing topper that’s seen better days, check out our guide on reviving a worn topper before you start cutting. You can also read our guide on how to cut a mattress topper.
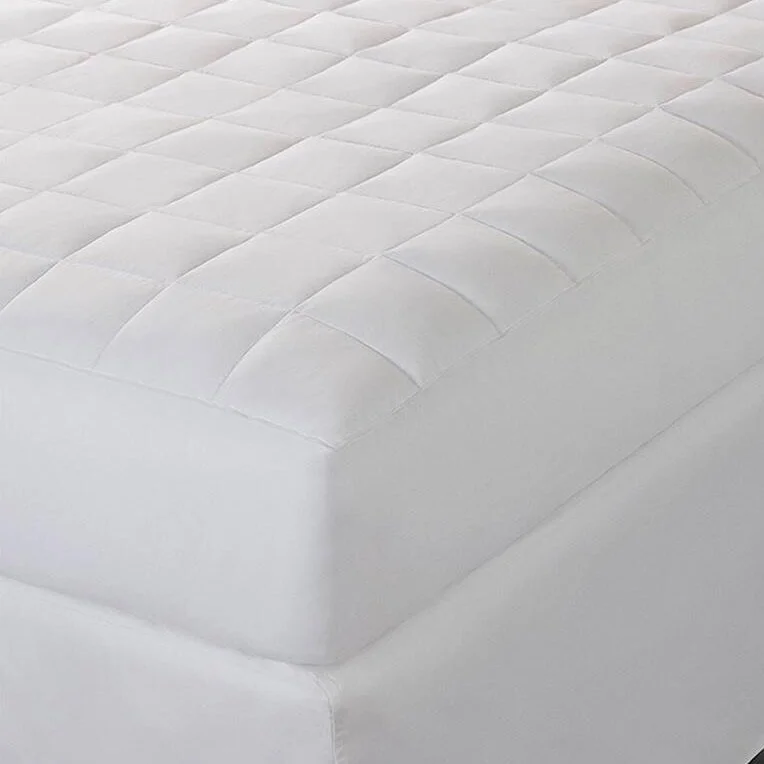 This wool down alternative topper is a common type that can be safely trimmed to fit smaller beds
Source: wildflowerorganics.com
This wool down alternative topper is a common type that can be safely trimmed to fit smaller beds
Source: wildflowerorganics.com
Pre-Cut Prep: Measure Twice, Cut Once
Accurate measurements are the most important step in getting a perfect fit, and skipping prep is the most common cause of failed DIY topper cuts. Follow these steps before you touch a blade:
- Acclimate new toppers first: If you just purchased a new foam, latex, or down topper, let it sit unpacked in your bedroom for 48-72 hours before measuring. Foam and latex expand fully over time, and measuring too early will lead to a topper that’s too large once it reaches its full size. For more guidance on prepping new toppers, check our guide on letting new toppers acclimate.
- Measure your mattress carefully: Use a steel measuring tape to measure the mattress’s length, width, and depth at the outermost edges, not the sides of the bed frame. Note any irregular features: rounded corners on antique beds, notched corners on RV beds, or split corners on adjustable bases. Write all measurements down, then re-measure to confirm — a ½-inch error can lead to a topper that’s too tight to fit, or too loose and bunches up.
- Make a template for irregular shapes: If your bed has non-rectangular edges, cut a piece of cardboard to match the mattress shape by tracing the edge with a marker. You can use this template to transfer the exact shape to your topper, which is far more accurate than freehand marking.
Tools and Materials You’ll Need
Gathering all your supplies before you start will prevent mid-project delays and ensure you get a clean, even cut. The table below outlines what you’ll need, and why each item is important:
| Tool/Supply | Purpose | Notes |
|---|---|---|
| Steel measuring tape | Get precise mattress and topper dimensions | Cloth tapes can stretch, leading to inaccurate measurements |
| Permanent marker or tailor’s chalk | Mark cut lines on the topper | Chalk works best on light-colored foam, marker on dark foam |
| 36-inch straightedge or cardboard template | Guide straight cuts and transfer irregular shapes | A carpenter’s square works for corner cuts |
| Sharp utility knife (with 3+ fresh blades) | Cut dense foam, latex, and thin toppers | Dull blades tear foam and create ragged edges |
| Electric carving knife | Cut thick memory foam and latex quickly | Ideal for toppers 3 inches or thicker |
| Serrated bread knife | Cut soft fiber, down alternative, and egg crate foam | The serrated edge grips soft materials without crushing them |
| Heavy-duty scissors | Trim thin polyester or fiber toppers | Only use for materials too soft for a knife |
| Work gloves | Protect hands from sharp blades and foam abrasion | Cut-resistant gloves are ideal for thick foam |
| N95 or P100 mask | Avoid inhaling foam dust and latex particles | Foam dust can irritate lungs, especially with repeated exposure |
| Drop cloth or tarp | Protect floors from foam dust and debris | Makes cleanup much faster |
| Clips, weights, or a helper | Secure the topper in place while cutting | Prevents shifting that leads to uneven cuts |
If you don’t have an electric carving knife, a sharp serrated bread knife works well for thick foam — just make multiple light passes instead of trying to cut through in one go. Pairing your trimmed topper with a well-fitting cleaning your bed protector will keep it free of stains and allergens for years.
 Gathering all tools before starting prevents mid-project delays and messy cuts
Source: youtube.com
Gathering all tools before starting prevents mid-project delays and messy cuts
Source: youtube.com
Step-by-Step Cutting Guide for All Topper Types
Follow these steps for a clean, professional cut, no matter what type of topper you’re working with:
- Prep your work area: Lay the drop cloth on a flat, stable surface (a table or clean floor works). If cutting on the floor, kneel on a cushion to avoid back strain. Put on your gloves and mask before handling the topper.
- Transfer measurements to the topper: Lay the topper flat, fully unfolded. If using a cardboard template, place it on the topper and trace around it with your marker. For straight cuts, mark your cut line ¼ inch larger than your final desired size — you can trim more later, but you can’t add material back.
- Secure the topper: Place weights along the edges of the topper, or have a helper hold it steady. If the topper is slippery, use a small amount of spray adhesive on the back (the side facing the mattress) to stick it to the drop cloth temporarily — it will peel right off when you’re done.
- Make your first cut: For foam and latex, start with a shallow scoring pass along your marked line with a utility knife or electric knife. Don’t try to cut all the way through on the first pass — this prevents the material from tearing or shifting.
- Deepen the cut: Make 2-3 additional passes along the same line, gradually cutting deeper each time. Keep the blade straight and follow the guide edge or template exactly. For thick foam, switch to an electric carving knife for faster, cleaner cuts.
- Release the cut section: Once you’ve cut all the way through, lift the excess material away. You should have a clean, straight edge. If the edge is ragged, make one more light pass with the knife to smooth it.
- Test the fit: Place the trimmed topper on your mattress. It should lie flat with no overhang, and fit snugly inside the bed frame. If it’s too large, trim ¼ inch at a time until it fits perfectly. If it’s too small, you’ll need to adjust your original measurements and recut (which is why the ¼ inch buffer is important). If you notice your topper has existing splits from being oversized, check out our guide on repairing split toppers to fix damage before finishing the cut.
- Clean up: Vacuum up any foam dust from the work area and the topper edges before moving on to finishing.
 Slow, steady passes with a sharp blade produce the cleanest edge on dense foam
Source: turmerry.com
Slow, steady passes with a sharp blade produce the cleanest edge on dense foam
Source: turmerry.com
Material-Specific Cutting Tips
Different topper materials behave very differently when cut, so matching your technique to the material will give you the cleanest edge and best results:
Memory Foam
Memory foam is dense and can tear if cut too quickly. Use an electric carving knife for toppers 3 inches or thicker, or a sharp utility knife for thinner 2-inch toppers. Cut with the grain of the foam (the direction the foam was poured) for the cleanest edge — you can identify the grain by the slight texture on the foam surface. Always support the section of foam you’re cutting with your free hand (wear a glove) to prevent it from sagging and creating a jagged edge. In practice, making multiple light passes produces a straighter edge than forcing the blade through in one go. You can also read our guide on are wool mattress toppers any good.
Latex
Natural and synthetic latex are elastic, so they can stretch and warp during cutting. Score your cut line first with a light pass of the utility knife, then make slow, even cuts. Avoid pulling the knife too hard, as this will stretch the latex and create an uneven edge. For thick latex toppers, an electric carving knife works best to cut through the dense material without stretching it.
Egg Crate / Convoluted Foam
The ridged, peaked surface of egg crate foam is fragile, and cutting too quickly will crush the peaks. Use a serrated bread knife, and cut slowly with gentle, back-and-forth strokes. Cut from the flat side of the foam, not the ridged side, to keep the peaks intact. If you need to cut the foam to a custom irregular shape, use scissors to trim around the peaks after making your straight cuts.
Down Alternative / Polyester Fiber
These soft, fill-based toppers can fray and shift during cutting. Use sharp heavy-duty scissors for thin toppers, or a serrated knife for thicker versions. To prevent fill from spilling out, secure the edges of the topper with clips or pins before cutting, and cut in small sections. After cutting, you can bind the raw edge with fabric tape or a zig-zag stitch on a sewing machine to prevent further fraying.
Feather / Down
Feather toppers are the most delicate, as cutting can tear the outer fabric and cause fill to leak. Use very sharp fabric scissors, and cut in small, slow snips. Place a piece of cardboard under the fabric you’re cutting to support it and prevent stretching. After cutting, seal the raw edge with a small amount of fabric glue or a tight zig-zag stitch to keep fill inside.
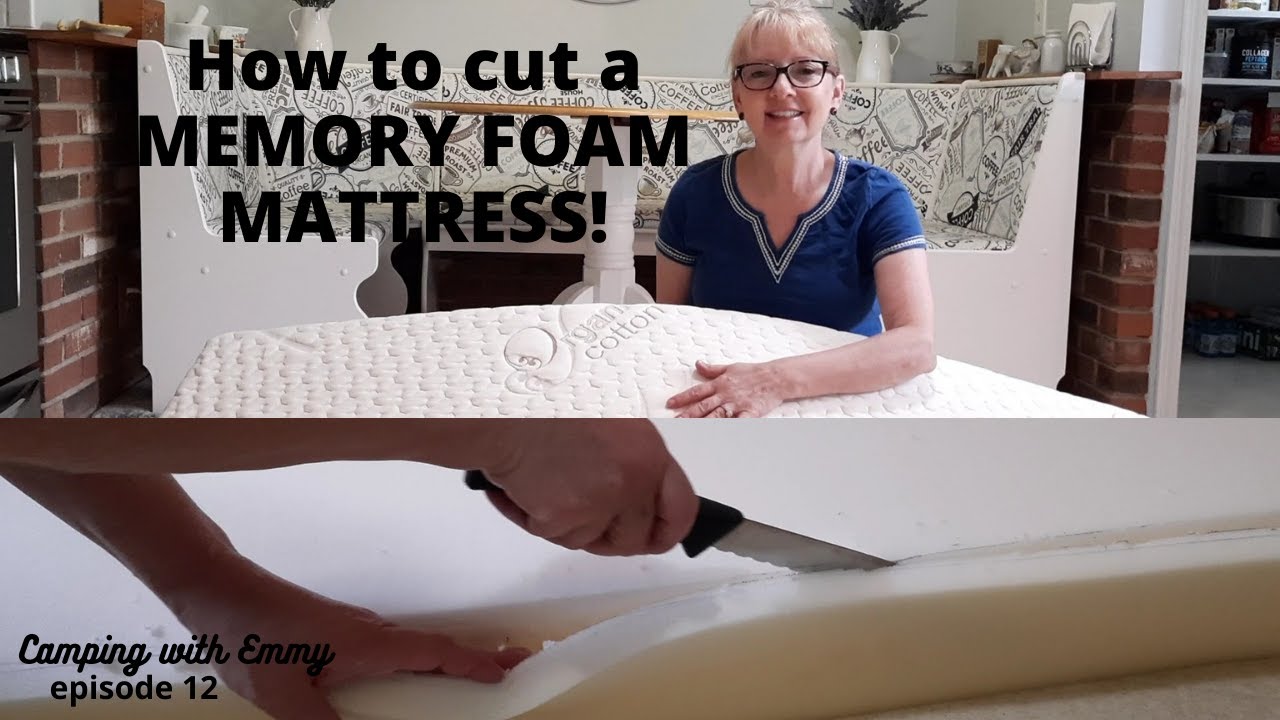 Each topper material requires a slightly different cutting technique for the best results
Source: youtube.com
Each topper material requires a slightly different cutting technique for the best results
Source: youtube.com
Finishing Touches for a Professional, Long-Lasting Fit
Raw cut edges can be unsightly, scratch your sheets, and even cause fill to leak over time. Follow these steps to finish your trimmed topper so it performs like a purpose-made product:
- Smooth foam edges: For foam and latex toppers, use a fine-grit sanding block to smooth any rough or ragged edges. Wipe away dust with a damp cloth, then let dry completely before use.
- Seal fabric edges: For fiber, down, and feather toppers, seal the raw edge with fabric glue or a zig-zag stitch on a sewing machine. This prevents fill from leaking out and stops fraying.
- Fit the topper cover: If your topper has a removable cover, trim the topper ½ inch smaller than your final measurements so it fits inside the cover without bunching. If the cover is too large for the trimmed topper, you can buy a fitted topper cover in the new size, or sew a new cover to fit.
- Add a mattress protector: A fitted mattress protector sized to your new topper dimensions will keep it clean and prevent sliding on the mattress.
- Secure the topper: For extra security, use non-slip mattress pads or straps to hold the topper in place, especially if you have an adjustable bed frame that moves often.
 A properly fitted protector keeps your trimmed topper clean and secure
Source: turmerry.com
A properly fitted protector keeps your trimmed topper clean and secure
Source: turmerry.com
Common Mistakes to Avoid
Even small errors can ruin a topper cut or lead to a poor fit. Avoid these common pitfalls to save time and money:
- Skipping the double measure: A ½-inch error in measurement can lead to a topper that’s too tight to fit on the mattress, or too loose and bunches up. Always re-measure both the mattress and your marked cut line before cutting.
- Using dull blades: Dull utility knife blades tear foam instead of cutting it cleanly, leading to ragged edges that catch on sheets. Replace your utility knife blade after every 2-3 cuts, or use a fresh blade for each project. For full details on your warranty rights if you damage a topper during cutting, refer to the FTC’s warranty rights guide.
- Rushing the cut: Trying to cut through thick foam in one pass will cause the blade to wander and create an uneven edge. Make multiple light passes, letting the blade do the work instead of forcing it.
- Not supporting the foam: Letting the section of foam you’re cutting hang off the edge of the work surface will cause it to sag and bend, leading to a crooked cut. A common mistake is cutting on an unstable surface, so always use a flat, sturdy table or floor for your project.
- Cutting too much at once: It’s easy to over-trim a topper, especially if you’re working with a flexible material like fiber. Trim ¼ inch at a time, test the fit, and only trim more if needed. If you trim too much, you can add a layer of thin foam padding underneath to make up the difference, but you can’t add material back to the topper itself.
- Ignoring warranty terms: Most manufacturers consider cutting an alteration that voids the product warranty, as it changes the original construction and performance of the topper. Before cutting, check your warranty paperwork, or check our guide on knowing when to replace your pad to see if it’s more cost-effective to replace the topper instead of cutting it.
Alternatives to Cutting Your Topper
Cutting isn’t the right choice for every situation, especially if you have a high-end topper with an active warranty. Consider these alternatives if you’re hesitant to alter your topper:
- Buy a custom-sized topper: Many manufacturers offer custom sizing for non-standard bed frames like RVs, bunk beds, and antique beds. While custom toppers cost 2-3x more than standard sizes, they’re a good option if you want a perfect fit without altering your existing topper.
- Use non-slip mattress pads or straps: If your topper is only slightly oversized (less than 2 inches overhang), non-slip pads or elastic straps will hold it in place without bunching. This is a great no-cost fix that preserves your topper’s warranty.
- Fold excess material under the mattress: For thin toppers (2 inches or less), you can fold the excess material under the mattress to hide the overhang. This works best for firm mattresses that hold the folded material in place.
- Layer a smaller topper over the existing one: If you have a thin, oversized topper, buy a smaller, correctly sized topper to place on top. This gives you the comfort of your original topper without the need to cut it.
If your topper is already damaged from being too large, our guide on repairing split toppers can help you fix it before deciding whether to cut or replace.
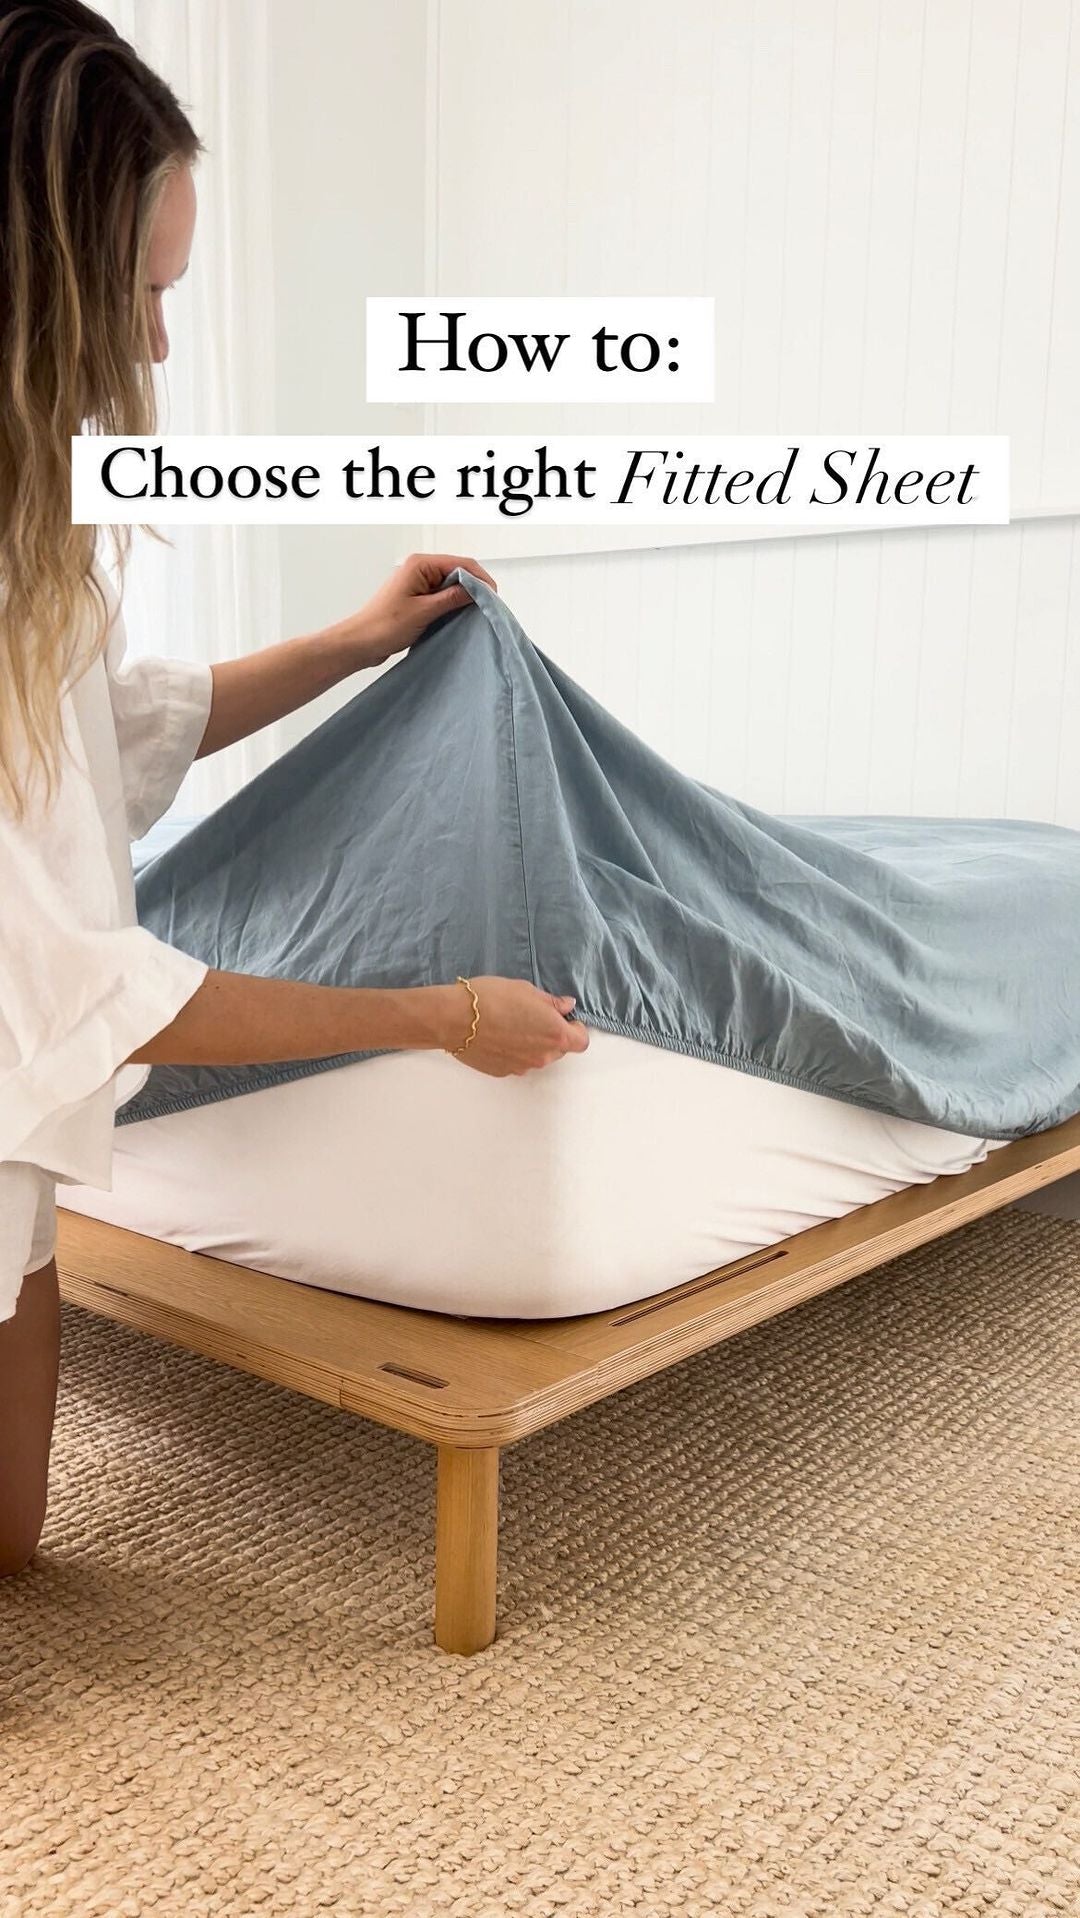 If you’re hesitant to cut your topper, correctly sized bedding is a low-risk alternative
Source: com.au
If you’re hesitant to cut your topper, correctly sized bedding is a low-risk alternative
Source: com.au
Frequently Asked Questions
How accurate do my measurements need to be?
Aim for accuracy within ½ inch of your mattress dimensions. If the topper will go inside a fitted cover, add an extra ½ to 1 inch to your measurements to make it easy to pull the cover on without stretching. For irregular bed shapes, a cardboard template is more accurate than measuring and marking freehand.
Can I cut a topper with regular household scissors?
Only thin, soft toppers like polyester fiber or down alternative can be cut with sharp fabric scissors. Dense foam, latex, and thick down toppers require a utility knife, serrated knife, or electric carving knife for clean cuts — regular scissors will struggle and create ragged edges.
Will cutting my topper void the warranty?
Most manufacturers consider cutting an alteration that voids the product warranty, as it changes the original construction and performance of the topper. Always check your warranty paperwork before cutting, and if you’re unsure, contact the manufacturer directly. For guidance on when to replace a topper instead of cutting it, check our guide on knowing when to replace your pad.
Can I cut a topper for an irregular bed frame like an RV or bunk bed?
Yes, the process is the same as for a standard rectangular bed: make a cardboard template by tracing the mattress edge, then transfer the template to the topper and cut slowly along the template line. For notched corners (common in RV beds), use a carpenter’s square to mark the right angle before cutting.
Is it safe to cut foam toppers indoors?
Yes, as long as you wear a P100 or N95 mask to avoid inhaling foam dust, work in a well-ventilated area, and keep children and pets away from the work area. Foam dust can irritate your lungs, eyes, and skin, so wearing gloves and eye protection is also recommended. For more guidance on safe DIY practices with foam materials, refer to the CDC’s foam safety guidelines.
Can I cut a gel or cooling topper?
Yes, gel-infused foam toppers cut the same way as standard memory foam. Use an electric carving knife for thick versions, and make multiple light passes to avoid tearing the gel layer. Avoid using a serrated knife, as the teeth can catch on the gel infusion and pull it out of the foam.
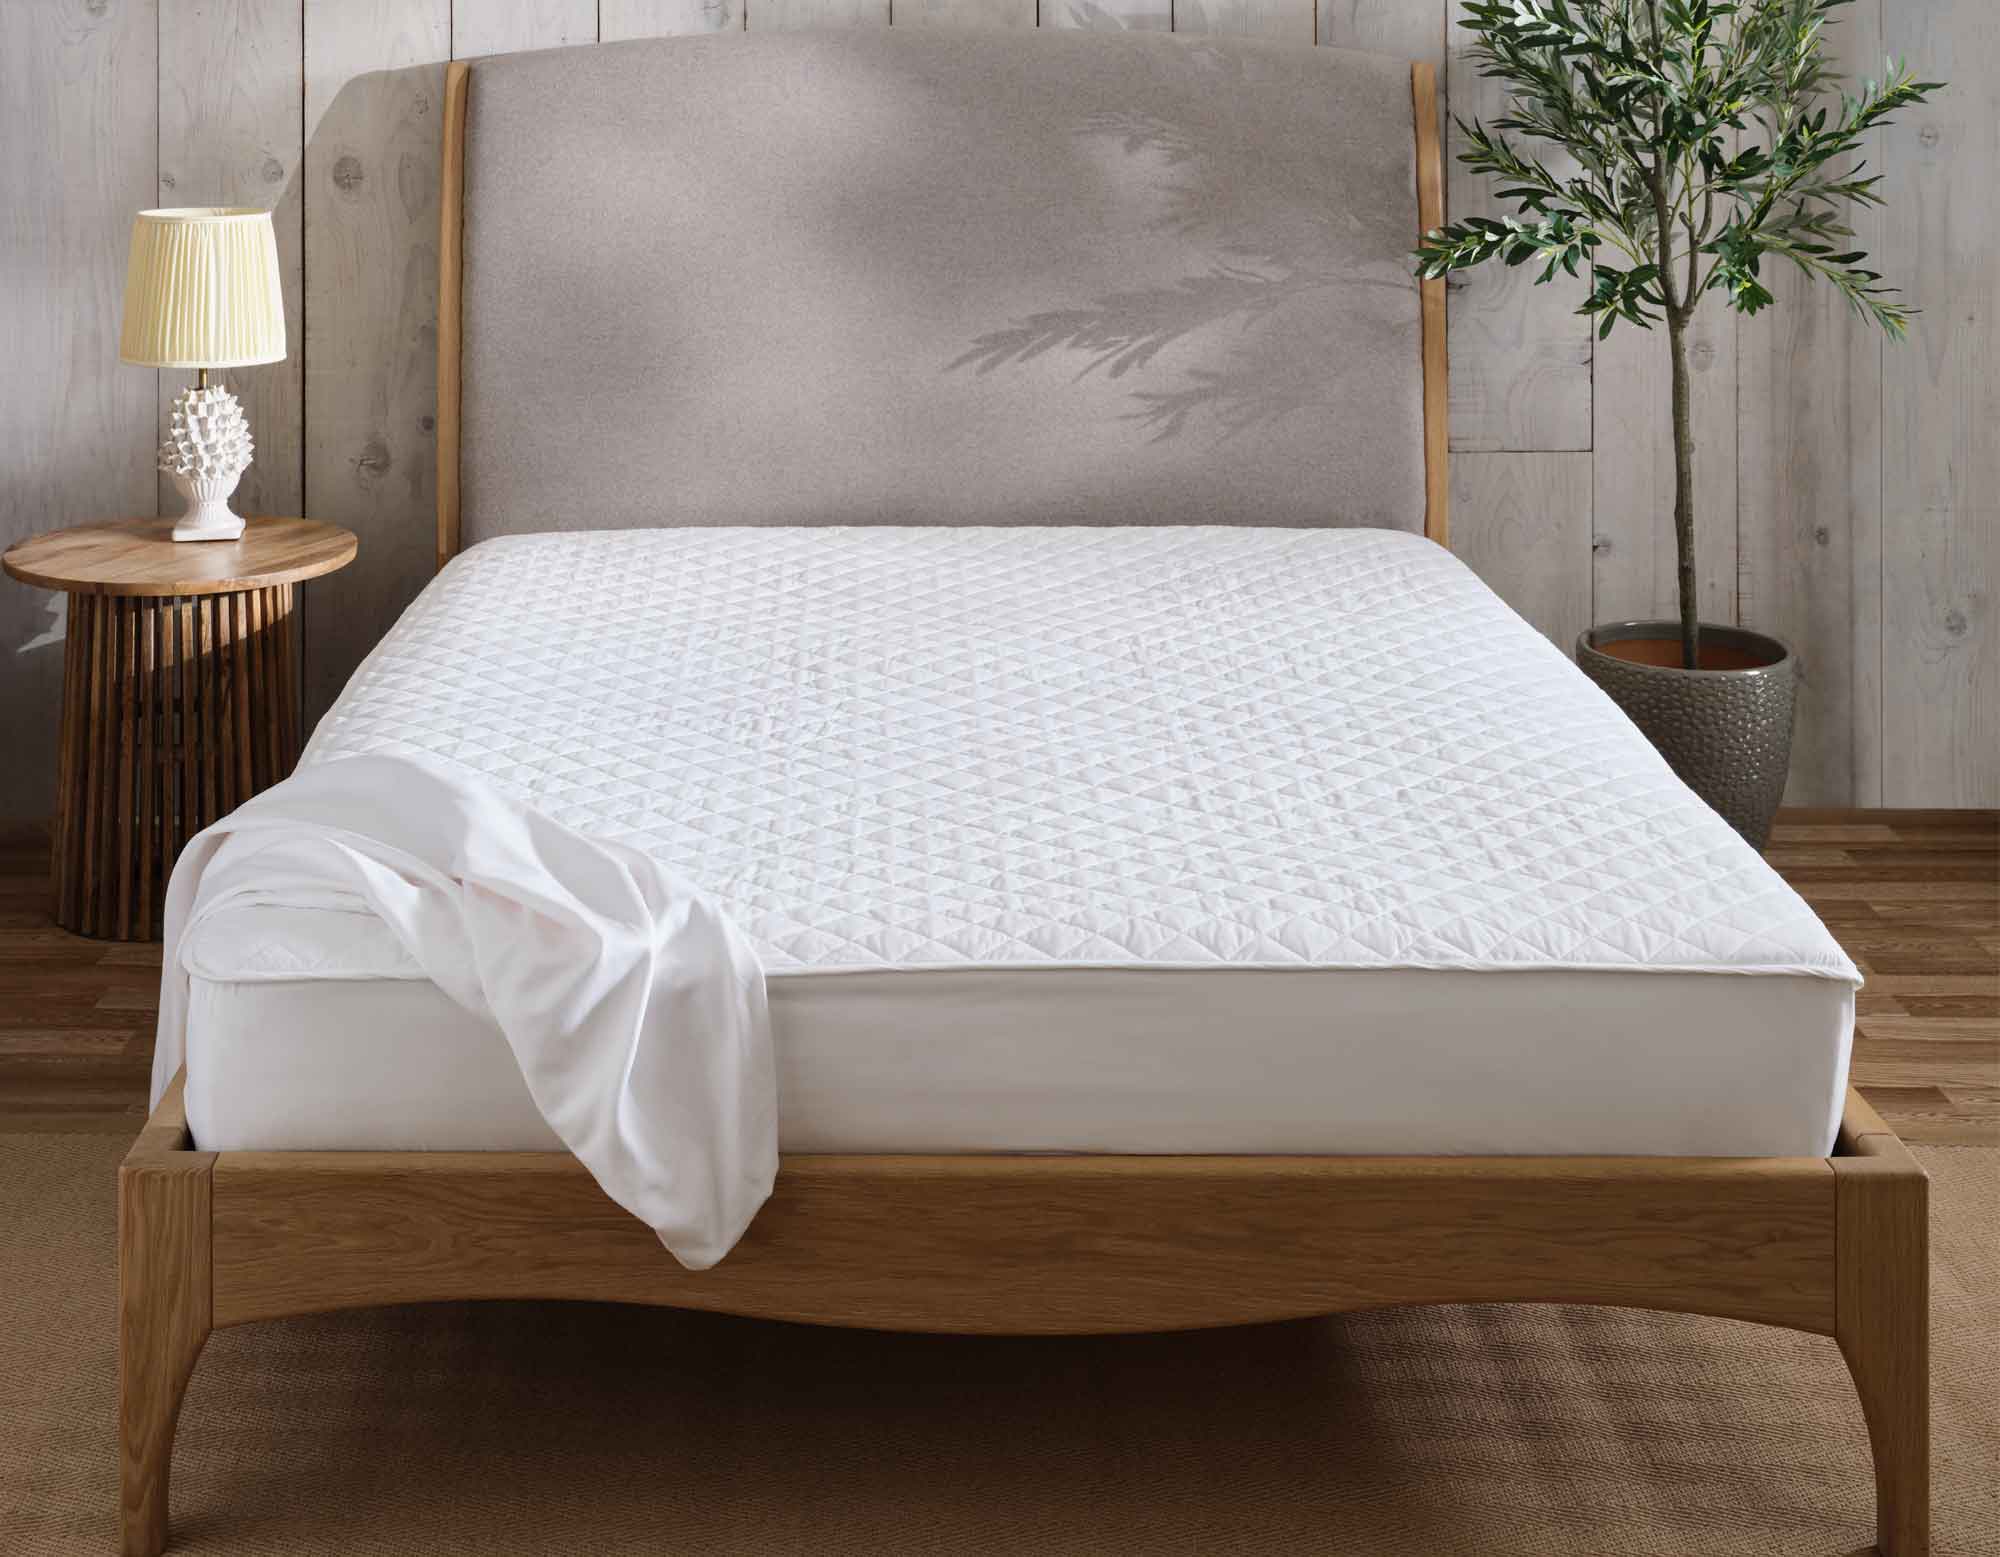 A well-fitted mattress protector eliminates sliding even on non-standard bed sizes
Source: scooms.com
A well-fitted mattress protector eliminates sliding even on non-standard bed sizes
Source: scooms.com
 Many off-the-shelf toppers come in standard sizes, making trimming a useful fix for small beds
Source: tuftandneedle.com
Many off-the-shelf toppers come in standard sizes, making trimming a useful fix for small beds
Source: tuftandneedle.com
Final Tips for a Perfect Fit
- Practice on a scrap piece of foam first if you’re using a new cutting tool. This will help you get a feel for how the blade moves through the material before you cut your actual topper.
- If you’re cutting a topper with a removable cover, remove the cover before cutting to avoid damaging it. You can reattach it after you’ve finished trimming and finishing the edges.
- For toppers with piped or quilted edges, cut ¼ inch away from the piping or quilting to avoid cutting into the decorative stitching.
- If you notice your topper has started to flatten or develop lumps after trimming, it may be time to replace it instead of continuing to use it — a lumpy topper will not provide even support for your spine.
Conclusion
Cutting a mattress topper to fit a small or non-standard bed is a simple, cost-effective DIY project that takes less than an hour with the right tools and preparation. By measuring carefully, choosing the right cutting tool for your topper material, and finishing the edges properly, you can get a professional, snug fit that stays in place and provides the same comfort as a purpose-made topper. If you’re unsure about cutting your topper, remember that alternatives like non-slip pads or a custom-sized topper are also great options. For more tips on extending the life of your bedding, check out our guides on cleaning your bed protector and reviving a worn topper. Ready to tackle your project? Gather your tools, take accurate measurements, and follow the steps above for a perfect fit. If you run into any issues, drop a comment below with your question, and we’ll help you troubleshoot.

Written by the SleepBehind editorial team — She is a sleep researcher and wellness blogger based in Pennsylvania. Passionate about helping people optimize their sleep.