
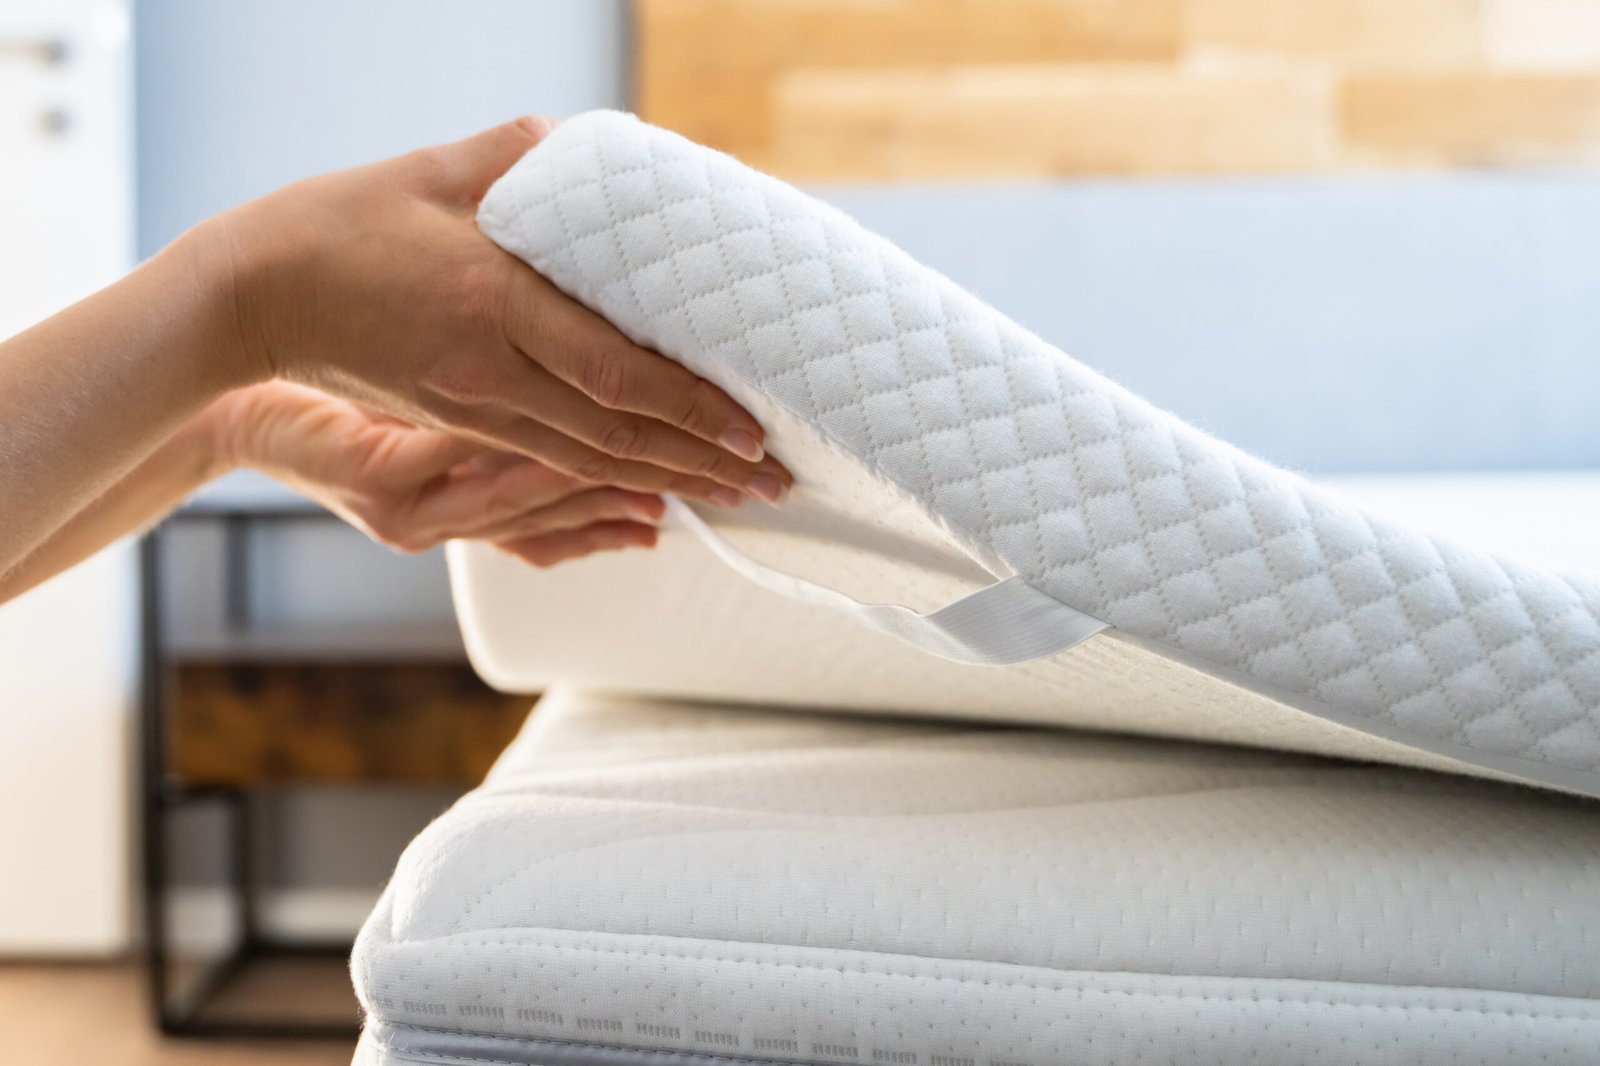
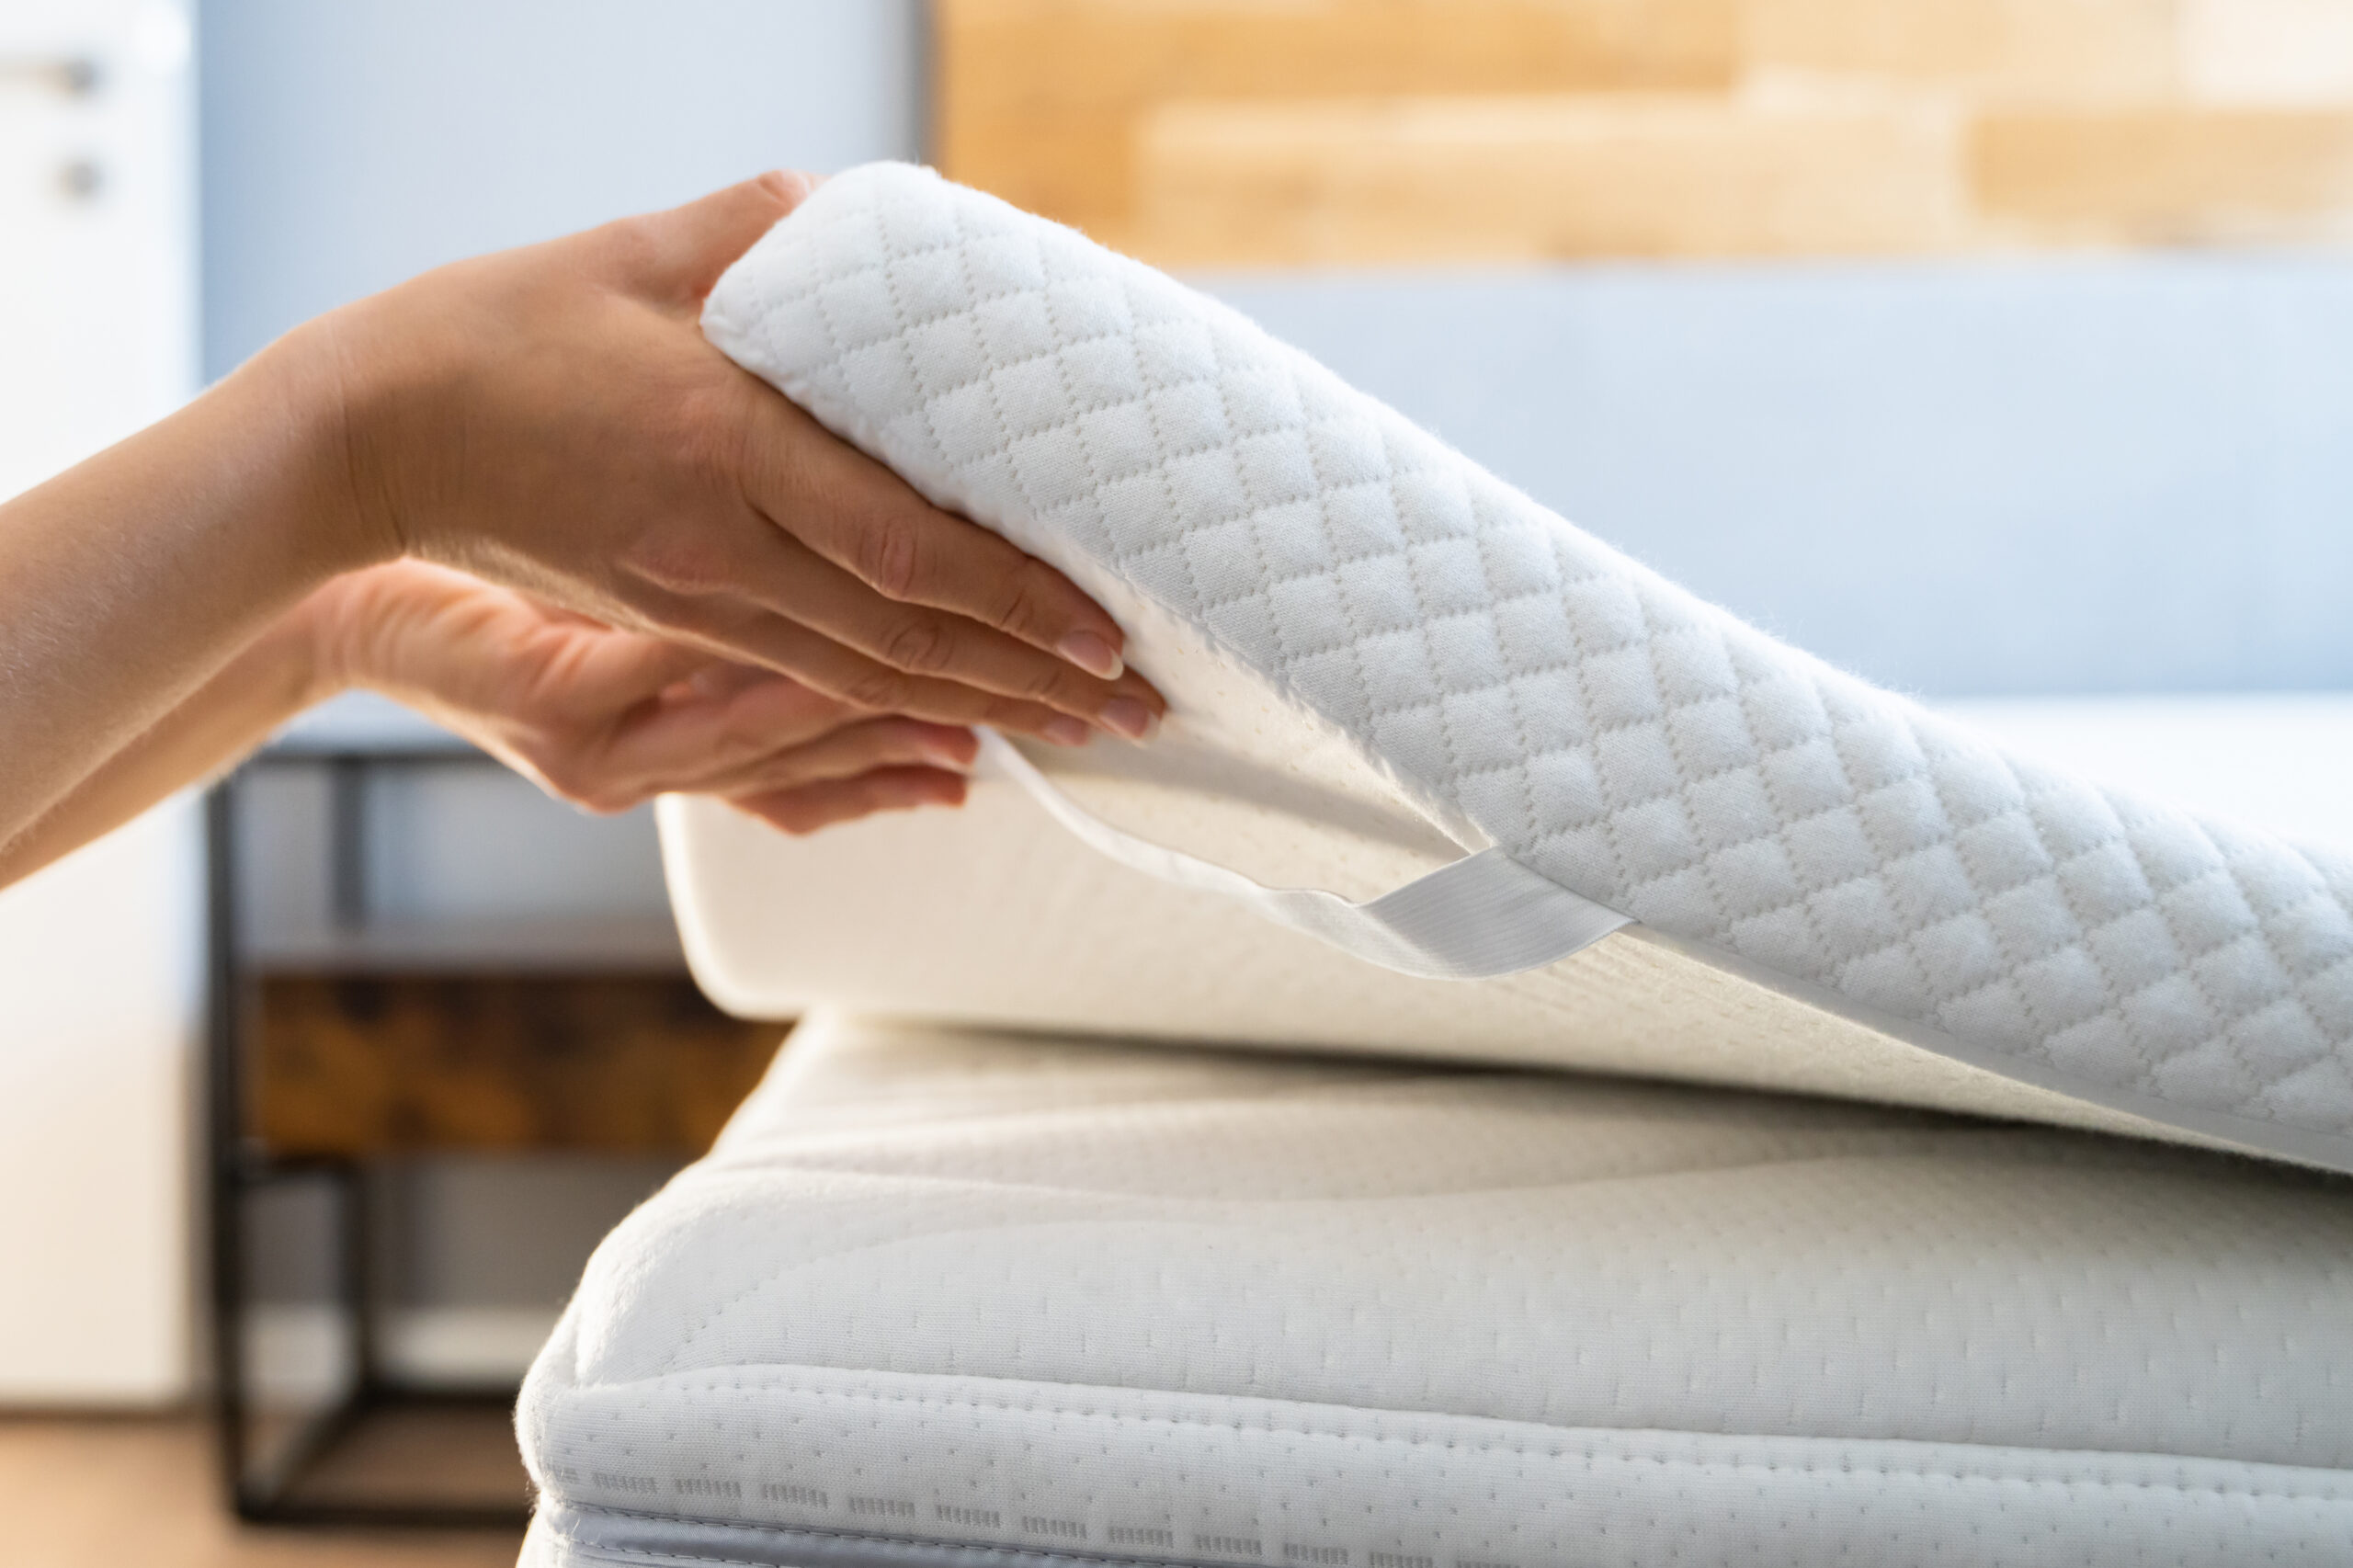
A standard foam mattress topper rarely fits non-standard bed frames, RV bunks, camper mattresses, or DIY projects like custom pet beds. Cutting it to size yourself saves you the cost of a custom-order topper, but a sloppy cut leaves jagged edges, poor fit, and wasted material. This guide shares field-tested steps, tool recommendations, and troubleshooting tips to help you get a clean, precise cut the first time, whether you're trimming a memory foam topper to fit a king bed frame or splitting a queen topper into two twin sizes for guest rooms.
Common Reasons to Cut a Foam Mattress Topper
Custom cutting solves a range of common bedding fit issues without the premium cost of a custom-order topper. Most people cut their toppers to fit antique bed frames with unusual dimensions, RV or camper bunks that use non-standard mattress sizes, or to split a larger queen topper into two twin sizes for guest rooms or kids' beds. You may also cut a topper to create custom foam inserts for pet beds, window seats, gaming chairs, or to trim a slightly oversized topper that lifts at the corners of your mattress. For guidance on splitting larger toppers evenly, check out resources on splitting toppers for guest rooms for brand-specific tips. You can also read our guide on how to clean mattress topper foam.
Foam Type Considerations for Clean Cuts
Different foam materials behave differently when cut, so adjusting your technique for your topper's material will improve your results:
- Polyfoam: The most common, affordable topper material. It is low to medium density, cuts easily with almost any sharp blade, and holds its shape well after cutting.
- Memory foam: Slightly denser with a slow rebound. It cuts cleanly with a serrated knife, but avoid pressing too hard when marking, as it compresses easily and can lead to inaccurate cut lines.
- Latex foam: Denser and more elastic than memory or polyfoam. It requires a very sharp blade and multiple shallow passes to avoid tearing, as it tends to spring back when cut.
- Gel-infused foam: Similar to memory foam but with embedded gel pods. Cut carefully to avoid crushing the pods, which can create lumps in the finished topper.
Note that cutting any foam topper will slightly reduce its overall loft (thickness) by 1/4 to 1/2 inch, as the top layer of foam is removed during trimming. Subtract this amount from your initial measurements if you need a specific post-cut thickness.
Essential Tools & Materials for a Precise Cut
Good tools eliminate most common cutting errors. Gather these items before starting to avoid delays mid-project:
- 36-inch aluminum straightedge: A rigid metal straightedge is non-negotiable for straight cuts; plastic straightedges can bend under pressure, leading to wavy edges.
- Sharp serrated bread knife: The most versatile option for most home projects. The serrated edges grab the foam instead of compressing it, reducing tears.
- Electric carving knife: Ideal for 4+ inch thick dense foam or long, straight cuts. It reduces physical effort and produces more even edges than a hand saw for thick material. For guidance cutting thick 3-inch toppers, see tips on evenly cutting thick toppers.
- Fresh utility knife blades: Perfect for trimming small edges, cutting thin foam (under 2 inches thick), and cleaning up rough spots. Dull blades are the #1 cause of torn foam and slipped cuts.
- Fine-tip permanent marker or tailor's chalk: For marking cut lines. Avoid ballpoint pens, which can indent soft foam and throw off your measurements.
- Steel measuring tape: Cloth tapes can stretch, leading to inaccurate measurements for large toppers.
- Spray adhesive formulated for foam: Only use this if you need to join two cut pieces; regular all-purpose glue will dissolve foam.
- Safety gear: Safety glasses and cut-resistant gloves protect you from foam dust and accidental blade contact.
- Cutting surface: A piece of rigid foam board or plywood placed under the topper protects your floors and provides a stable, flat surface for cutting.
Avoid using regular kitchen chef's knives, household scissors, or jigsaws with standard blades: these tools either slip easily or leave rough, torn edges that require extensive sanding to fix.
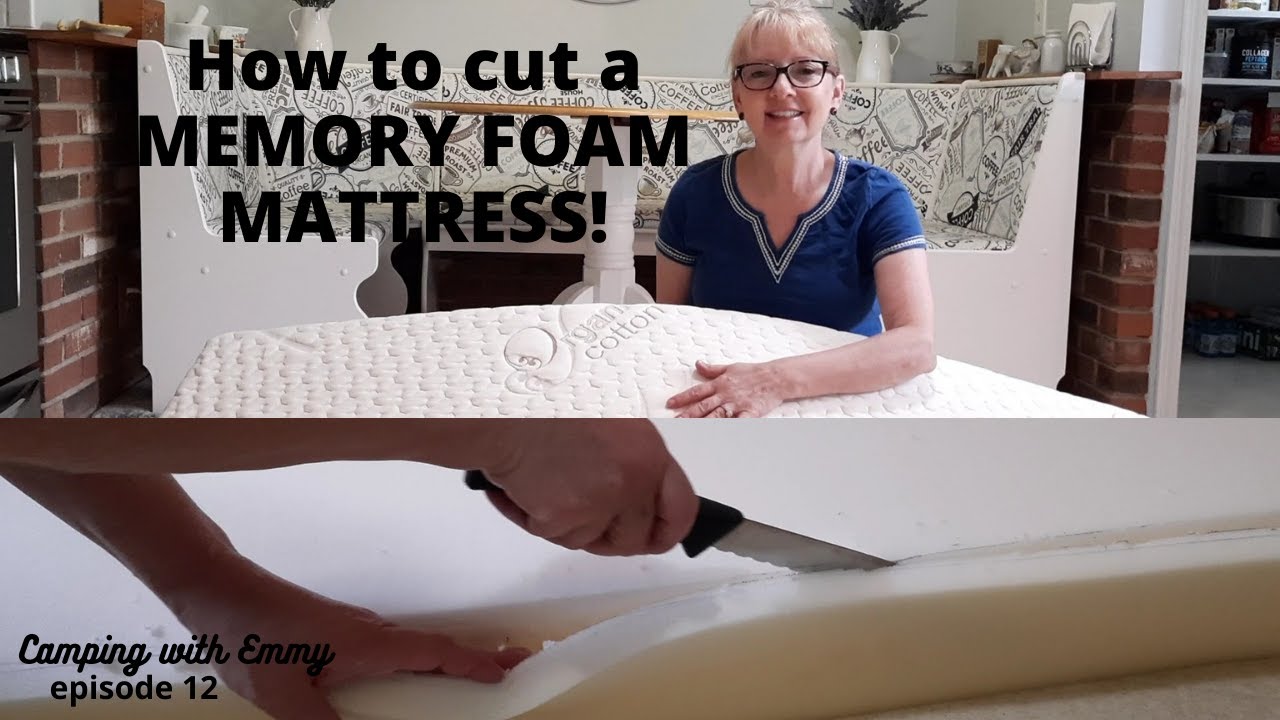 Gather all tools before starting to avoid interruptions mid-cut.
Source: youtube
Gather all tools before starting to avoid interruptions mid-cut.
Source: youtube
Preparing the Topper & Work Area
Proper prep is the difference between a straight, even cut and a wavy, misaligned one. Follow these steps to set yourself up for success:
- Unroll or unbox the foam topper in a well-ventilated area. If it was vacuum-sealed or rolled for shipping, let it expand fully for 24 to 48 hours before cutting. A common mistake is cutting a topper immediately after unboxing: the foam will continue to expand for up to 48 hours, which can throw off your measurements and leave gaps after cutting.
- Clear a large, flat workspace: a clean garage floor, workbench, or large table works best. Lay down a drop cloth to catch foam dust, which can be difficult to clean from carpets.
- Place the fully expanded topper on your cutting surface, and smooth out all wrinkles and air bubbles with your hands. If you're cutting on a carpet, place a piece of rigid cardboard under the topper to prevent it from shifting during cutting.
A common error I made early on was rushing this step: I cut a topper for my RV bed just 2 hours after unboxing it, and it expanded 1 inch after cutting, leaving a large gap on one side. Waiting the full 48 hours eliminated the problem entirely.
 A flat, stable work surface prevents the topper from shifting during cutting.
Source: turmerry
A flat, stable work surface prevents the topper from shifting during cutting.
Source: turmerry
Measuring & Marking for a Precise Cut
The old adage "measure twice, cut once" is especially true for large foam toppers, where a 1/2-inch error can ruin the fit. Follow these steps to get accurate measurements:
- Measure the surface the topper will sit on (mattress, RV bunk, pet bed base) at least three times: length, width, and any cutouts needed (like for a bed frame headboard or slide-out). Use a steel measuring tape, not a cloth tape, which can stretch and give inaccurate readings.
- Subtract 1/2 to 1 inch from your measurements to account for the thickness of your fitted sheet and topper cover, unless you want a tight, snug fit.
- Transfer the measurements to the topper using a fine-tip marker or tailor's chalk. Mark both the top and bottom of the topper along the entire length of the cut line to ensure the cut is straight all the way through.
- Use your rigid straightedge to connect the marks and create a clear, visible cut line. If you're cutting a curved shape, use a compass or a string tied to a pencil to mark a perfect, even curve instead of freehanding it.
Pro tip: If you're cutting the topper in half to make two twin sizes, mark the center line first, then measure each half individually to ensure they are even.
 Mark cut lines on both the top and bottom of the topper for alignment.
Source: amazon
Mark cut lines on both the top and bottom of the topper for alignment.
Source: amazon
Choosing the Right Cutting Method for Your Foam
The best cutting method depends on the thickness and density of your foam, as well as the tools you have on hand. Use the table below to choose the right option for your project:
| Method | Best For | Pros | Cons | Step Summary |
|---|---|---|---|---|
| Serrated bread knife | Medium to high-density foam (2-4 inches thick), straight cuts | Affordable, easy to control, no power needed | Requires multiple passes for thick foam | Align straightedge, make 2-3 shallow scoring passes, then deepen with successive cuts |
| Electric carving knife | Thick dense foam (4+ inches), long straight cuts | Fast, even edges, low physical effort | Can overheat with prolonged use, higher cost | Clamp straightedge, run knife along guide in steady strokes, don't force the blade |
| Utility knife/box cutter | Thin foam (under 2 inches), trimming edges, small cuts | Precise for adjustments, easy to replace blades | Requires many passes for thick foam, slip risk if dull | Score with light passes, deepen gradually, always cut away from your body |
| Hot wire cutter | Intricate curves, specialty foam shapes | Clean, smooth edges for curves, no tearing | Releases fumes from some foams, requires practice, higher cost | Set wire temperature per foam type, feed foam slowly along a template, wear a respirator |
Hot wire cutters work well for intricate curved cuts, but note that some foam types release volatile organic compounds (VOCs) when heated. The EPA recommends working in a well-ventilated area when cutting or heating foam to avoid respiratory irritation.
For most home projects, a sharp serrated bread knife is the most versatile and cost-effective option. I've used one for dozens of foam cutting projects, from trimming a queen topper for my king bed to making custom dog beds, and it produces clean edges with minimal effort when used correctly.
 A serrated bread knife is the most versatile tool for most home cutting projects.
Source: turmerry
A serrated bread knife is the most versatile tool for most home cutting projects.
Source: turmerry
Step-by-Step Cutting Process for a Clean, Precise Cut
Follow these steps to cut your foam topper with minimal mess and a professional finish:
- Prep and measure: Confirm your topper is fully expanded, and double-check all measurements against the target surface.
- Secure the topper: Lay the topper flat on your cutting surface, smooth out wrinkles, and make sure it's not shifted.
- Align and clamp the straightedge: Place the straightedge exactly along your marked cut line, and clamp it firmly to the cutting surface (not just the topper) to prevent shifting. If you don't have clamps, have a second person hold the straightedge steady.
- Score the foam: Make 2-3 shallow passes along the straightedge with your chosen cutting tool, just cutting through the top layer of foam. This creates a guide for deeper cuts and prevents the blade from wandering.
- Deepen the cut: Make successive passes, cutting a little deeper each time, until you cut through the entire thickness of the topper. Don't force the blade — let the serrations do the work. For dense 4-inch foam, this may take 5-10 passes.
- Trim and finish: Use a fresh utility knife to trim any ragged edges or small imperfections. For a super smooth edge, use 120-grit sandpaper on a sanding block, then wipe away foam dust with a damp cloth.
Key tip: Take short breaks between passes if you're cutting thick foam. Cutting too fast or pressing too hard is the most common cause of torn foam and uneven edges. Multiple light passes always produce a better result than one heavy, forced cut.
 Make multiple shallow passes to avoid tearing the foam.
Source: youtube
Make multiple shallow passes to avoid tearing the foam.
Source: youtube
Smoothing Edges & Joining Cut Pieces
A clean, smooth edge isn't just for aesthetics: ragged edges can snag your bedding, leave foam dust on your sheets, and cause the topper to shift during the night. Follow these steps to finish your cut topper:
- For most foam types, a sharp utility knife is enough to trim away any fuzzy or ragged edges. Make light, careful passes along the edge to even it out.
- For dense memory or latex foam, use 120-grit sandpaper on a sanding block to smooth out small bumps or uneven spots. Wipe away all dust with a damp cloth before putting the topper on your bed.
- If you need to join two cut pieces (for example, if you cut a topper too short and need to add a filler strip), use a spray adhesive specifically formulated for foam. Regular all-purpose glue will dissolve foam, so always check the label to confirm it's safe for foam use. Apply a thin, even layer to both surfaces, press firmly for 30 seconds, and let cure for 24 hours before putting bedding on it.
- To hide any visible seams, cover the joined area with a fitted topper cover or mattress protector.
I once made the mistake of using regular craft glue to join two cut foam pieces, and it dissolved the edge of the foam within an hour. Always use foam-specific adhesive to avoid damaging your topper.
 Light sanding creates a smooth, even edge that won't snag bedding.
Source: wikihow
Light sanding creates a smooth, even edge that won't snag bedding.
Source: wikihow
Safety Tips for Cutting Foam Mattress Toppers
Foam cutting is a low-risk project, but following basic safety guidelines prevents accidental cuts and respiratory irritation:
- Always cut away from your body, and keep your free hand behind the blade at all times. Never pull the blade toward you.
- Wear safety glasses to protect your eyes from flying foam dust and debris.
- Use a retractable utility knife when possible, and always retract the blade immediately after use to avoid accidental cuts. For OSHA's hand tool safety guidelines, which recommend steady pressure and sharp blades to reduce injury risk.
- Work in a well-ventilated area, especially if using spray adhesive or hot wire cutters. Some foams release fumes that can irritate your eyes, nose, and throat.
- If you're cutting an older foam topper (over 5 years old), check for signs of degradation like cracking, yellowing, or crumbling. Old foam can break apart unexpectedly, creating sharp edges and reducing its support.
- Wear cut-resistant gloves if you're working with dense latex foam, which can be tough to cut and may cause blade slippage.
 Wear safety glasses and gloves to protect yourself during cutting.
Source: exmattress
Wear safety glasses and gloves to protect yourself during cutting.
Source: exmattress
Troubleshooting Common Cutting Problems
Even with careful prep, small issues can come up during cutting. Here's how to fix the most common problems:
| Problem | Cause | Fix |
|---|---|---|
| Jagged, uneven cut edges | Dull blade, cutting too fast, or shifting straightedge | Replace the blade with a fresh one, clamp the straightedge firmly, and make 2-3 light finishing passes with a sharp utility knife |
| Topper is too short after cutting | Mismeasurement, or foam expanded after unboxing before cutting | If the gap is under 2 inches, cut a matching foam strip from leftover material, glue it on with foam-safe spray adhesive, and cover the seam with a fitted cover. For larger gaps, purchase a small foam filler pad. |
| Foam tears while cutting | Dull blade, cutting too deep in one pass, or low-density foam | Always use a sharp, serrated blade, make multiple shallow passes, and apply even pressure along the entire cut line |
| Wavy, misaligned cut | Straightedge shifted during cutting, or marked line was off | Always clamp the straightedge to the cutting surface, not just the topper, and mark both the top and bottom of the topper to ensure alignment. Sand wavy edges smooth with 120-grit sandpaper |
I once made the mistake of not clamping the straightedge when cutting a topper for my camper bed, and it shifted halfway through the cut, leaving a 1-inch gap on one side. I fixed it by gluing a small foam strip to the short edge, and it was completely invisible under the fitted sheet.
 A fresh blade and steady straightedge fix most cutting errors.
Source: youtube
A fresh blade and steady straightedge fix most cutting errors.
Source: youtube
Caring for Your Custom-Cut Foam Topper
A properly cut topper can last 3-5 years with regular care. Follow these tips to keep it in good shape:
- Vacuum the topper thoroughly after cutting to remove all foam dust and debris, which can irritate skin and respiratory systems.
- If you used adhesive to join pieces, let it cure for at least 24 hours before putting bedding on it to avoid shifting.
- Use a breathable, removable topper cover to protect the foam from spills, sweat, and dirt. Maintaining topper covers regularly by washing them per manufacturer instructions will extend their lifespan too.
- Rotate the topper 180 degrees every 3-6 months to even out wear, especially if you cut it to a custom size that doesn't match your mattress exactly.
- For brand-specific care steps, refer to manufacturer care guidance to avoid damaging the foam material.
I've had the same custom-cut memory foam topper for 4 years now, and it still feels like new thanks to a breathable cover and regular rotation.
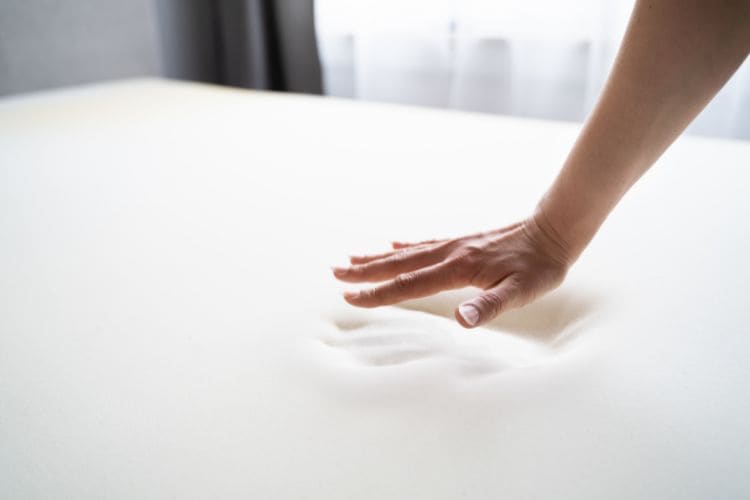 A breathable topper cover protects your cut foam from spills and wear.
Source: nobullmattress
A breathable topper cover protects your cut foam from spills and wear.
Source: nobullmattress
Frequently Asked Questions About Cutting Foam Mattress Toppers
Can I cut any foam mattress topper to a smaller size?
Yes, most foam toppers (polyfoam, memory foam, latex) can be cut safely with the right tools. Note that cutting will reduce the topper's loft by 1/4 to 1/2 inch, so subtract this amount from your target measurements to get the right thickness.
Will cutting my foam topper void the warranty?
Most manufacturers consider custom cutting a modification that voids the product warranty, so check your warranty terms before cutting if your topper is new or under warranty.
What's the easiest foam type to cut for DIY projects?
Medium-density polyfoam is the easiest to cut, as it's firm enough to hold its shape but soft enough to cut cleanly with a serrated knife. Memory foam is also easy to work with, while latex foam requires sharper blades and more passes to avoid tearing.
How do I cut a foam topper into a custom curved shape (like a round pet bed)?
Use a compass or a string tied to a pencil to mark the perfect curve on the topper, then use a hot wire cutter for the cleanest, smoothest edge. For simpler curves, a sharp serrated knife works well.
Can I use a regular saw to cut a foam topper?
A fine-tooth jigsaw or hand saw can work for dense foam, but it will leave a rough, ragged edge that requires extensive sanding to smooth out. A serrated knife or electric carving knife will always produce a cleaner edge for straight cuts.
How do I fix a topper that's too short after cutting?
If the gap is less than 2 inches, cut a matching strip of foam from leftover material, glue it on with foam-safe spray adhesive, and cover the seam with a fitted topper cover. For larger gaps, you may need to purchase a small foam filler pad to make up the difference.
Final Tips for a Perfect Cut
Cutting a foam mattress topper to size is a simple, cost-effective way to get a perfect fit for non-standard beds, RV bunks, or DIY projects. The key to a clean, precise cut is proper prep: let the topper fully expand, measure twice, use a rigid straightedge, and make multiple shallow passes instead of forcing the blade through the foam.
If you're planning to split a larger topper into two smaller sizes for guest rooms, splitting toppers for guest rooms has brand-specific tips for even cuts, while evenly cutting thick toppers covers tips for 3-inch and thicker dense foam.
For more ways to improve your sleep setup, check out our guide to easing joint pain during sleep for tips to reduce discomfort while you rest. If you have questions about cutting your topper, leave a comment below — we're happy to help.

Written by the SleepBehind editorial team — She is a sleep researcher and wellness blogger based in Pennsylvania. Passionate about helping people optimize their sleep.