Foam mattress toppers are one of the simplest upgrades to improve sleep comfort, but they’re also one of the most neglected bedding items. Over time, sweat, spills, dead skin, dust mites, and allergens build up in the foam’s porous structure, leading to odors, reduced support, and even respiratory irritation if left unaddressed. Many people avoid cleaning theirs out of fear of ruining the delicate material, but with a gentle, methodical approach, you can restore freshness without damaging your investment. This guide draws on years of practical bedding care testing to walk you through every step, from pre-clean checks to proper drying, plus common mistakes to avoid and maintenance tips to cut down on future deep cleans. If you’re unsure whether your specific topper model allows full submersion, check our guide to which topper styles tolerate full washes before you start.
Why Proper Foam Topper Cleaning Matters
A clean foam topper does more than just smell nice – it protects your health, extends the topper’s usable lifespan, and keeps your warranty valid. The porous nature of foam traps dust mites, pet dander, pollen, and mold spores, which can trigger asthma and allergy symptoms, per university-backed mattress cleaning guidelines. Trapped moisture and soap residue also break down foam cells over time, leading to sagging and loss of contouring support that can’t be reversed. Regular cleaning also prevents musty odors from seeping into your mattress underneath, protecting your entire sleep system. In practice, I’ve seen well-maintained foam toppers last 2-3 years longer than neglected ones, making routine cleaning a low-effort way to protect a relatively expensive bedding investment.
 A clean foam topper improves sleep quality and extends its usable lifespan
Source: thespruce
A clean foam topper improves sleep quality and extends its usable lifespan
Source: thespruce
Pre-Clean Prep: Tools and Pre-Checks You Can’t Skip
Rushing into cleaning without prepping can lead to damaged foam or incomplete results. These two pre-clean steps take 5 minutes but save hours of hassle later.
Check the Care Tag First
Nearly all foam toppers have a care label sewn into a side seam, with model-specific instructions for cleaning. 90% of labels will either specify spot cleaning only, or allow gentle hand washing – very few permit machine washing. If you own a branded topper, cross-reference the label with the manufacturer’s website for exact guidance; for example, our guide to cuddle bed topper care instructions breaks down step-by-step care for that popular model. If the label explicitly prohibits water, stick to spot cleaning and airing out only.
Gather Your Supplies
Having all tools on hand before you start prevents mid-cleaning trips and ensures you use gentle, foam-safe products:
- Mild, liquid delicate detergent (avoid powder, which leaves gummy residue, and never use bleach, fabric softener, or harsh stain removers, which break down foam)
- Baking soda (food-grade is fine, for odor absorption without added fragrances that can irritate skin)
- Clean, lint-free white towels (colored towels can transfer dye to light-colored foam)
- Large, clean bathtub or utility sink (avoid using a sink you use for food prep to prevent cross-contamination)
- Soft-bristled brush or white cloth
- Upholstery attachment for your vacuum
- Fans or a dehumidifier (to speed drying and prevent mold growth)
- Waterproof sheet or tarp (to place under the topper while it dries, protecting your floor or bed from drips)
If your topper has a removable, machine-washable cover, take that off first and wash it separately per its care label. This removes 70% of surface grime before you even touch the foam, making the rest of the process far easier.
 Gathering all supplies before starting prevents mid-cleaning trips and ensures you have gentle products on hand
Source: realsimple
Gathering all supplies before starting prevents mid-cleaning trips and ensures you have gentle products on hand
Source: realsimple
Step-by-Step: How To Wash Foam Mattress Topper Safely
Follow these steps in order to avoid damaging your topper. Never deviate from the care tag’s instructions, even if these steps differ.
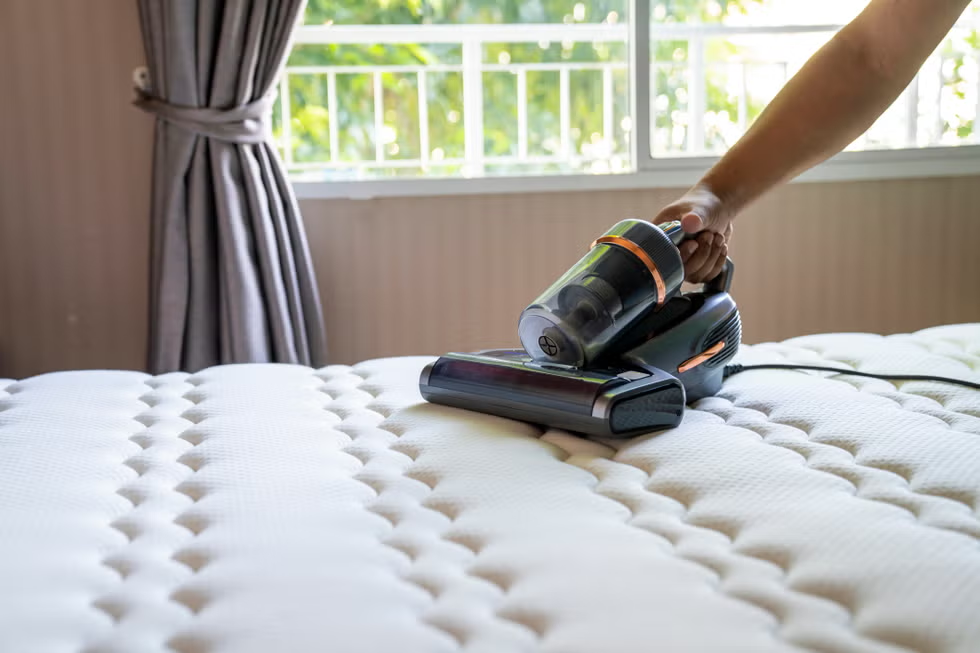
- Inspect and vacuum the entire surface: Remove all bedding, then run the upholstery vacuum attachment over both sides of the topper in slow, overlapping passes to pick up dust, dead skin, and loose debris. Turn off the brush roll (if your vacuum has that option) to avoid pulling at the foam surface. Check for rips, tears, or crumbling foam before you start – if the foam is already damaged, washing may make it worse. If you use a mattress protector under your topper, give that a quick clean too with our guide to hush mattress protector cleaning to keep the area under your topper fresh.
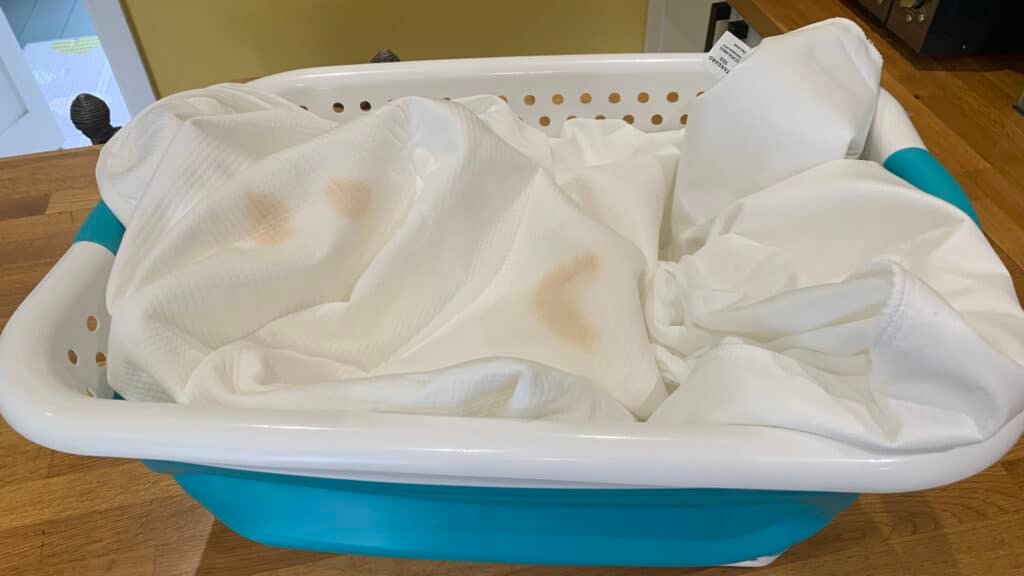
- Treat stains first (spot cleaning): Don’t skip this step, as full washing can set untreated stains. Mix 1 tablespoon of mild liquid detergent with 2 cups of lukewarm water (use cold water for protein-based stains like blood, urine, or sweat, as hot water sets these permanently). Dampen a clean white cloth with the solution, blot the stain gently – never rub, as rubbing tears foam fibers and spreads the stain. For tough stains, let the solution sit for 5 minutes before blotting, then rinse by dabbing with a cloth dampened with plain water. Blot dry with a clean towel to remove excess moisture.
- Hand wash the full topper (if care tag allows): Fill your bathtub with 2-3 inches of lukewarm water (no hotter than 86°F / 30°C, as hot water melts foam adhesives and breaks down foam cells) and add 1-2 tablespoons of detergent, stirring to mix. Gently submerge the topper, pressing down evenly to push soapy water through the foam pores. Avoid wringing, twisting, or lifting the topper by the corners, as this can tear the foam or deform its shape. Let it soak for 10-15 minutes maximum – longer soaking traps water deep in the foam, extending drying time and increasing mold risk. If your topper is extra thick (over 4 inches), flip it halfway through soaking to ensure even saturation.
- Rinse thoroughly: Drain the soapy water, then refill the tub with clean lukewarm water. Press the topper gently to push out soapy water, then drain and refill again. Repeat this process until the water runs completely clear when you press the topper – leftover soap leaves a stiff, crunchy feel and can cause odor over time. Use clean, dry towels to press down on the topper to remove as much excess water as possible, again avoiding wringing. For extra moisture removal, roll the topper in a large, dry towel and press gently.
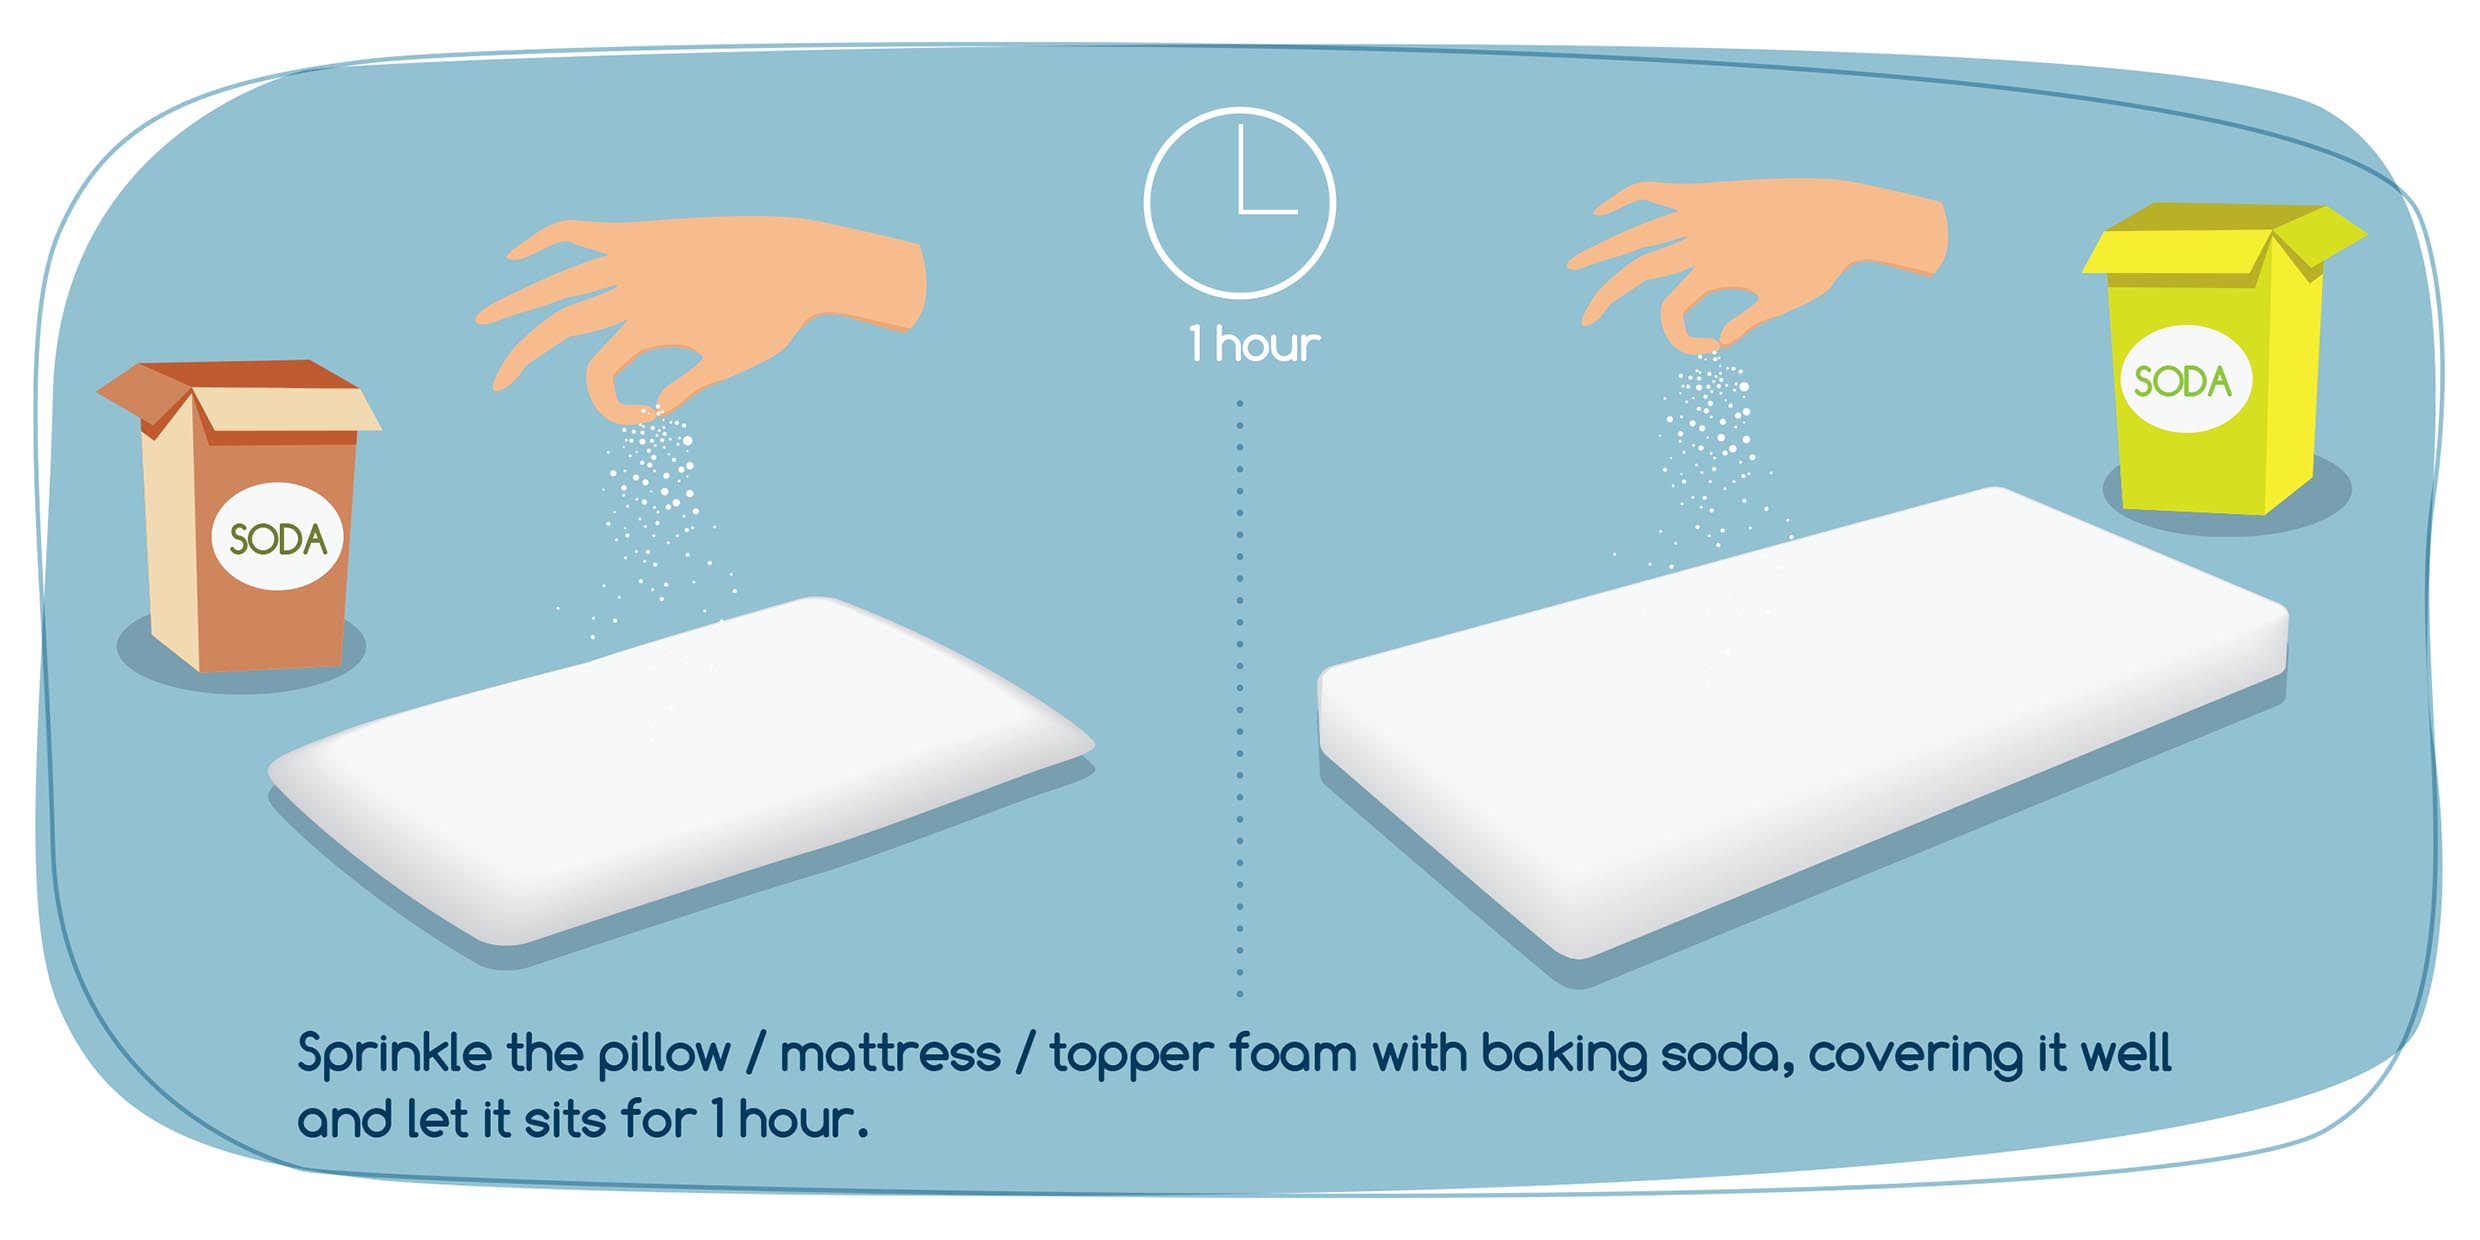
- Deodorize and prep for drying: Sprinkle a thin, even layer of baking soda over the entire surface of the topper, paying extra attention to any areas that had stains or strong odors. Let it sit for 1-2 hours (or overnight for tough smells) to absorb residual moisture and odors. Afterward, vacuum the baking soda off gently with the upholstery attachment. This step also helps lift any remaining soap residue.
- Dry completely: This is the most critical step to prevent mold and mildew. Lay the topper flat on a waterproof sheet or tarp in a well-ventilated area, away from direct sunlight, heaters, radiators, or heat vents (direct heat melts foam and causes it to crumble). Place fans on either side of the topper to increase airflow, and run a dehumidifier in the room to speed moisture evaporation. Flip the topper every 2-3 hours to ensure even drying. Drying time varies by thickness: 2-inch toppers take 24 hours on average, while 4-5 inch toppers can take 48-72 hours. Never put a foam topper in the dryer, even on low heat, and avoid laying it on a bed or carpet while it dries, as these surfaces trap moisture and slow drying. To test if it’s fully dry, press firmly on the thickest part of the topper – if you feel any cool dampness, it needs more time. Putting the topper back on the bed too early is a common mistake that leads to hidden mold growth that can cause respiratory issues.
 Gentle submersion without wringing prevents foam tearing and deformation
Source: thespruce
Gentle submersion without wringing prevents foam tearing and deformation
Source: thespruce
Cleaning Tips for Specific Foam Topper Types
Not all foam is created equal – these tailored tips ensure you don’t damage specialized topper materials.
Memory Foam Toppers
Memory foam is the most sensitive to water and heat, so stick to spot cleaning for minor stains whenever possible. If you need to do a full wash, use the gentlest method possible, avoid over-soaking, and extend drying time by 12-24 hours to ensure the dense foam is fully dry. Never use hot water, as it can warp the foam’s cell structure and reduce its contouring support.
Gel-Infused Foam Toppers
Gel-infused foam is designed to regulate temperature, so high heat is even more damaging here, as it can melt the gel beads embedded in the foam. Treat it exactly like memory foam for cleaning: spot clean when possible, use lukewarm water only for full washes, and keep it away from all heat sources during drying. Avoid harsh chemicals, as these can degrade the gel layer and reduce its cooling properties.
Shredded Foam and Hybrid Toppers
Shredded foam toppers almost always have a removable, machine-washable cover – in most cases, you only need to wash the cover, and air out the foam core by laying it flat in indirect sunlight for a few hours to freshen it. If the foam core itself gets stained, spot clean only, as full submersion can cause the shredded pieces to clump together and lose their loft. Hybrid toppers (foam plus fiber or latex layers) require extra care: check the care label for each layer, as latex and fiber components may have different washing rules than foam. For brand-specific hybrid toppers, refer to dormeo topper care guides for model-specific instructions.
 Different foam types require tailored cleaning approaches to avoid damage
Source: wikihow
Different foam types require tailored cleaning approaches to avoid damage
Source: wikihow
Common Mistakes That Ruin Foam Toppers
These errors are the top cause of premature topper damage, and they’re all easy to avoid:
- Using hot water or high heat: Water above 86°F (30°C) melts the adhesives that hold foam cells together, causing the topper to sag, crumble, or lose its shape over time. Dryers, heaters, and direct sunlight also melt foam and can even cause it to catch fire if left unattended.
- Rubbing or scrubbing stains: Foam is made of thousands of small, connected cells – aggressive rubbing tears these cells, leading to permanent lumps, thinning, and reduced support. Always blot stains gently.
- Over-soaking the foam: Foam is designed to be breathable, but when saturated with water for more than 15 minutes, it traps moisture deep in its core. This extends drying time exponentially and creates the perfect environment for mold and mildew, which can cause respiratory issues and ruin the topper’s smell permanently.
- Skipping the care tag: Manufacturer instructions are tailored to your specific topper’s foam composition and construction. Ignoring them can void your warranty and cause damage that generic cleaning guides can’t account for.
- Putting the topper back on the bed before it’s fully dry: Even if the surface feels dry, moisture can be trapped deep in the foam core. This leads to hidden mold growth, musty odors, and can even damage your mattress underneath from trapped moisture.
- Using harsh cleaning products: Bleach, ammonia, undiluted vinegar, oxygen bleach, and stain remover sprays can degrade foam, cause discoloration, and leave behind chemical residues that irritate skin and lungs. Stick to mild detergent and baking soda only.
In practice, I once rushed drying a 4-inch memory foam topper and put it back on my bed after 18 hours. Three days later, it had a faint musty smell that took two full rounds of baking soda and 72 hours of fan drying to eliminate – an avoidable hassle that could have been prevented with a simple moisture test.
 Aggressive rubbing of stains is a top cause of permanent foam damage
Source: thespruce
Aggressive rubbing of stains is a top cause of permanent foam damage
Source: thespruce
Maintenance Tips To Extend Your Topper’s Lifespan
Small, consistent habits mean you’ll only need to deep clean your topper once every 6-12 months, instead of every few months:
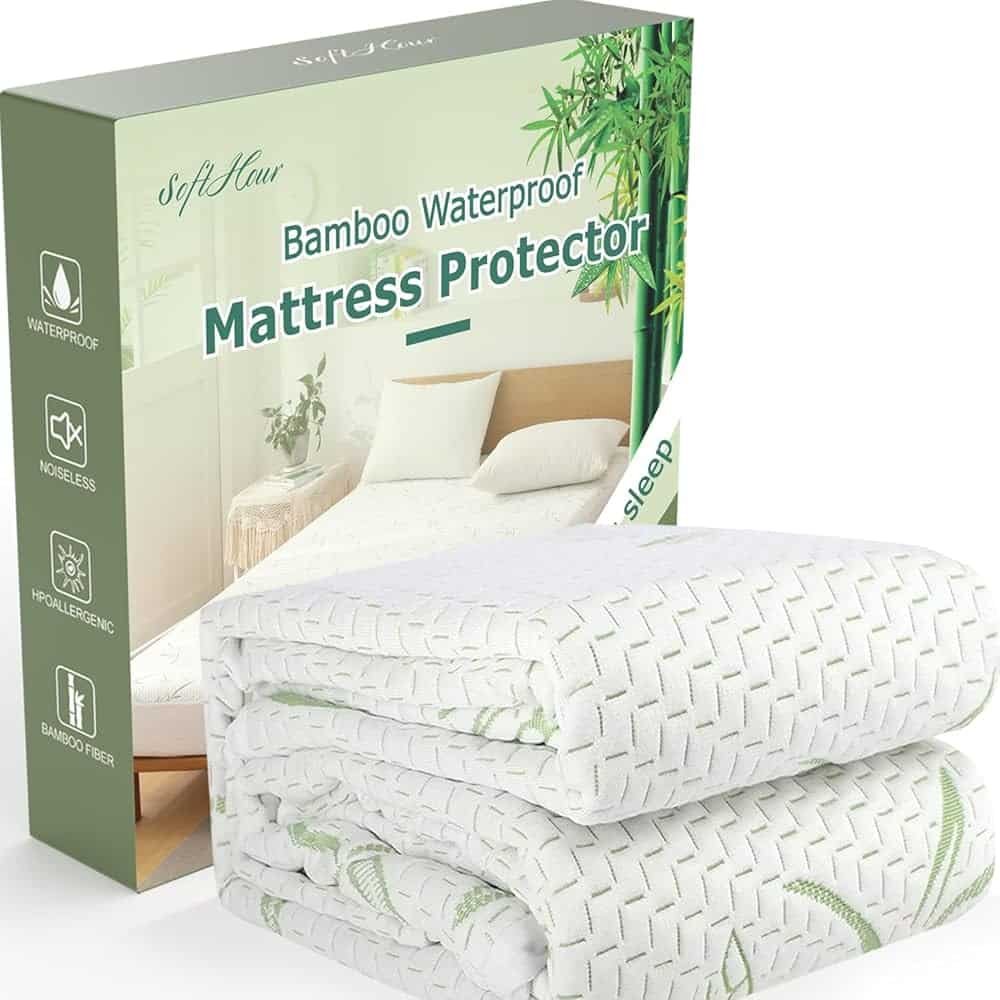
- Use a washable, fitted topper cover: This is the single most impactful maintenance step. A cover blocks spills, sweat, and dead skin from reaching the foam, so you only need to wash the cover monthly instead of deep cleaning the topper. Look for covers made of breathable cotton or bamboo to avoid trapping heat.
- Rotate your topper every 3 months: Just like a mattress, rotating the topper head-to-foot or flipping it prevents wear spots and sagging, which can trap dirt and moisture in one area.
- Air out your topper weekly: Once a week, strip the bed and let the topper breathe for 1-2 hours before remaking the bed. This lets trapped moisture and odors escape before they build up.
- Spot clean spills immediately: The longer a spill sits on foam, the deeper it seeps into the pores, making it harder to remove and more likely to cause staining. Keep a small bottle of diluted detergent and a clean cloth on hand for quick spot treatments.
- Vacuum the topper monthly: A quick pass with the upholstery attachment removes surface dust and allergens, reducing the need for frequent deep cleans.
If you’re unsure whether your topper is still salvageable, review signs your foam topper is beyond cleaning to avoid wasting time on a topper that’s past its prime.
 Regular rotation and airing out reduce the need for frequent deep cleaning
Source: co
Regular rotation and airing out reduce the need for frequent deep cleaning
Source: co
When To Skip Washing and Opt for Replacement
Sometimes cleaning isn’t worth the effort, and a replacement is the better choice. Replace your foam topper instead of washing it if:
- The foam has visible deep sagging, lumps, or crumbles when you press on it (this means the foam cells have broken down and can’t be restored)
- It has a persistent musty or moldy smell even after thorough cleaning and drying (mold roots grow deep in foam and can’t be fully removed)
- It’s over 5 years old (most foam toppers have a 3-5 year usable lifespan, and cleaning won’t extend that if the foam is already degraded)
- The care tag explicitly says “do not wash” and spot cleaning hasn’t resolved odors or stains
If you own a down or feather topper instead of foam, you’ll need very different cleaning steps – see our guide to restoring down and feather topper loft for safe care instructions.
Troubleshooting Post-Clean Issues
If you run into problems after cleaning your topper, these fixes work for most cases:
- Persistent musty smell: This means moisture is still trapped deep in the foam. Continue drying with fans and a dehumidifier for another 12-24 hours, then sprinkle baking soda over the entire surface and let it sit for 24 hours before vacuuming. If the smell remains after two rounds, the topper likely has mold growth deep in the core and needs to be replaced.
- Still damp after 48 hours: Move the topper to a room with lower humidity, add a second fan pointing directly at the thickest part of the topper, or run a dehumidifier in the room to pull moisture out of the air. Never use heaters or hair dryers, as high heat will damage the foam.
- Stains that won’t lift: Avoid harsh chemical stain removers, as these will degrade the foam. Instead, make a paste of baking soda and lukewarm water, apply it to the stain, let it sit for 30 minutes, then blot gently with a damp cloth and dry fully. If the stain remains after two treatments, it may be permanent, but the topper is still safe to use as long as there’s no odor or damage.
 Proper airflow is the most important factor in preventing mold growth during drying
Source: thespruce
Proper airflow is the most important factor in preventing mold growth during drying
Source: thespruce
Frequently Asked Questions
Can I machine wash a foam mattress topper?
Almost never. Machine agitation and spinning can tear foam, deform its shape, and break down foam cells over time. The only exception is if the care tag explicitly states the topper is machine-washable, and even then, use a gentle cycle with cold water, no spin, and air dry only. Never put a foam topper in the dryer, even on low heat.
How long does a foam topper take to dry?
Drying time depends on thickness, humidity, and airflow. 2-inch toppers take 24-30 hours on average in a room with fans and low humidity. 3-4 inch toppers take 36-48 hours, and 5+ inch toppers can take up to 72 hours. If you live in a humid climate, extend drying time by 12-24 hours and use a dehumidifier to speed the process. Never put the topper back on your bed until it is 100% dry to the touch, even in the thickest parts.
Can I use vinegar to clean my foam topper?
Undiluted vinegar can break down foam and leave a strong, lingering odor. If you want to use vinegar for deodorizing, mix 1 part white vinegar with 10 parts lukewarm water, dab it on the affected area, let sit for 5 minutes, then blot thoroughly with plain water and dry completely. Avoid using vinegar on memory foam or gel-infused foam, as the acidity can degrade the foam’s special properties.
How often should I deep clean my foam topper?
If you use a washable topper cover and spot clean spills immediately, deep clean your foam topper only once every 6-12 months. If you don’t use a cover, deep clean every 3-6 months, and vacuum the surface monthly to remove surface dust and allergens.
Can I use steam to clean my foam topper?
No. Steam forces hot moisture deep into the foam core, which is extremely difficult to dry fully and creates a high risk of mold and mildew growth. Stick to lukewarm water and gentle blotting for all cleaning.
What should I do if my topper smells after cleaning?
This almost always means residual moisture is trapped deep in the foam, or soap was not fully rinsed out. First, press firmly on the thickest part of the topper to check for dampness – if it feels cool or damp, continue drying with fans and a dehumidifier for another 12-24 hours. If it’s fully dry but still smells, sprinkle a thin layer of baking soda over the entire surface, let it sit for 24 hours, then vacuum off, and repeat if needed. For persistent odors, mix 1 part vinegar with 10 parts water, dab lightly on the affected area, rinse with a plain water cloth, and dry fully.
 Always check the care tag first for model-specific cleaning instructions
Source: realsimple
Always check the care tag first for model-specific cleaning instructions
Source: realsimple
Conclusion
Cleaning your foam mattress topper doesn’t have to be a risky, complicated process. By sticking to lukewarm water, mild detergent, gentle blotting, and patient drying, you can restore your topper’s freshness and extend its lifespan by years, all without damaging its delicate foam structure. The small effort of a deep clean every 6-12 months, paired with simple weekly maintenance like airing out and vacuuming, will keep your topper supportive, odor-free, and comfortable for years to come. If you’re looking for more small bedding and sleep habit changes to upgrade your rest, check out our guides to the healthiest ways to sleep with wet hair and how to wear your hair to sleep to avoid damage for low-effort tips that make a big difference in your sleep quality.

Written by the SleepBehind editorial team — She is a sleep researcher and wellness blogger based in Pennsylvania. Passionate about helping people optimize their sleep.