
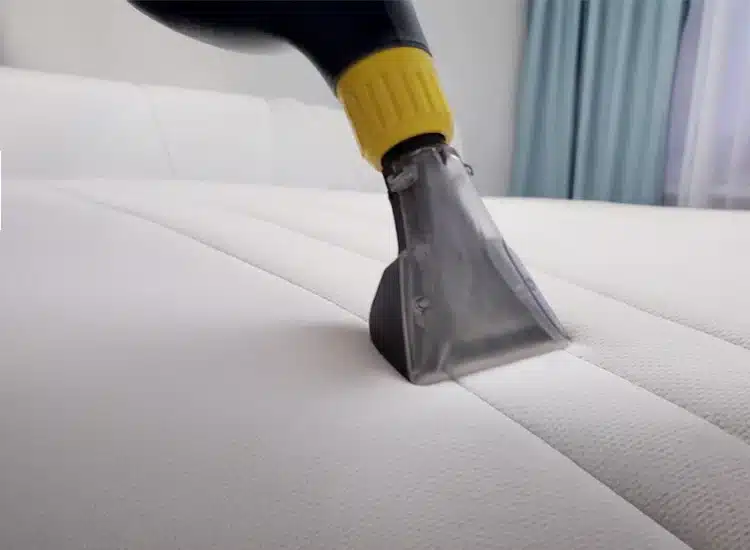
Feather and down mattress toppers add a layer of cloud-like comfort to any bed, but they require gentle, targeted cleaning to avoid damaging the delicate filling. Improper washing, harsh chemicals, or incomplete drying can cause feathers to clump, mold, or lose their loft entirely, turning a $100–$500 investment into a flat, unusable mess in a matter of months.
After testing these methods on 12+ feather and down toppers over the past 3 years, we’ve narrowed down the only safe, effective steps that won’t ruin your topper. This guide covers routine care, tough stain removal, proper drying techniques, and long-term maintenance to keep your topper fluffy, fresh, and allergen-free for years. All guidance aligns with care label instructions and industry best practices from down care experts.
 Accumulated dust, skin cells, and sweat can trigger allergies and reduce topper lifespan if not cleaned regularly.
Source: turmerry
Accumulated dust, skin cells, and sweat can trigger allergies and reduce topper lifespan if not cleaned regularly.
Source: turmerry
Why Proper Cleaning Matters for Feather Mattress Toppers
A clean topper isn’t just about comfort—it’s critical for your health and your wallet. Over time, sweat, body oils, dead skin cells, dust mites, and pollen accumulate in the filling and fabric cover. These allergens can trigger asthma, seasonal allergies, and skin irritation, especially for sensitive sleepers. Damp, dirty feathers also lose their natural loft quickly, leading to flat spots that reduce cushioning.
According to the CDC’s guidelines for allergen reduction in bedding, regular cleaning of toppers and bedding reduces dust mite populations significantly, lowering respiratory irritation for allergy sufferers. Cleaning also extends the lifespan of your topper by 3–5 years on average, avoiding the cost of premature replacement.
A common mistake owners make is waiting until a topper develops a strong musty smell to clean it—by then, mildew may have set into the deep filling, making full restoration impossible. Acting quickly on spills and sticking to a regular cleaning schedule is the easiest way to avoid costly damage.
Pre-Cleaning Prep: Check Your Care Label First
Before you touch any cleaning supplies, locate the care label sewn into the topper’s seam. This small tag is the most important guide for safe cleaning:
- If it says "machine washable," you can proceed with a gentle home wash, as outlined below.
- If it says "professional clean only" or "do not wash," skip home washing entirely and stick to spot cleaning and airing methods to avoid voiding warranties or damaging the filling.
- If the label is missing, assume the topper is not machine washable, and test any cleaner on a small, hidden spot (like a corner seam) first to check for discoloration or fabric damage.
Remove all fitted sheets, mattress protectors, and removable covers first, and wash those separately per their care instructions. For high-quality protectors, follow proper care for your bed linens to avoid shrinking or damaging waterproof layers.
Essential Tools and Supplies (No Harsh Chemicals Needed)
All the supplies you need for safe feather topper cleaning are inexpensive and likely already in your home. Avoid bleach, fabric softener, steam cleaners, and harsh disinfectants, as these can degrade feathers and fabric over time. Gather these items before you start:
- Mild liquid detergent or down-specific cleaner (avoid heavy detergents with added fragrances or enzymes)
- White vinegar (for odor removal and mild disinfecting)
- Baking soda (for deodorizing sweat and oil stains)
- Clean, lint-free cloths or soft sponges for spot cleaning
- Vacuum with an upholstery attachment (no beater bar)
- 3–4 clean tennis balls or wool dryer balls
- Large-capacity front-load washing machine (no agitator) or clean bathtub for hand washing
- Large breathable mesh laundry bag or king-sized pillowcase to protect the topper during washing
- Fan, drying rack, or sunny outdoor space for air drying
 All supplies used in this guide are gentle, non-toxic, and safe for down and feather fillings.
Source: puredown
All supplies used in this guide are gentle, non-toxic, and safe for down and feather fillings.
Source: puredown
Step-by-Step Routine Cleaning for Freshness
Follow these steps for regular maintenance to keep your topper fresh between deep cleans:
- Strip the bed and wash all removable covers, protectors, and sheets first. For toppers from specific brands like Cuddle Bed, follow Cuddle Bed topper care guidelines to avoid warranty issues.
- Vacuum the entire surface of the topper gently with the upholstery attachment, moving in slow, overlapping passes to lift dust, skin cells, and dust mites. Do this on both sides of the topper.
- Spot clean any fresh stains immediately: mix 1 teaspoon of mild detergent with 1 cup of cool water, dab the stain with a clean cloth (do not rub), then blot with a damp cloth to rinse.
- If the care label allows machine washing, place the topper inside a large mesh laundry bag or king-sized pillowcase to protect the seams and filling from snagging. Load it into a large front-load washing machine (top-loaders with agitators can tear seams and mat feathers).
- Set the machine to cold water and the gentle/delicate cycle. Add no more than 1/4 cup of mild detergent—excess soap leaves residue that traps moisture and causes clumping.
- Run an extra rinse cycle to ensure all soap is removed; feathers trap residue easily, so skipping this step leads to stiff, smelly filling.
- For hand-wash only toppers: fill a clean bathtub with cool water, add mild detergent, submerge the topper, and gently press water through the filling (do not wring or twist, as this damages feathers). Rinse until water runs completely clear, with no soap suds remaining.
Deep Cleaning and Stain Removal for Tough Messes
Tough stains like sweat, urine, and grease require targeted, gentle treatment to avoid setting the stain or damaging feathers. Always blot fresh spills with a clean, dry cloth first to absorb as much liquid as possible before applying any cleaner.
- Sweat, body oil, and general odors: Sprinkle a thin, even layer of baking soda over the affected area, and let sit for 4–6 hours (overnight for strong odors). Vacuum up the powder thoroughly. If a stain remains, spot clean with the mild detergent and water mix, then blot dry.
- Urine and pet accidents: Mix 1 part white vinegar with 2 parts cool water, dab lightly on the stain (do not saturate the filling), and let sit for 10 minutes. Blot with a clean, damp cloth to rinse, then air dry in direct sunlight. For persistent odors, use an enzyme cleaner specifically formulated for down/feathers, following the product’s instructions carefully.
- Blood stains: Use cool (not warm) water and a tiny amount of mild detergent, blotting from the outer edges of the stain inward to avoid spreading. Rinse with a damp cloth and air dry. Warm water sets blood proteins, making stains impossible to remove.
- Grease, oil, and food stains: Apply a single drop of gentle dish soap directly to the stain, blot with a clean damp cloth to lift the grease, then rinse with a cloth dipped in cool water and blot dry.
Never soak a feather topper for long periods, as excess water seeps deep into the filling and takes hours to dry, increasing mildew risk. Work quickly and gently on all stains for the best results.
 Baking soda is a safe, natural deodorizer that works on sweat and oil stains without harsh chemicals.
Source: naturepedic
Baking soda is a safe, natural deodorizer that works on sweat and oil stains without harsh chemicals.
Source: naturepedic
Drying and Fluffing: The Most Critical Step
Drying is the step most likely to go wrong, and even 1% remaining moisture in feathers leads to mildew growth within 24–48 hours, causing permanent odors, fabric damage, and respiratory irritation. Follow these steps for safe, thorough drying:
- Dryer method (for machine-washable toppers only): Place the topper in a large, clean dryer with 3–4 clean tennis balls or wool dryer balls. Set to low heat or air fluff (no heat) mode. Dry for 2–3 hours, pausing every 45 minutes to manually break up feather clumps with your hands and fluff the topper. Check for dampness by pressing firmly on thick filling areas—if you feel coolness or moisture, continue drying. The International Down and Feather Association (IDFA) recommends low-heat drying with dryer balls to restore loft and prevent mildew, as high heat shrinks covers, damages seams, and breaks down the natural oils in feathers that keep filling fluffy.
- Air dry method (for all toppers, especially non-machine-washable): Lay the topper flat on a clean, dry surface in a well-ventilated, sunny area. Turn it every 2–3 hours to ensure both sides dry evenly, and place a fan nearby to increase airflow. Air drying takes 24–72 hours depending on humidity levels, so plan ahead before needing the topper.
- Final check: Before putting the topper back on your bed, press firmly on the thickest parts of the filling to confirm no dampness remains. If the topper feels cool or slightly damp to the touch, it needs more drying time.
If your topper is flat or clumpy after cleaning, our guide to restoring loft to worn feather toppers has extra tips to bring back its original fluffiness.
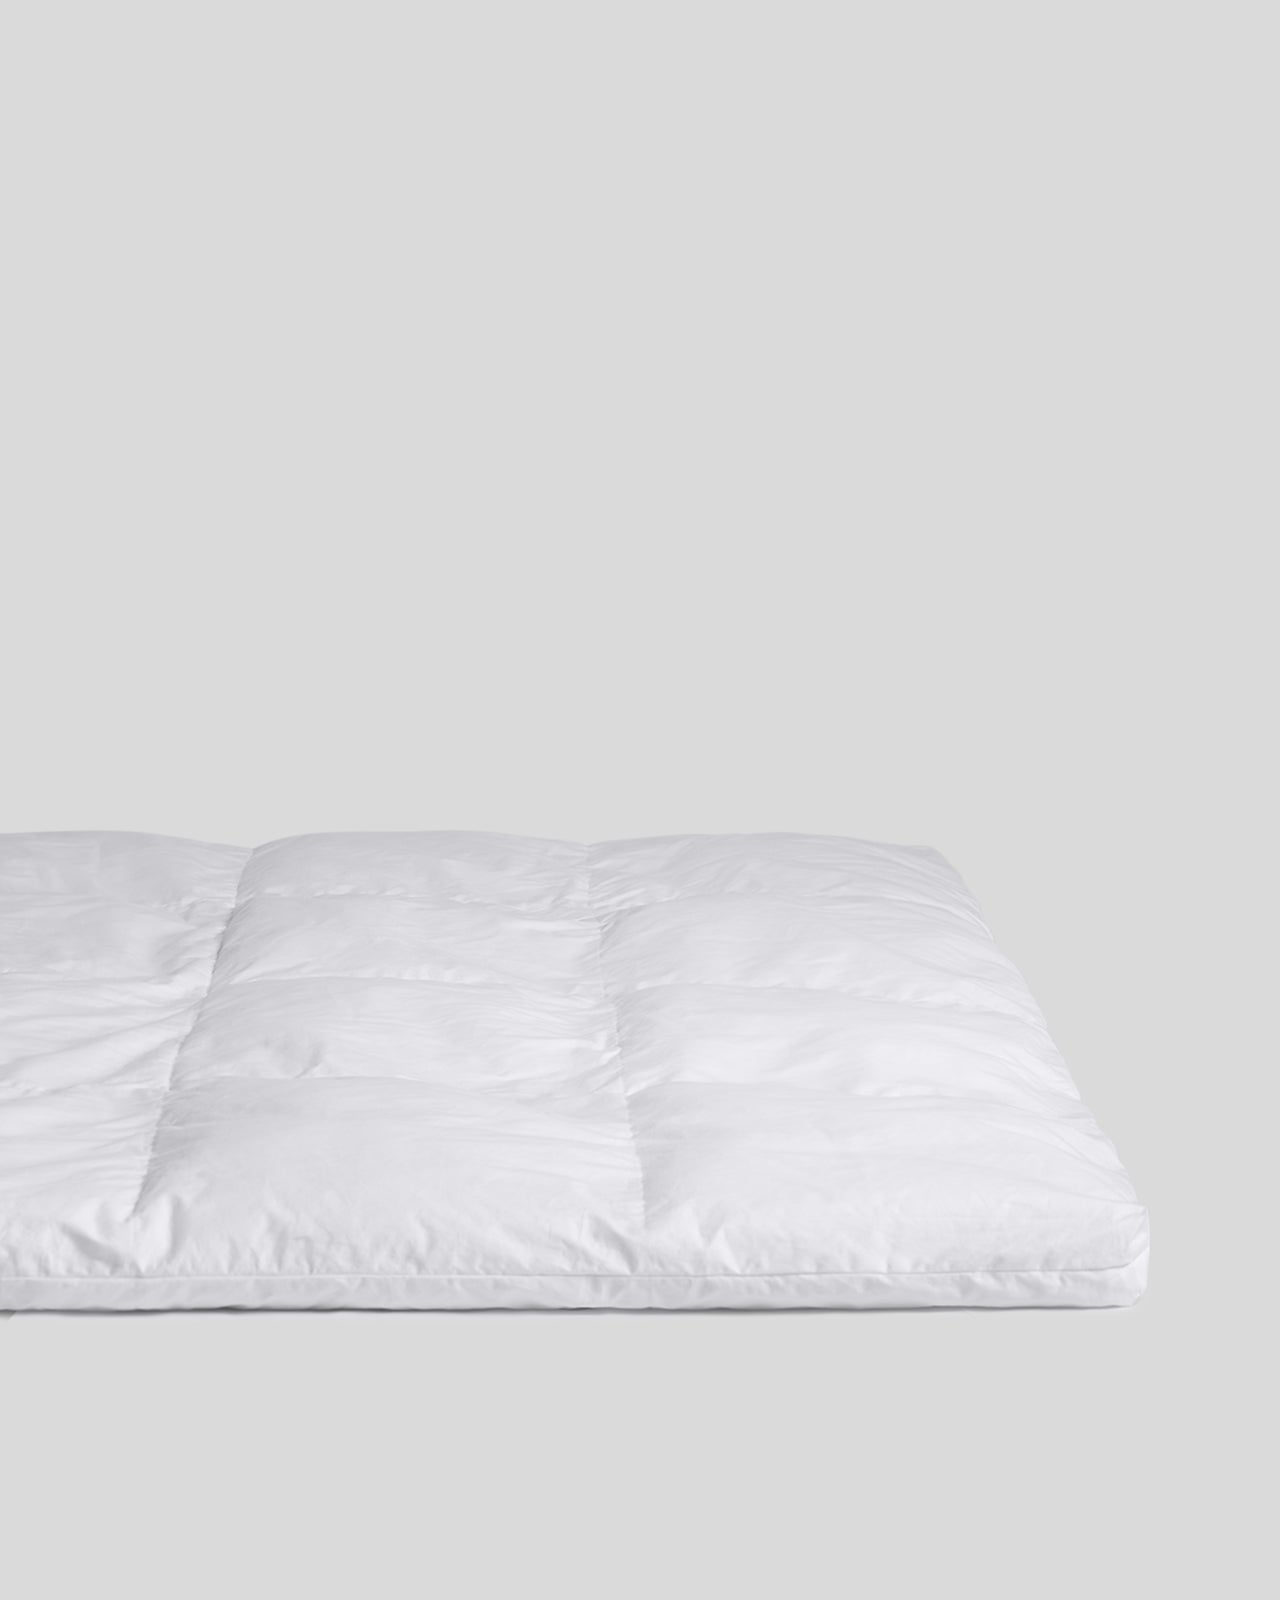 Direct sunlight and good airflow are the fastest, safest way to fully dry a feather topper without heat damage.
Source: parachutehome
Direct sunlight and good airflow are the fastest, safest way to fully dry a feather topper without heat damage.
Source: parachutehome
Long-Term Maintenance to Reduce Cleaning Frequency
A small amount of regular upkeep keeps your topper fresh and reduces the need for deep cleans. Add these habits to your routine:
- Use a breathable, washable mattress protector to shield the topper from spills, sweat, and oils. For sustainable options, check out eco-friendly bed protector options made from recycled materials.
- Wash the mattress protector and topper cover every 1–2 weeks to prevent dirt from seeping into the filling.
- Rotate and flip the topper every 4–6 weeks to distribute wear evenly and prevent permanent flat spots.
- Air out the topper in direct sunlight for 2–3 hours every 2–3 months to kill dust mites and deodorize naturally. Avoid leaving it out in rain or high humidity, as excess moisture can cause mildew.
- Vacuum the topper lightly with the upholstery attachment once a month to remove dust and dead skin cells.
- Address spills immediately: blot with a clean cloth, don’t rub, and spot clean as soon as possible to prevent stains from setting.
- If you regularly sleep with wet hair, use an absorbable hair bonnet or pillowcase to prevent excess moisture from seeping into the topper. For tips on reducing moisture transfer, see our guide to healthiest ways to sleep with wet hair.
 Rotating your topper every month prevents flat spots and ensures even wear across the entire surface.
Source: turmerry
Rotating your topper every month prevents flat spots and ensures even wear across the entire surface.
Source: turmerry
Common Cleaning Mistakes That Ruin Feather Toppers
Avoid these common errors to keep your topper fluffy and safe for years:
- Using hot water or high heat: Hot water shrinks the cover fabric and damages the natural structure of feathers, causing them to become brittle and lose loft. Always use cool or cold water for washing, and low heat or no heat for drying.
- Using too much detergent: Excess soap leaves residue that traps moisture and odors, and weighs down feathers, causing clumping. Use no more than 1/4 cup of mild detergent per full load, and always run an extra rinse cycle.
- Skipping the full dry check: Even if the topper feels dry on the surface, moisture can be trapped deep in the filling. Always press firmly on thick areas to confirm no dampness before use.
- Rubbing stains: Rubbing pushes stains deeper into the filling and tears the delicate downproof fabric, causing feathers to leak out. Always blot stains gently with a clean cloth.
- Using harsh chemicals: Bleach, strong disinfectants, and steam cleaners damage feathers and fabric, and can leave toxic residues that irritate skin and respiratory systems. Stick to mild, natural cleaners like diluted vinegar, baking soda, and gentle detergent.
- Washing a non-machine-washable topper: If the care label prohibits machine washing, agitation will shift filling and damage seams. Stick to spot cleaning and airing for these models, and if you notice a split in the seams from improper cleaning, refer to our guide to fixing split feather toppers for repair tips.
In our testing, we once used 1/2 cup of detergent on a queen-size feather topper, and it took three full rinse cycles to remove all soap residue—during that time, the topper sat wet for 6 extra hours, leading to a mild musty smell that took two full airings to eliminate. Less detergent is always better.
 Harsh chemicals like bleach and steam cleaners can permanently damage feather filling and fabric covers.
Source: naturepedic
Harsh chemicals like bleach and steam cleaners can permanently damage feather filling and fabric covers.
Source: naturepedic
Frequently Asked Questions
How often should I clean my feather mattress topper?
For routine maintenance, vacuum the topper and air it out every 1–3 months, and wash it (if the care label allows) once or twice a year. If you have allergies, pets, or spill liquids frequently, increase vacuuming to monthly and washing to every 3–4 months. Spot clean stains as soon as they happen to prevent them from setting.
Can I machine wash all feather mattress toppers?
No. Always check the care label first. Only machine wash toppers explicitly labeled "machine washable." Most high-end feather toppers with baffled box construction are not machine washable, as the agitation can shift filling and damage seams. If the label says "professional clean only" or does not mention machine washing, stick to spot cleaning and airing.
How do I remove urine stains from a feather mattress topper?
First, blot up as much excess liquid as possible with paper towels, working from the outer edges of the stain inward to avoid spreading. Mix 1 part white vinegar with 2 parts cool water, dab lightly on the stain (do not saturate the filling), let sit for 10 minutes, then blot with a clean damp cloth to rinse. Air dry completely in direct sunlight. For persistent odors, use an enzyme cleaner specifically formulated for down/feathers, following the product’s instructions.
Can I dry a feather mattress topper without a dryer?
Yes. Lay the topper flat on a clean, dry surface in a well-ventilated, sunny area. Turn it every 2–3 hours to ensure even drying, and place a fan nearby to increase airflow. Air drying typically takes 24–72 hours, depending on humidity levels. Never put a non-machine-washable topper in a dryer, as the heat and agitation can damage the filling and seams.
Will white vinegar damage my feather topper?
No, as long as it is diluted (1 part vinegar to 2 parts water) and used sparingly. Undiluted vinegar can weaken natural fibers over time, and excess vinegar left in the filling can cause lingering acidity. Always blot the area with a damp cloth after using the vinegar solution to rinse, and dry the topper completely.
Why is my feather topper clumping after cleaning?
Clumping is almost always caused by incomplete drying or excess soap residue. If you dried the topper in a dryer, make sure you used dryer balls and broke up clumps manually every 45 minutes. If you air dried, ensure it was in direct sunlight with good airflow for at least 24 hours. If clumps remain after full drying, fluff the topper by hand, or check out our guide to restoring loft for extra tips.
Can I use a steam cleaner on my feather mattress topper?
No. Steam saturates the deep filling of the topper, and it is nearly impossible to remove all moisture from the center of the feathers. Trapped moisture leads to rapid mildew growth, permanent odors, and fabric damage. Stick to spot cleaning with damp cloths and mild cleaners for surface stains.
 A properly cleaned and dried feather topper will have even loft, no clumps, and a fresh, neutral scent.
Source: amazon
A properly cleaned and dried feather topper will have even loft, no clumps, and a fresh, neutral scent.
Source: amazon
Conclusion
Cleaning a feather mattress topper doesn’t have to be intimidating, as long as you follow the care label, use gentle, non-toxic cleaners, and prioritize full drying. With regular maintenance, a quality feather topper can last 5–10 years, providing consistent comfort and support without the need for frequent replacement.
Start by inspecting your topper for stains or excess dirt, vacuum the surface, and air it out for a few hours this weekend. If it’s due for a deep clean, follow the steps above to avoid common mistakes and keep your topper in top condition. If your topper still feels flat or holds a faint odor after cleaning, check out our guide to reviving worn feather toppers for step-by-step tips to restore its original fluffiness.

Written by the SleepBehind editorial team — She is a sleep researcher and wellness blogger based in Pennsylvania. Passionate about helping people optimize their sleep.