Sew a fitted, durable mattress cover with simple tools and clear step-by-step instructions.
I’ve sewn many mattress covers for myself and clients, so I know what works. This guide shows exactly how to sew a mattress cover from measuring to finishing. Read on to learn practical tips, common mistakes, and clear steps that make the project easy and successful.

Materials and tools you’ll need
Before you start learning how to sew a mattress cover, gather the right supplies. Good tools speed the work and improve the final fit. I always check fabric stretch and thread strength before I cut.
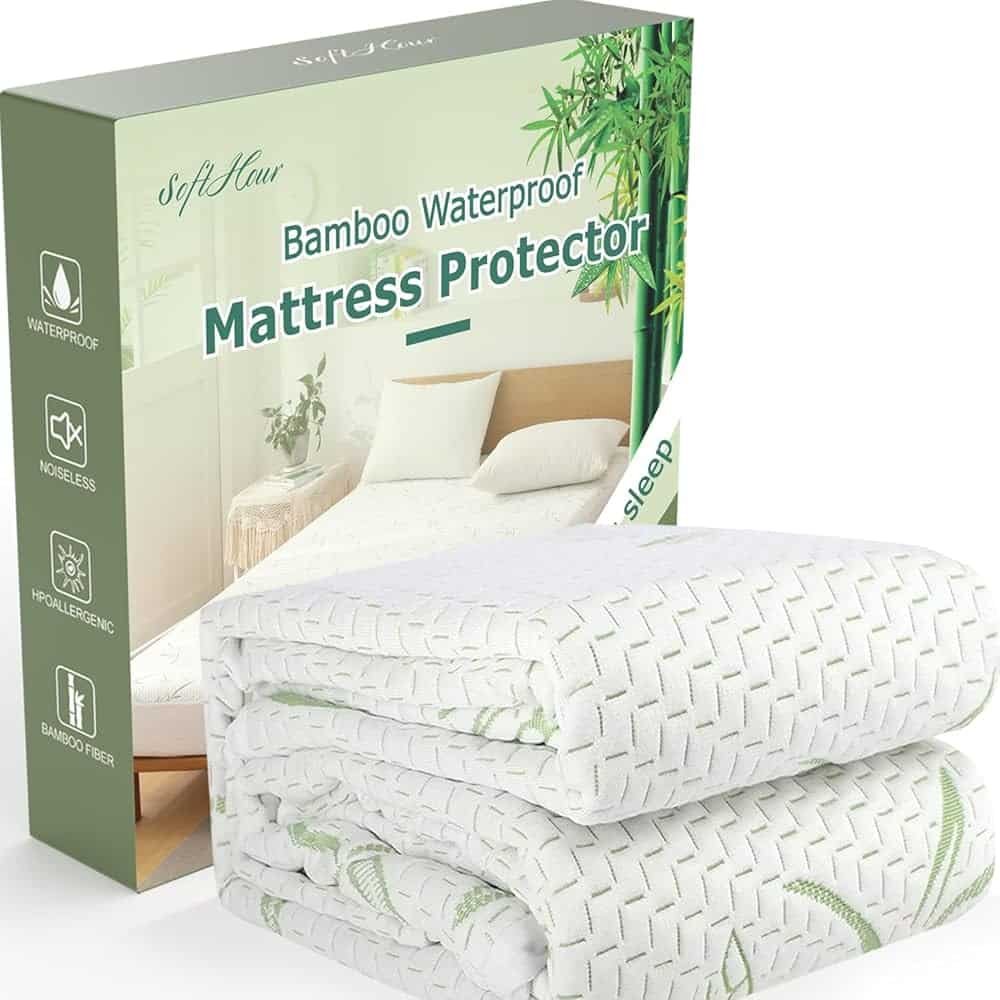
- Durable fabric that matches purpose, such as cotton, canvas, or waterproof knit.
- Foam-safe or waterproof liner if you want protection.
- Universal sewing machine needles and a heavy-duty needle for thick fabrics.
- Polyester thread for strength.
- Measuring tape and a marker that won’t show up on fabric.
- Scissors and fabric shears.
- Pins, clips, or fabric weights.
- Zipper (inset or separating) or elastic for a fitted cover.
- Seam ripper, iron, and cutting mat if you use a rotary cutter.
How to measure your mattress
Accurate measuring is the core of how to sew a mattress cover that fits well. Take three key measurements and write them down. I always measure twice for peace of mind.
- Measure the length of the mattress from head to foot.
- Measure the width from edge to edge.
- Measure the thickness or depth of the mattress at the tallest point.
Add seam allowances and any extra for tucking or piping. For a fitted look, add 1 inch to length and width, and 1 inch to depth for seams. If you plan a loose, zippered cover, add 2 inches instead.

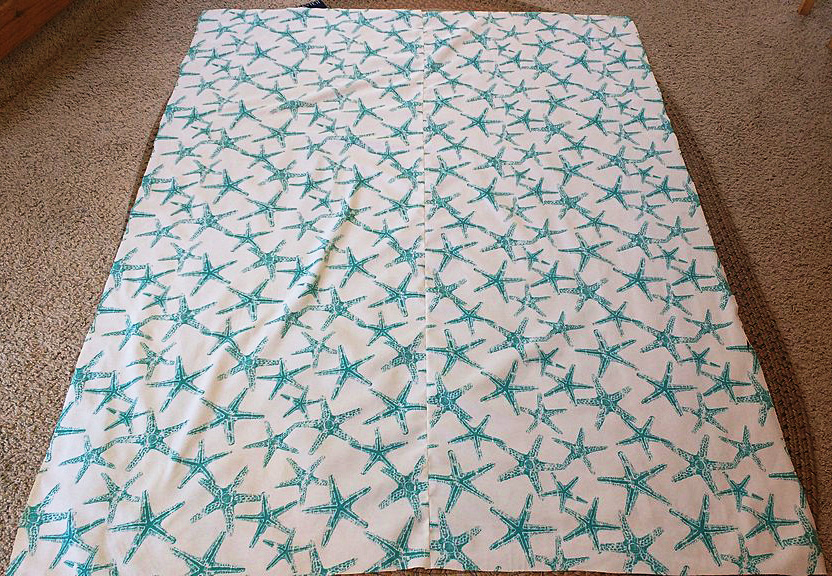
Cutting fabric and planning panels
Planning panels makes sewing a mattress cover easier. Most covers use a top panel, bottom panel, and side panels or a deep box-style pattern. I sketch a simple pattern before I cut.
- Top panel: length by width plus seam allowance.
- Side panels: cut as one long strip that equals mattress perimeter plus seam allowances. Height equals mattress depth plus seam allowances and hem.
- Bottom panel: same as top or add extra for access if you include a zipper.
Lay fabric flat. Align nap or pattern direction so the cover looks consistent. Cut slowly and keep pieces labeled.
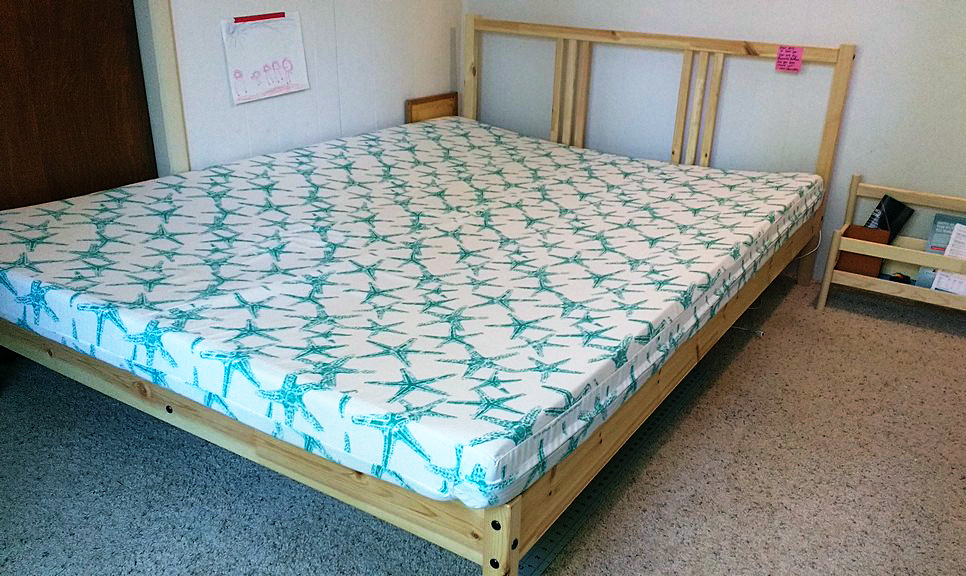
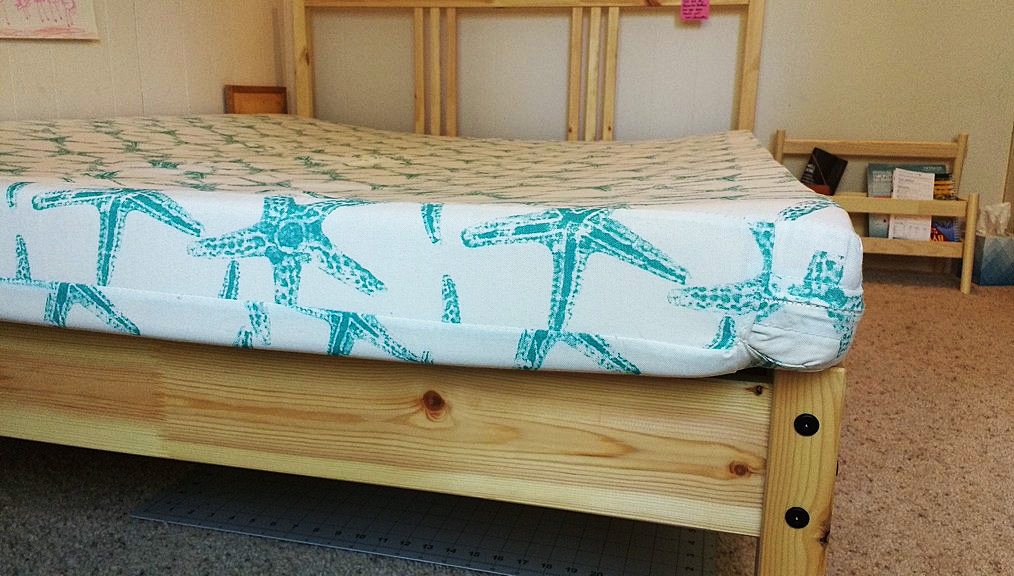
Step-by-step: how to sew a mattress cover (fitted box style)
Follow these steps to sew a mattress cover with a box-style side. This method creates a snug, reliable cover that looks tidy.
-
Prepare edges
Finish raw edges with a zigzag stitch or serger. This helps prevent fraying and makes the cover last longer. -
Sew side strip into a loop
With right sides together, sew the short ends of the long side panel strip. Press seam open. This becomes the box wall. -
Attach the top panel
Pin the top panel to one edge of the side loop with right sides together. Match seams and pin every 3–4 inches. Sew with a 1/2-inch seam allowance. -
Attach the bottom panel
Pin the bottom panel to the remaining edge of the side loop. Sew the same seam allowance and trim corners if needed for cleaner corners. -
Create corner boxes (optional for deeper fit)
If you want a neat boxed corner, pinch each corner so side seam and end seam line up. Measure down from corner the mattress depth plus seam allowance and sew across. Trim excess. -
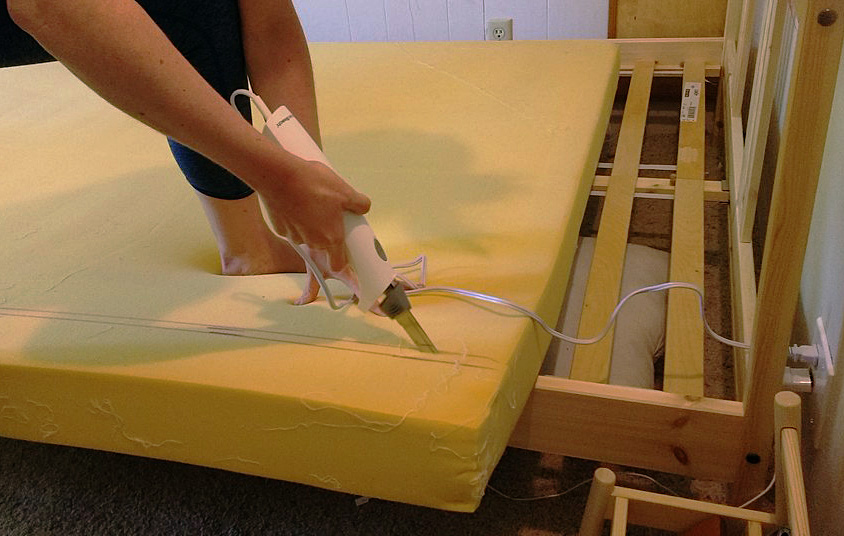
Add elastic for fitted corners (optional)
For a fitted mattress cover, sew a 1–2 inch wide elastic into each corner hem or along the entire bottom edge. Stretch slightly as you sew for snugness. -
Insert zipper or leave open for slipcover
If you plan a removable cover, insert a zipper into one side panel or one end seam. Use a separating zipper for easy removal. -
Finish seams and press
Reinforce high-stress points with backstitching. Press seams flat for a professional look. -
Test fit
Put the cover on the mattress. Note any tight spots and adjust seam allowance if needed. -
Final trim and topstitch
Topstitch around edges for stability and to keep seams flat.
Following these steps is one of the best ways to learn how to sew a mattress cover that stays put and looks neat.

Adding a zipper or removable closure
A removable cover makes washing simple. Here are ways to add a zipper when you sew a mattress cover.
- Plan zipper placement early and add seam allowance where the zipper will sit.
- Use a separating zipper for full removal or an inset zipper for partial access.
- Use a zipper foot and pin the zipper with the right sides together. Sew slowly to keep teeth aligned.
- If the mattress is deep, consider two zippers or a longer zipper to ease installation.
I’ve found that adding a strip of fabric behind the zipper creates a cleaner finish and prevents skin from catching on teeth.
Waterproof and allergen-proof options
If you want protection from spills or allergens, choose the right materials and methods. Waterproofing changes how you sew, but it’s very doable.
- Use a waterproof laminate fabric or a breathable polyurethane membrane for protection.
- Place the waterproof layer as the bottom panel or as an inner liner so it faces the mattress.
- Sew slowly and use a Teflon or walking foot to avoid sticking.
- For allergen proofing, use tightly woven fabrics or certified mattress encasement materials and ensure full zipper closure.
My tip: test a scrap of waterproof fabric with your machine to pick the right needle and stitch length before cutting the real panels.

Tips, troubleshooting, and maintenance
Simple fixes save time and extend the life of your cover. These are lessons I learned the hard way.
- Avoid puckering by using clips instead of pins on thick fabrics.
- If seams pull, use a stronger thread and shorten stitch length slightly.
- For tight corners, trim seam allowances and press outward to reduce bulk.
- Wash according to fabric directions and use a gentle cycle for covers with waterproof liners.
- Repair small tears immediately with a patch or by restitching to prevent worse damage.
When you know how to sew a mattress cover well, small problems become easy to fix.
Frequently Asked Questions of how to sew a mattress cover
What fabric is best when learning how to sew a mattress cover?
A medium-weight cotton or canvas is best for beginners because it’s stable and easy to sew. Avoid slippery fabrics until you have more experience.
How do I measure if my mattress has a pillow top when learning how to sew a mattress cover?
Measure from top to bottom at the tallest point, including the pillow top. Add extra depth allowance for a comfortable fit.
Can I make a waterproof mattress cover at home?
Yes. Use a waterproof laminate or add a separate waterproof liner inside the cover. Sew slowly and use the right needle to avoid puckering.
How long does it take to sew a mattress cover?
A basic fitted mattress cover can take 2–4 hours for beginners, including measuring and cutting. More complex designs or waterproof layers add time.
Should I use elastic or a zipper to finish a sewn mattress cover?
Use elastic for a snug fitted cover and a zipper for full removal and easy washing. Your choice depends on how you prefer to remove and care for the cover.
How do I prevent corners from getting bulky when I sew a mattress cover?
Trim seam allowance and press corners flat. Use boxed corners technique and avoid too many layers in the same spot.
Conclusion
You can confidently tackle how to sew a mattress cover by planning measurements, choosing the right fabric, and following a clear step-by-step build. Start simple with a fitted box style, and add zippers or waterproof liners as you gain skill. Try the project, learn from small mistakes, and enjoy a custom, durable cover that fits your needs. If you found this helpful, try one cover this weekend, share your result, or leave a comment with questions.

Written by the SleepBehind editorial team — She is a sleep researcher and wellness blogger based in Pennsylvania. Passionate about helping people optimize their sleep.