Tumble dry low or air-dry flat; avoid heat to protect the waterproof layer.
I’ve cared for dozens of mattress protectors over the years and I know the frustrations of a damp or ruined waterproof barrier. This guide explains exactly how to dry waterproof mattress protector safely and effectively. I’ll share clear steps, machines and air methods, common mistakes, and real tips from my own experience so you can keep your protector clean, dry, and long-lasting.
Why proper drying matters
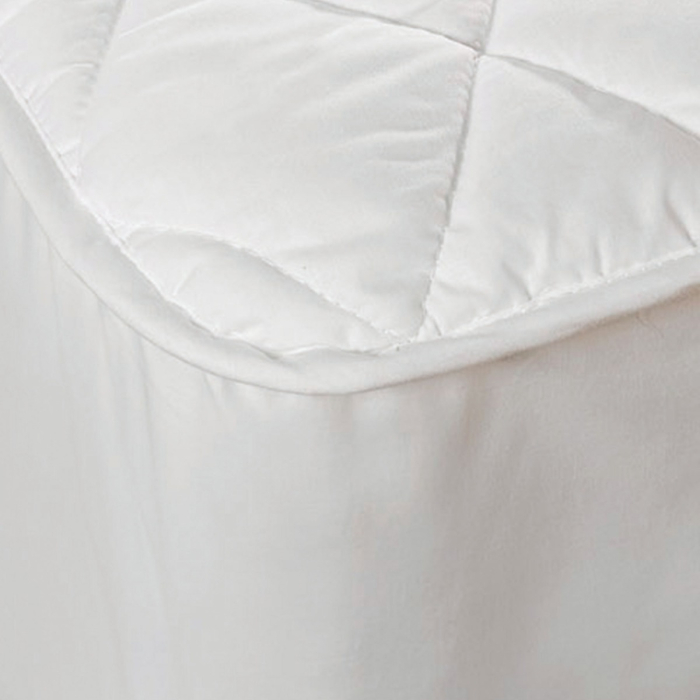
A waterproof mattress protector has a thin barrier that blocks liquids. High heat, harsh chemicals, or rough handling can crack that barrier. That leads to leaks and a shorter product life. Learning how to dry waterproof mattress protector helps keep the barrier intact and your mattress safe.

Check labels and prep before drying
Always start by reading the care label. Labels tell you if the protector has a PU, TPU, or vinyl backing. Each backing reacts differently to heat. Remove bedding and shake out crumbs first. Treat stains before drying so you don’t set them in.
Machine drying: best practices
Most protectors tolerate tumble drying on low. Use these steps:
- Wash with mild detergent on a gentle cycle.
- Set dryer to low heat or air tumble.
- Add dryer balls or clean tennis balls to help fluff fabric.
- Remove promptly when mostly dry and air-dry the rest.
I once used medium heat and the waterproof layer got stiff and cracked. Low heat or air tumble prevents that. If the care label forbids tumble drying, skip the dryer entirely.

Air drying: safest option
Air drying is gentle and reliable. Follow this method:
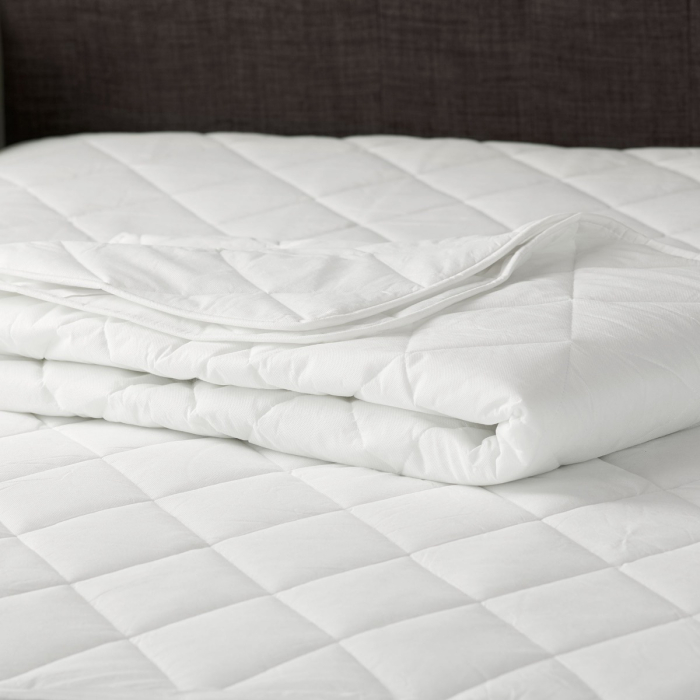
- Lay flat on a clean surface or drying rack to keep shape.
- Hang over a line or shower rod by the edges to avoid stretching.
- Flip or reposition every hour until fully dry.
- Dry in shade for outdoor lines to avoid sun damage.
Air drying keeps the backing flexible. I prefer air drying for thin TPU protectors. It takes longer but reduces risk.

Spot drying and quick fixes
For small wet spots or fast fixes:
- Blot with a clean towel to remove moisture.
- Use a hair dryer on low heat held 12 inches away.
- Use a fan to speed drying without heat.
For stubborn dampness, press a dry towel onto the area and leave a weight on top for 30–60 minutes. These tricks help when you need quick results without a full dry cycle.

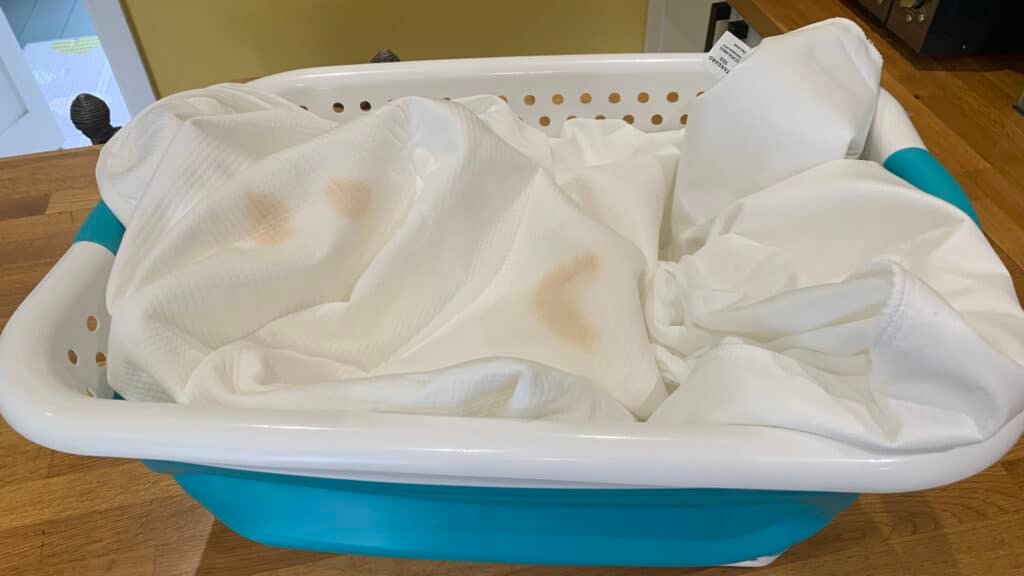
Dealing with odors and stains after drying
If you smell mildew or find stains after drying:
- Rewash with a gentle enzyme cleaner or baking soda added to the wash.
- Air-dry in fresh air to remove lingering smells.
- For oil stains, pretreat with a small amount of dish soap then wash.
Avoid bleach and fabric softener. They can damage the waterproof layer and reduce effectiveness. I learned this the hard way when a softener left my protector less breathable.

Common mistakes to avoid
Avoid these errors:
- Using high heat. It can melt or crack the barrier.
- Ironing the protector. Heat ruins the backing.
- Folding damp items into storage. This breeds mildew.
- Using bleach or heavy detergents. They break down waterproof membranes.
A small care mistake can cut the protector’s life short. Treat it like delicate outerwear.

Extending the life of your protector
Simple habits help:
- Wash only when necessary. Spot clean to reduce cycles.
- Use a gentle detergent and cold or warm water.
- Air dry when you can.
- Store flat or loosely folded when fully dry.
I usually wash protectors every 2–3 months. More often for kids or pets. Fewer washes mean the backing stays flexible longer.
How to dry waterproof mattress protector by material type
Different backings need different care:
- PU or TPU backing: Low heat or air dry. No bleach.
- Vinyl backing: Line dry or low tumble. Avoid prolonged heat.
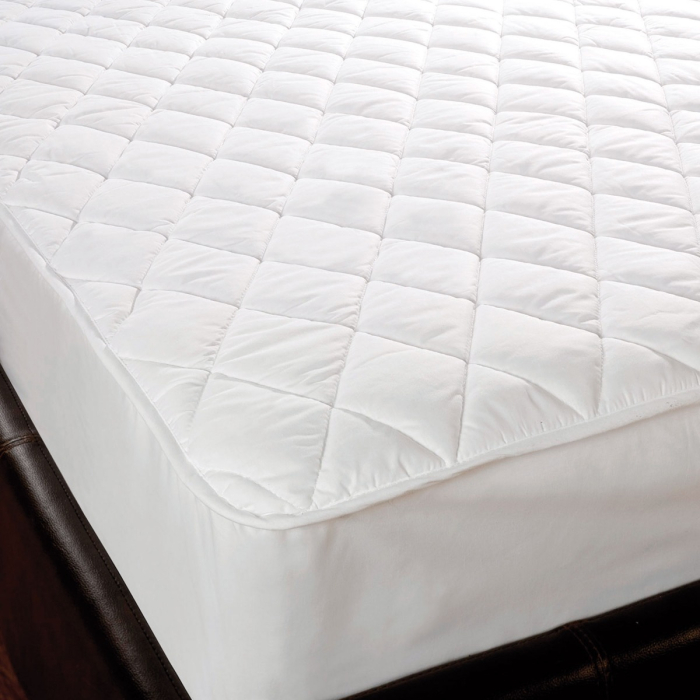
- Quilted fabric tops: Can handle low dryer heat if label allows.
Knowing the material helps you choose the best drying method. When in doubt, air dry.
Troubleshooting: wrinkles, stiffness, and partial drying
If the protector feels stiff after drying, try this:
- Re-wash on gentle cycle with no heat.
- Air dry flat to restore flexibility.
- Avoid wringing or stretching when wet.
For partial drying in thick protectors, finish with a low dryer setting for 10–15 minutes then air-dry the rest. Small steps prevent damage.
Frequently Asked Questions of how to dry waterproof mattress protector
Can I tumble dry a waterproof mattress protector?
Most can be tumble dried on low heat or air tumble, but always check the care label first. If the label forbids drying, air dry instead.
Will high heat ruin my waterproof protector?
Yes. High heat can melt or crack backing layers and ruin waterproofing in minutes.
How long does it take to air dry a mattress protector?
Air drying usually takes several hours to a full day depending on thickness and humidity. Thinner protectors dry faster.
Can I use fabric softener when washing and drying?
No. Fabric softener can coat the waterproof layer and reduce its effectiveness.
What do I do if the protector smells after drying?
Rewash with baking soda or an enzyme cleaner and air-dry in fresh air. Avoid storing until the smell is gone.
Is it safe to iron a waterproof mattress protector?
No. Ironing applies direct heat and can melt or warp the waterproof layer.
Conclusion
Drying your protector the right way keeps it waterproof and lasting longer. Check labels, use low heat or air dry, and avoid harsh chemicals and high temperatures. Small habits like spot-cleaning and air drying can save money and effort over time. Try the methods here and see what works best for your protector. If you found this helpful, leave a comment, share your drying tips, or subscribe for more practical care guides on bedding and home goods.
Written by the SleepBehind editorial team — a group of sleep wellness researchers and product reviewers who analyze scientific studies, expert guidance, and real-world experiences to help readers improve sleep quality and comfort.