Make a durable, waterproof mattress protector at home with simple sewing or no‑sew steps.
I’ve guided dozens of DIYers and sewn many protectors myself. This guide on how to make a mattress protector walks you through choices, tools, clear steps, and real tips I learned the hard way. You will learn how to pick the best fabric, cut to fit any mattress depth, sew or assemble a no‑sew version, and care for your finished protector so it lasts. Read on to build a custom protector that feels good, blocks spills, and saves money.
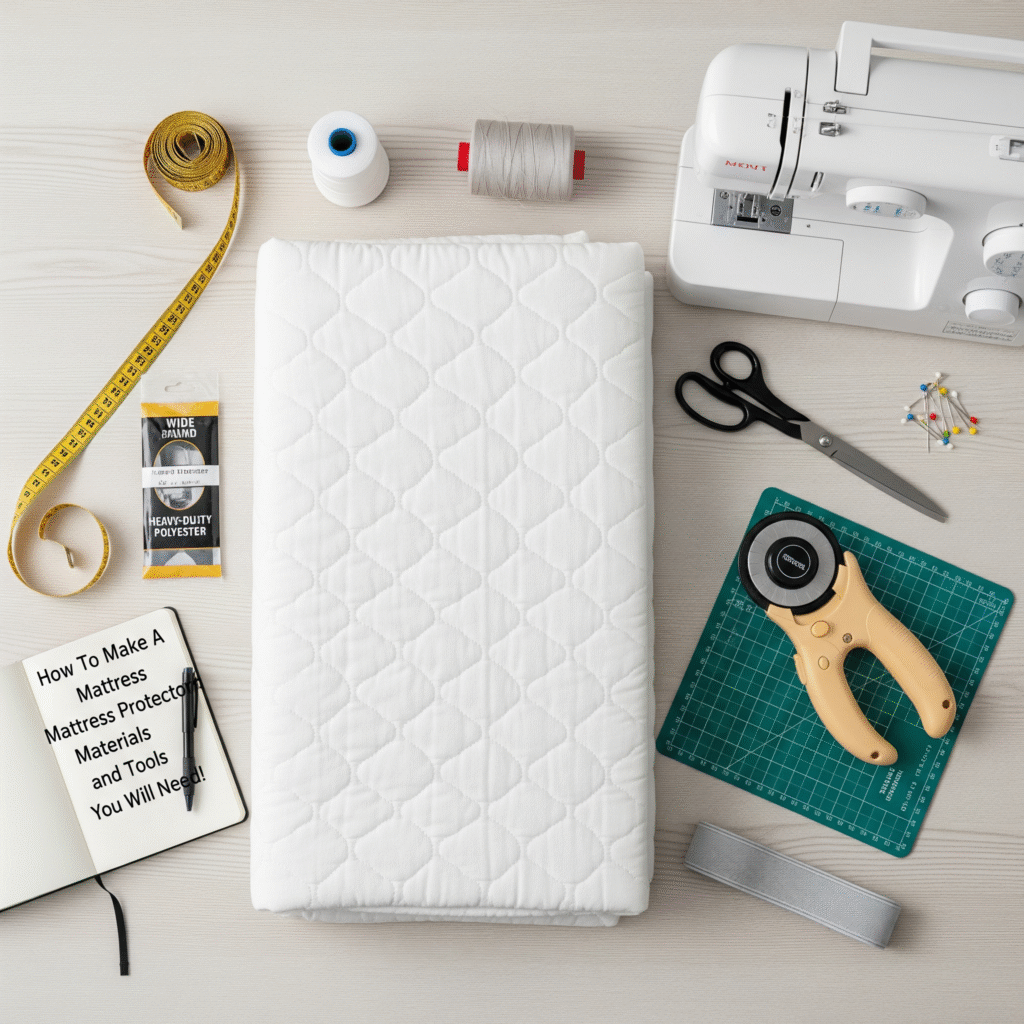
Materials and Tools You’ll Need
To make a mattress protector you will need a short list of items. Pick quality parts to get a long‑lasting result.
- Fabric options
- Waterproof layer: PUL, TPU, or thin vinyl for full waterproofing
- Top layer: cotton, terry cloth, or jersey for comfort
- Tools
- Sewing machine with a walking foot or stretch needle
- Sharp fabric scissors
- Measuring tape and marking tool
- Polyester thread and pins or fabric clips
- Elastic (for fitted style) or a zipper (for encasement style)
- Seam sealer or mildew‑safe fabric glue for no‑sew fixes
Cost note: A basic DIY protector can cost $10 to $40 in materials. Higher‑end fabrics raise the price. Learning how to make a mattress protector lets you control cost and quality.

Choosing the Right Fabric: Pros and Cons
Picking fabrics changes comfort, sound, and breathability. Know the tradeoffs when you learn how to make a mattress protector.
- PUL (polyurethane laminate)
- Pros: quiet, breathable, washable
- Cons: less durable than TPU over long use
- TPU or thin vinyl
- Pros: fully waterproof and cheap
- Cons: can be noisy and trap heat
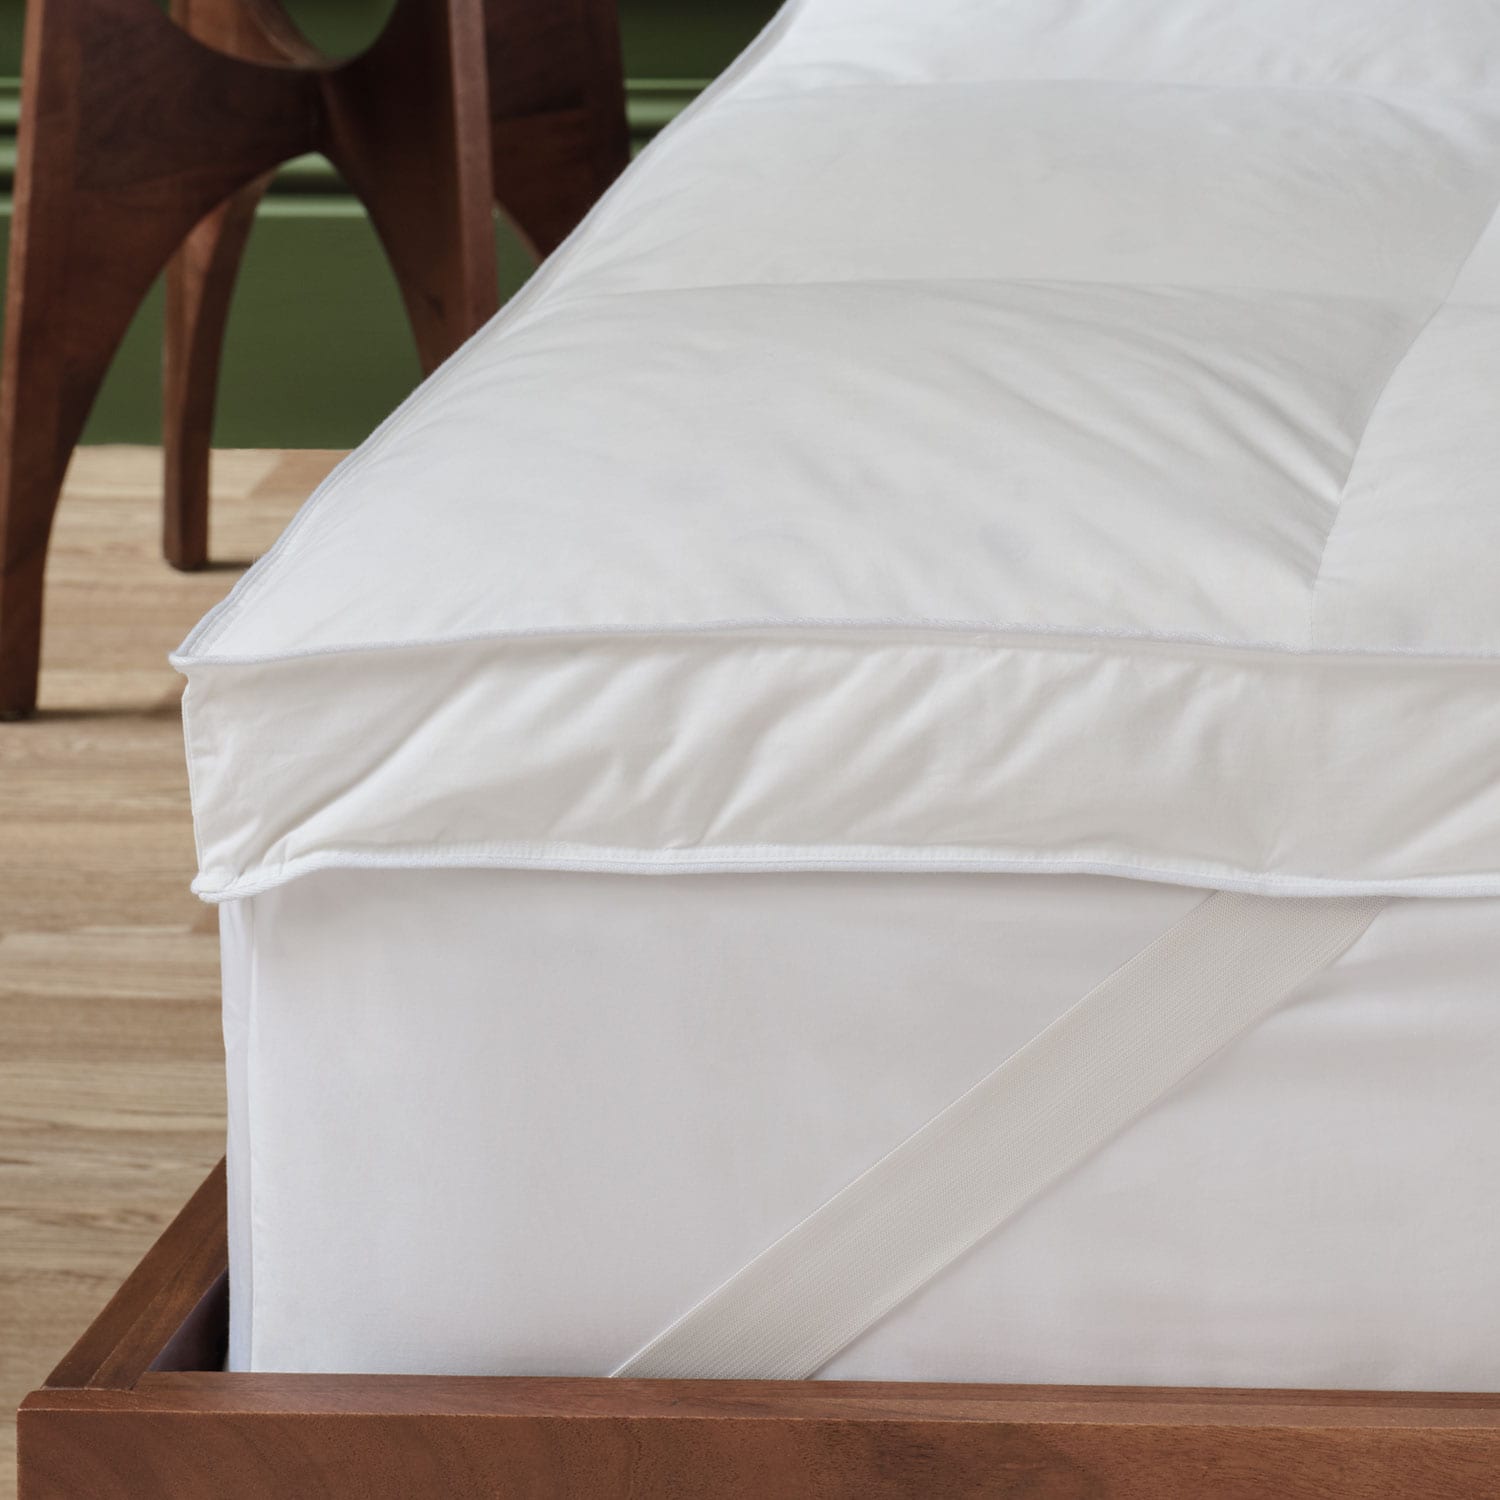
- Terry or cotton top with waterproof backing
- Pros: soft and familiar feel
- Cons: needs a reliable backing to stop leaks
Tip from experience: For a balance of comfort and waterproofing, pair a cotton top with a PUL backing. It feels like a pad, but it blocks spills well.

Step-by-Step: How to Make a Mattress Protector (Sewing Method)
Follow these steps to make a fitted protector or an encasement with a zipper. I share small tricks I used in my first builds.
- Measure your mattress
- Measure length, width, and depth. Add 2 inches to length and width for seam allowance. Add twice the depth plus 6 inches for the wrap and elastic.
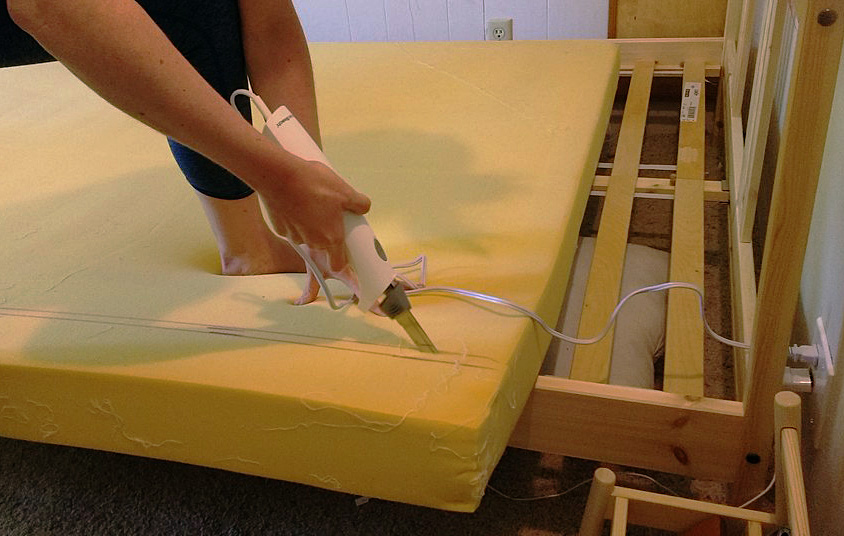
- Cut fabric
- Cut the top layer and the waterproof layer to the measured size. Keep edges straight.
- Layer fabrics
- Place the right sides together if the top fabric has a right side. Use clips instead of pins on PUL to avoid holes.
- Sew seams
- Sew around three sides for a fitted model. Leave one side open to fit the mattress. Use a walking foot for even feed.
- Add elastic or hems
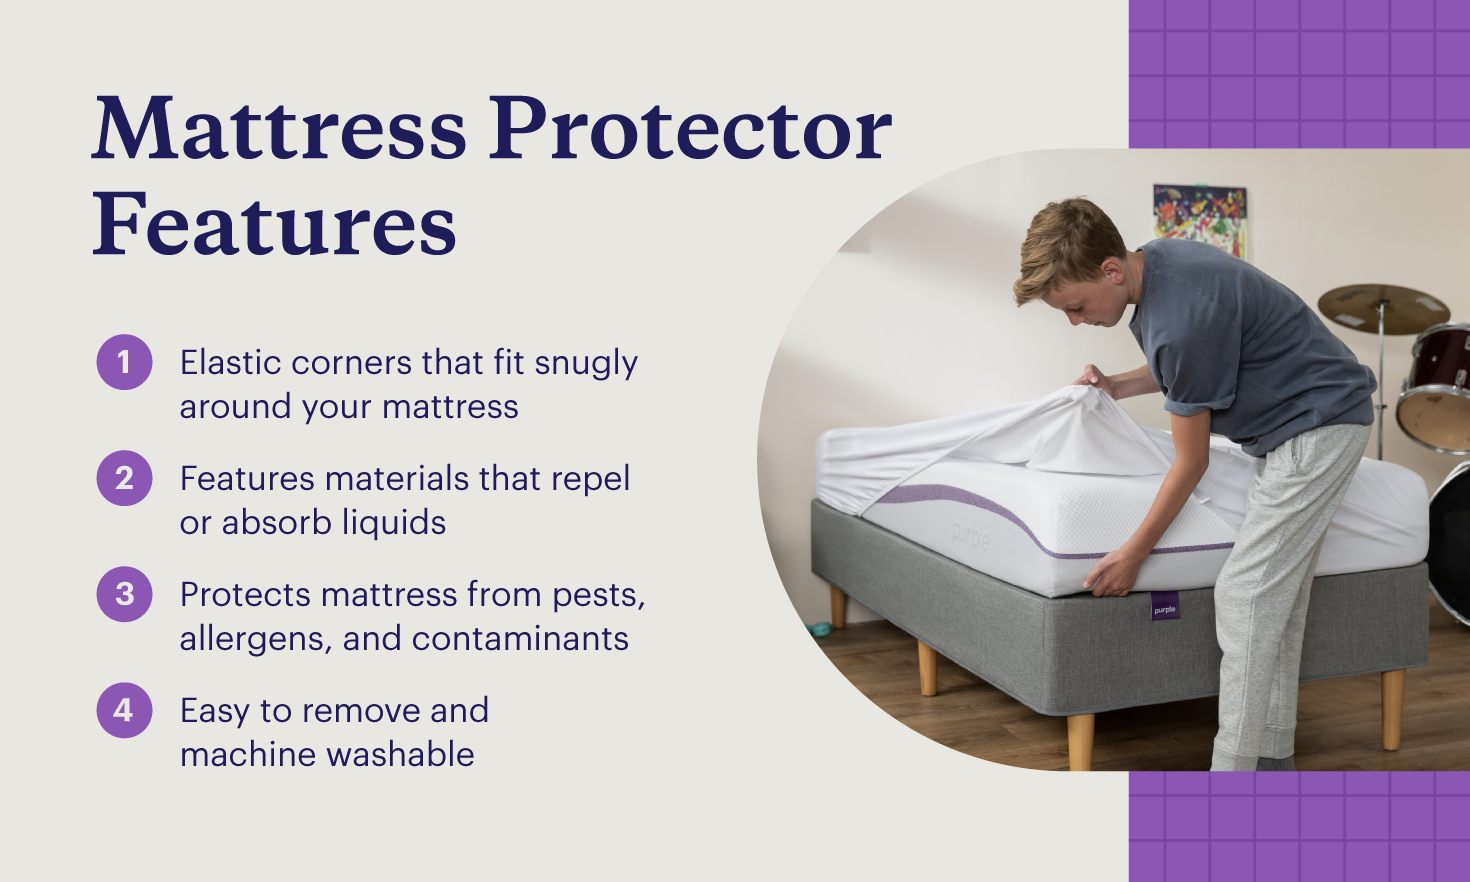
- For a fitted protector, fold the edge and stitch a casing for elastic, then insert elastic and secure. For an encasement, attach a zipper along the open edge.
- Seal seams
- Test seams by spraying water on top. If you see leaks, add seam sealer or stitch again with closer seams.
- Final fit test
- Fit the protector on the mattress and sleep on it for a night to check comfort and fit.
Quick tip: Use polyester thread. It resists moisture and lasts longer than cotton. When you make a mattress protector, small steps like using clips and a walking foot make sewing waterproof layers much easier.

No-Sew and Quick Options
You can make a mattress protector without a machine. No‑sew works for urgent needs or simple covers.
- Shower curtain method
- Lay a soft sheet over a vinyl or thick shower curtain cut to size. Tuck the edges under the mattress and secure with safety pins or fabric tape.
- Double-sided fabric tape
- Fold hem over tape to create simple elastic corners. This is quick but less durable.
- Mattress pad plus waterproof liner
- Stack a waterproof liner between your mattress and pad. This gives protection with no alterations.
From experience, no‑sew methods are fast. They work well for guest rooms or travel. For long term use, sewing yields a neater and stronger protector.
Finishing Touches, Care, and Maintenance
How you care for your DIY protector affects its lifespan. Here are easy rules to follow after you make a mattress protector.
- Washing
- Machine wash on cold or warm. Use mild detergent. Avoid bleach which can break down waterproof layers.
- Drying
- Tumble dry low or air dry. High heat can damage laminates.
- Repairs
- Patch tears with waterproof fabric tape or sew a patch and seal seams. Test after repair.
- Replacement schedule
- Expect 2 to 5 years of use, depending on material and wash frequency.
Practical note: I washed mine every few months and patched small tears twice. Regular checks help spot issues early.
Common Mistakes, Troubleshooting, and Tips from Experience
Avoid these errors when you learn how to make a mattress protector. I made most of them on my first try.
- Wrong measurements
- Measure depth carefully. A tight fit beats a loose one.
- Using pins on PUL
- Pins can leave tiny holes. Use clips instead.
- No seam testing
- Always test seams with water. Fix leaks before finalizing.
- Choosing noisy vinyl
- Cheap vinyl can crinkle. Invest in PUL for quieter sleep.
- Skipping a walking foot
- Laminated fabrics shift. A walking foot keeps layers aligned.
If something goes wrong, take a step back. Recut or resew the offending part. Small fixes often solve big problems.
Should You Make or Buy a Mattress Protector?
Both options have merit. Use this quick guide to pick the right path.
- Make if
- You want a custom fit for an odd mattress size or depth.
- You enjoy DIY and want control over materials.
- You need a lower cost or tailored features like a zipper encasement.
- Buy if
- You want a warranty or industry‑tested waterproofing.
- You prefer a quick solution without tools.
- You need specialized allergen or fire‑retardant certifications.
When deciding, weigh time, cost, and the importance of a custom fit. Knowing how to make a mattress protector gives you flexibility. Buying gives convenience and tested guarantees.
Frequently Asked Questions of how to make a mattress protector
Is it hard to make a mattress protector?
No. Basic protectors are simple. With good measurements and basic sewing skills you can finish one in a few hours.
What fabric makes the best DIY mattress protector?
PUL paired with a cotton or terry top is a great balance. It is quiet, comfortable, and washable.
Can I make a mattress protector without a sewing machine?
Yes. Use fabric tape, elastic corners, or a shower curtain method for quick no‑sew options. They are less durable but fast.
How do I waterproof seams after sewing?
Use a seam sealer made for laminated fabrics. Test seams with water to confirm there are no leaks.
How often should I wash a mattress protector?
Wash every 1 to 3 months, or sooner after spills. Follow fabric care instructions to preserve the waterproof layer.
Will a DIY protector affect mattress warranty?
Sometimes. Check your mattress warranty rules before modifying or adding adhesives. Most removable protectors do not void warranties.
Conclusion
Making a mattress protector is a practical skill that saves money and allows custom fits. You can choose simple no‑sew methods or sew a durable fitted or encasement style. Measure well, pick the right fabric, and test seams for leaks. My best advice is to start small and learn from each try. If you make one today, you will protect your mattress and gain useful hands‑on experience. Try a simple version first, then improve materials and fit as you go. Share your results, ask questions, or subscribe for more DIY bedding guides.
Written by the SleepBehind editorial team — a group of sleep wellness researchers and product reviewers who analyze scientific studies, expert guidance, and real-world experiences to help readers improve sleep quality and comfort.