After testing and cleaning dozens of foam, down, and hybrid mattress toppers over the past 8 years, I’ve found the biggest mistake most people make is skipping the care label check — that one step can turn a simple clean into a ruined topper. This guide covers every topper type, step-by-step methods, stain fixes, drying hacks, and pro maintenance tips to keep your topper fresh, supportive, and long-lasting. Whether you have a memory foam, down, or wool topper, you’ll find clear, actionable advice to avoid common pitfalls like mold, material breakdown, and permanent stains.
 Regular cleaning removes dead skin cells, dust mites, and moisture that degrade topper materials over time.
Source: beloitmattress
Regular cleaning removes dead skin cells, dust mites, and moisture that degrade topper materials over time.
Source: beloitmattress
Why Cleaning Your Mattress Topper Matters
A clean mattress topper is about more than just fresh smells — it’s critical for sleep health and material longevity. Dust mites, which feed on dead human skin cells, are a leading trigger for indoor allergies and asthma, per CDC guidelines on allergen reduction. Sweat, body oils, and spills seep into topper fibers over time, breaking down supportive materials and causing odors that no amount of airing out can fix. Unaddressed moisture from spills or sweat also creates the perfect environment for mold and mildew, which can cause respiratory irritation and permanently damage topper cores. Regular cleaning reduces allergen buildup, extends your topper’s lifespan by 1-2 years on average, and ensures you get the full supportive benefit from your investment. I once ignored a small coffee spill on a memory foam topper, and it led to a persistent mold smell that took months to eliminate — a quick spot clean that same day would have saved hours of work and a costly replacement.
Know Your Topper Type and Care Label First
The first rule for how to clean a mattress topper is to always check the manufacturer’s care label before using any products or methods. Each material has unique vulnerabilities, and using the wrong cleaner or technique can ruin your topper in minutes. For general bedding care guidance, the Sleep Foundation recommends always prioritizing manufacturer care labels over generic cleaning hacks Sleep Foundation bedding care guidelines. If the care label is missing, assume delicate care: spot clean first, avoid machine washing for foam and latex, and never use harsh chemicals.
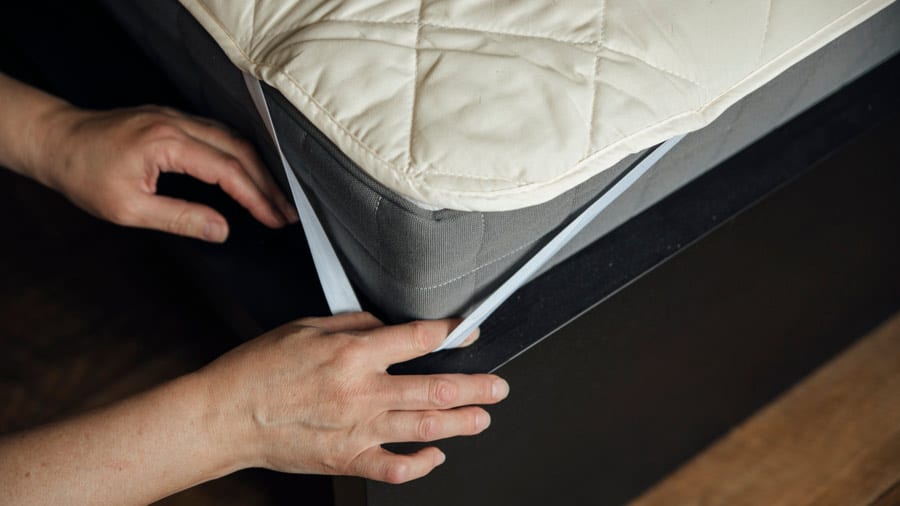 Always check the manufacturer’s care label before using any cleaning products or methods on your topper.
Source: sleepfoundation
Always check the manufacturer’s care label before using any cleaning products or methods on your topper.
Source: sleepfoundation
Common topper types and their core care needs:
- Memory foam and gel toppers: Closed-cell foam traps moisture, so avoid soaking. Spot clean only with a barely damp cloth and mild soap.
- Latex toppers: Sensitive to heat, oil-based cleaners, and direct sunlight. Spot clean with mild soap and cool water, never wring.
- Feather and down toppers: Often machine washable on gentle, but require low-heat drying with dryer balls to restore loft.
- Wool toppers: Naturally stain-resistant, but felts if exposed to hot water or high heat. Spot clean or hand wash only if the label allows.
- Polyester/fiberfill toppers: Usually machine washable, but check for size limits to avoid overloading your washer.
- Egg crate foam toppers: Spot clean only; machine washing will tear the ridged foam structure.
If the label says “dry clean only,” follow that guidance — DIY cleaning can shrink or damage delicate natural fibers.
Step-by-Step General Mattress Topper Cleaning Method
These steps work for most topper types when paired with the type-specific tips below, and form the backbone of safe, effective cleaning.
1. Prep and Remove Covers
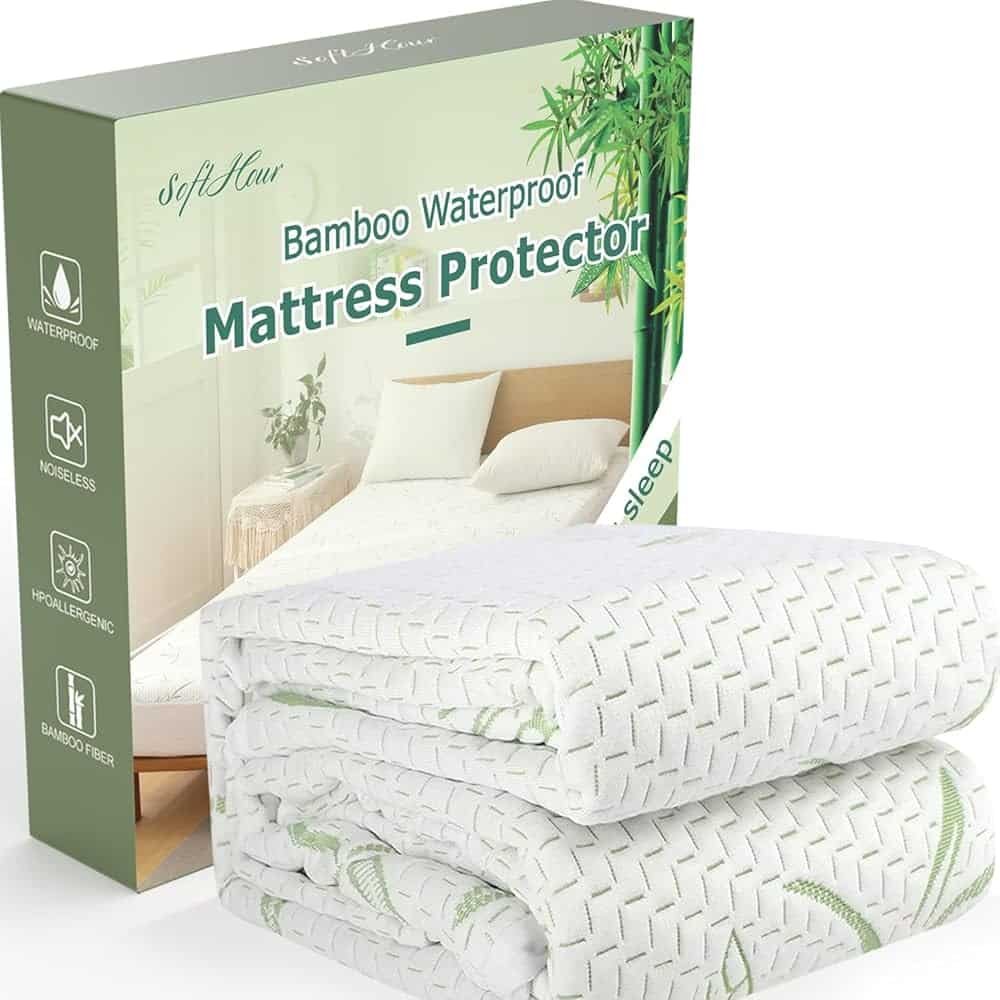
First, strip all bedding and remove any removable topper covers. Wash removable covers separately on a gentle cycle with mild detergent — this catches 70% of surface dirt, dead skin cells, and allergens before they reach the topper core. If your topper doesn’t have a cover, slip a washable waterproof protector on immediately after cleaning to block future spills. For added protection, invest in proper protector care habits to keep your topper in top shape.
2. Vacuum Thoroughly
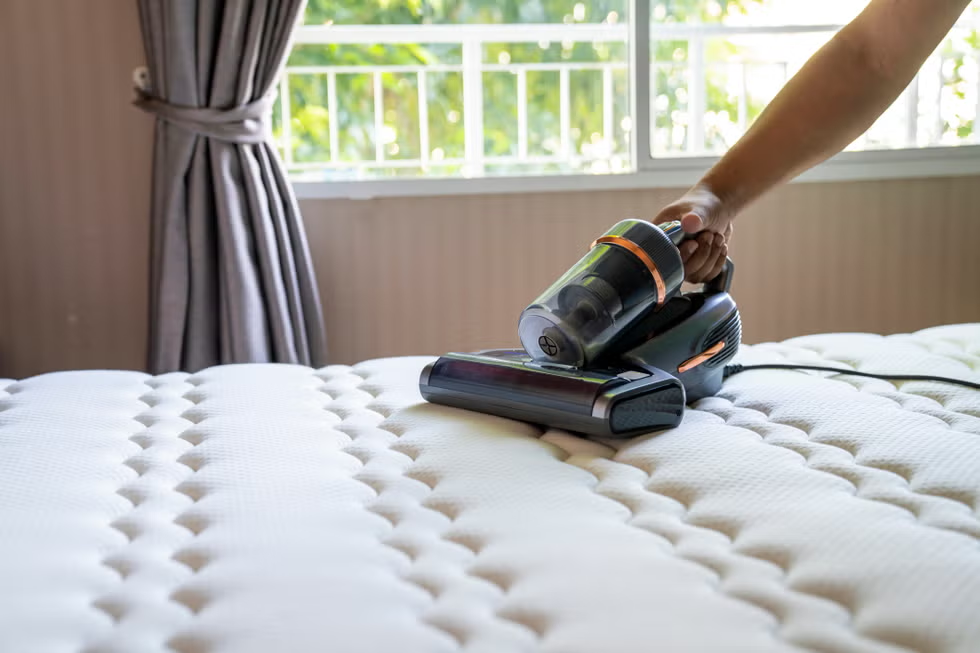
Use a vacuum with an upholstery attachment to remove dust, pet hair, and debris from the entire topper surface, using overlapping passes to cover every inch. Flip the topper and vacuum the underside, paying extra attention to seams and edges, where dust mites and debris accumulate most. For pet owners, use a pet hair attachment first to lift embedded fur before the main vacuum pass.
3. Spot Clean Fresh Stains Immediately
Blot (never rub) fresh spills with a clean, dry microfiber cloth to absorb as much liquid as possible. For set-in stains, mix 1 tablespoon of mild liquid dish soap with 2 cups of cool distilled water, dip a cloth in the solution, wring it out until it’s barely damp, then dab the stain from the outside in to avoid spreading. For foam toppers, never saturate the area — excess moisture takes days to dry out and can cause hidden mold inside the core.
 Always blot stains instead of rubbing to avoid pushing them deeper into topper fibers.
Source: realsimple
Always blot stains instead of rubbing to avoid pushing them deeper into topper fibers.
Source: realsimple
4. Deodorize (Optional for Musty or Sweat Smells)
Sprinkle a thin, even layer of baking soda over the entire topper surface. For extra odor-fighting power, mix the baking soda with 10-15 drops of lavender essential oil before sprinkling. Let it sit for at least 4 hours, or overnight for strong odors, then vacuum thoroughly with the upholstery attachment. This lifts odors without harsh chemicals, and is safe for all topper types.
5. Deep Clean (Only If Care Label Allows)
If your topper is machine-washable (polyester, fiberfill, some down), wash it on a gentle/cold cycle with a small amount of mild detergent. Add an extra rinse cycle to remove all soap residue, which can attract dirt and irritate skin later. If you’re unsure if your topper is machine safe, check our guide to which toppers are machine safe for material-specific guidance. For hand-washable toppers, fill a bathtub with cool water and a cap of mild detergent, agitate gently with your hands, then drain and rinse repeatedly until the water runs clear. Never wring foam or latex toppers — this tears the material and ruins its shape.
6. Dry Completely (Non-Negotiable)
This is the most critical step to prevent mold and mildew. Air dry the topper flat in a shaded, well-ventilated area, flipping it every 2 hours to ensure both sides dry evenly. For foam toppers, you can prop them up against a wall on their side to increase air flow, cutting drying time in half. Use a fan to circulate air around the topper to speed evaporation. For machine-washable toppers, tumble dry on the lowest heat setting with 2-3 wool dryer balls to fluff filling and speed drying. Avoid direct sunlight, which degrades foam and fades fabric, and never use a space heater or hair dryer to speed drying, as high heat can melt foam or damage natural fibers. Drying time varies: thin fiberfill toppers take 4-6 hours, thick down toppers can take 12-24 hours. Test for dampness by pressing firmly on the thickest part of the topper — if it feels cool or damp, it needs more drying time.
7. Reassemble and Protect
Once the topper is 100% dry, place it back on your mattress, add your sheets, and top it with a breathable, waterproof mattress protector to block future spills and allergens. Rotate the topper 180 degrees every month to prevent uneven wear and sagging from sleeping in the same spot night after night.
Type-Specific Cleaning Guides for Every Mattress Topper
Even with the general steps above, each topper material requires small adjustments to avoid damage.
Memory Foam and Gel Toppers
Closed-cell memory foam and gel-infused foam are non-removable, so they can’t be machine washed. The biggest mistake people make is using too much water, which seeps into the foam core and takes days to evaporate, leading to hidden mold that causes musty odors and respiratory irritation. For spot cleaning, mix 1 teaspoon of mild dish soap with 2 cups of cool distilled water, dip a microfiber cloth in the solution, wring it out until it’s almost dry, then dab the stain. Rinse the area by dabbing with a cloth dipped in plain cool water, then press with a dry towel to absorb excess moisture. For deodorizing, baking soda works well, but avoid steam cleaning unless the care label explicitly approves it — high heat can break down the foam’s contouring properties. If you have a gel topper, avoid harsh alcohol-based cleaners, which can degrade the gel layer.
 Use barely damp cloths for foam toppers to avoid trapping moisture inside the core.
Source: thespruce
Use barely damp cloths for foam toppers to avoid trapping moisture inside the core.
Source: thespruce
Latex Toppers
Natural and synthetic latex are more durable than foam, but they’re sensitive to oil-based cleaners, heat, and direct sunlight, which can cause them to become sticky or break down over time. For spot cleaning, use a solution of 1 tablespoon of mild laundry detergent mixed with 4 cups of cool water. Dab the stain, then rinse with a damp cloth and press dry with a towel. Never wring or twist latex, as it can tear easily. If your latex topper has a removable cover, wash the cover separately on a gentle cycle. For deep cleaning, only hand wash if the care label allows, using cool water and a gentle detergent formulated for delicates. Air dry flat in a shaded area, away from radiators or direct sun.
Machine-Washable Toppers (Polyester, Fiberfill, Some Down)
These are the easiest to clean, but improper washing can still cause damage. Always use cold or cool water, as hot water can break down synthetic fibers and cause shrinkage. Use a mild, fragrance-free detergent — avoid bleach and fabric softener, which can leave residues that irritate skin and break down filling over time. If your topper is extra thick or oversized, wash it at a laundromat with a large-capacity washer to ensure it has enough room to agitate fully; cramming it into a home washer can tear seams and leave soap residue. Dry on the lowest heat setting, and add 2-3 wool dryer balls to fluff the filling and prevent clumps. Remove the topper from the dryer as soon as it’s dry to avoid wrinkles, and shake it out vigorously to restore loft. For more guidance on which topper models are safe to machine wash, check our which toppers are machine safe guide.
Feather and Down Toppers
High-quality feather and down toppers are often machine washable, but they require extra care to avoid clumping and damage. First, check that all seams are intact before washing — any small tears will let filling escape during the wash cycle. Use a gentle, down-specific detergent, as regular detergents can strip the natural oils from down feathers, causing them to become brittle. Wash on a gentle/cold cycle with an extra rinse cycle to remove all soap residue. When drying, tumble on the lowest heat setting with 3-4 wool dryer balls or clean tennis balls, which break up clumps and restore even loft. Stop the dryer every 30 minutes to shake the topper out and redistribute the filling. If your topper develops flat spots or clumps after washing, you can restore its loft by following our guide to reviving down toppers for step-by-step instructions. If your topper has torn seams or split filling, check our guide to fixing split down toppers for quick, low-cost repair solutions.
Wool and Specialty Natural Fiber Toppers
Wool toppers are naturally stain-resistant and breathable, but they’re prone to felting (shrinking and becoming stiff) if exposed to hot water, harsh chemicals, or high heat. For most stains, spot clean with a cloth dipped in cool water and a tiny amount of wool-specific detergent, then blot dry with a clean towel. If the care label allows hand washing, fill a tub with cool water and a cap of wool detergent, agitate gently, then rinse with cool water until the water runs clear. Never wring or twist wool, as this felts the fibers. Press out excess water with a clean towel, then lay flat to dry in a shaded area. For large, expensive wool toppers, professional cleaning is often the safest option to avoid damage.
Stain Removal Guide for Common Mattress Topper Stains
Stains are inevitable with regular use, but treating them quickly and with the right solution will prevent permanent marks and odors. Always test any cleaning solution on a small, hidden area of the topper (like a corner seam) first to check for colorfastness. For foam and latex toppers, use as little moisture as possible to avoid trapping water inside the material.
Urine (Human or Pet)
Blot up as much liquid as possible with a dry cloth first. Mix 1 part white distilled vinegar with 2 parts cool water, add 1 teaspoon of baking soda, then dab the solution onto the stain. Let sit for 10 minutes, then blot with a damp cloth to rinse. For persistent urine odors, use an enzymatic cleaner formulated for pet stains, which breaks down the uric acid crystals that cause lasting smells.
Blood
Use only cool or cold water, as hot water sets blood proteins into the fabric, making stains permanent. Mix 1 teaspoon of mild dish soap with 1 cup of cool water, dab the stain gently, then rinse with a cloth dipped in plain cool water. For set-in blood stains, make a paste of baking soda and cool water, apply it to the stain, let sit for 30 minutes, then rinse off.
Sweat and Body Oil
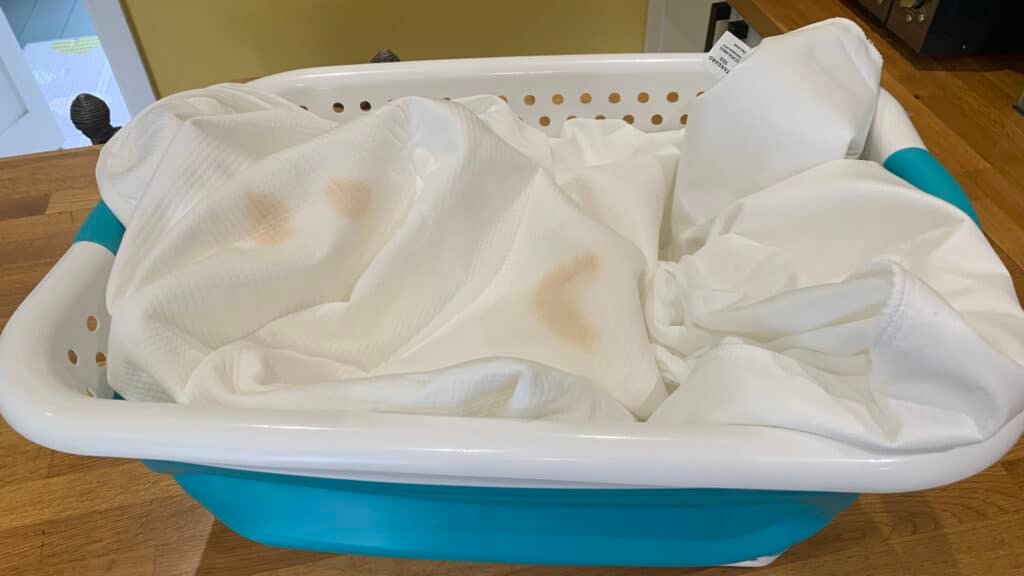
Mix 1/2 cup baking soda with 1/4 cup cool water to make a paste, apply it to the stained area, let sit for 1 hour, then vacuum or dab off with a damp cloth. For yellowed sweat stains on white toppers, mix 1 part 3% hydrogen peroxide with 2 parts cool water, dab the stain, let sit for 15 minutes, then rinse thoroughly. Test the hydrogen peroxide solution on a hidden spot first, as it can lighten some fabrics.
Vomit
First, remove any solid material with a paper towel or dull knife, being careful not to spread the stain. Blot the area with a cloth dipped in a solution of 1 tablespoon mild dish soap, 1 tablespoon white vinegar, and 2 cups cool water. Rinse with a damp cloth, then sprinkle baking soda over the area to absorb odors. Let sit for 2 hours, then vacuum. For persistent vomit odors, use an enzymatic cleaner as you would for urine stains.
Food and Drink Stains
Blot up excess liquid first, then dab with a mild soap and water solution. For greasy food stains (like pizza or butter), sprinkle a small amount of cornstarch on the stain first to absorb the oil, let sit for 15 minutes, then brush off before treating with soap.
Drying and Storage: The Critical Final Steps
Improper drying is the most common cause of mold, mildew, and permanent topper damage. After cleaning, always place the topper in a shaded, well-ventilated area — direct sunlight degrades foam and natural fibers, causing them to become brittle and lose their supportive properties. For foam toppers, you can prop them up against a wall on their side to increase air flow around both sides, cutting drying time in half. Use a fan to circulate air around the topper to speed up evaporation. Never use a space heater, hair dryer, or radiator to dry a topper, as high heat can melt foam, damage latex, or felt wool fibers.
 Proper drying prevents mold and mildew growth, which can cause respiratory irritation and ruin topper materials.
Source: reddit
Proper drying prevents mold and mildew growth, which can cause respiratory irritation and ruin topper materials.
Source: reddit
For machine-washable toppers, remove them from the dryer as soon as the cycle ends to prevent wrinkles, and shake them out vigorously to restore loft. When storing a topper long-term, never use vacuum-seal bags for foam or latex toppers — the compression permanently damages the material’s structure, causing flat spots that won’t bounce back. Instead, store the topper in a breathable cotton storage bag in a cool, dry area, away from direct sunlight and extreme temperatures. If you’re storing a down topper, add a few lavender sachets to the storage bag to keep it fresh and repel moths.
Pro Maintenance Tips to Extend Your Mattress Topper's Lifespan
Most mattress toppers last 3-5 years with proper care, but you can add 1-2 extra years to their lifespan with simple daily habits. First, always use a washable, waterproof mattress protector on top of your topper — this blocks spills, sweat, and allergens from seeping into the topper core, reducing how often you need to deep clean it. Vacuum your topper every 1-2 months with an upholstery attachment to remove dust, dead skin cells, and pet hair before they accumulate. Rotate your topper 180 degrees every month to prevent uneven sag and indentations from sleeping in the same spot night after night. If your climate is humid, air out your topper outside on a dry, breezy day for 2-3 hours every 2-3 months to kill dust mites and remove trapped moisture. Treat fresh stains immediately — the longer a stain sits, the harder it is to remove, and the more likely it is to cause permanent damage or odors. Avoid eating or drinking in bed, and never let pets with muddy paws or wet fur on the topper. For foam toppers, avoid placing heavy objects on top of them when storing, as this causes permanent indentations. If you just unboxed a new foam or bamboo topper, let it air out for 24-48 hours before putting it on your bed, per pre-use topper care guidelines, to off-gas any manufacturing odors and allow the material to expand to its full size.
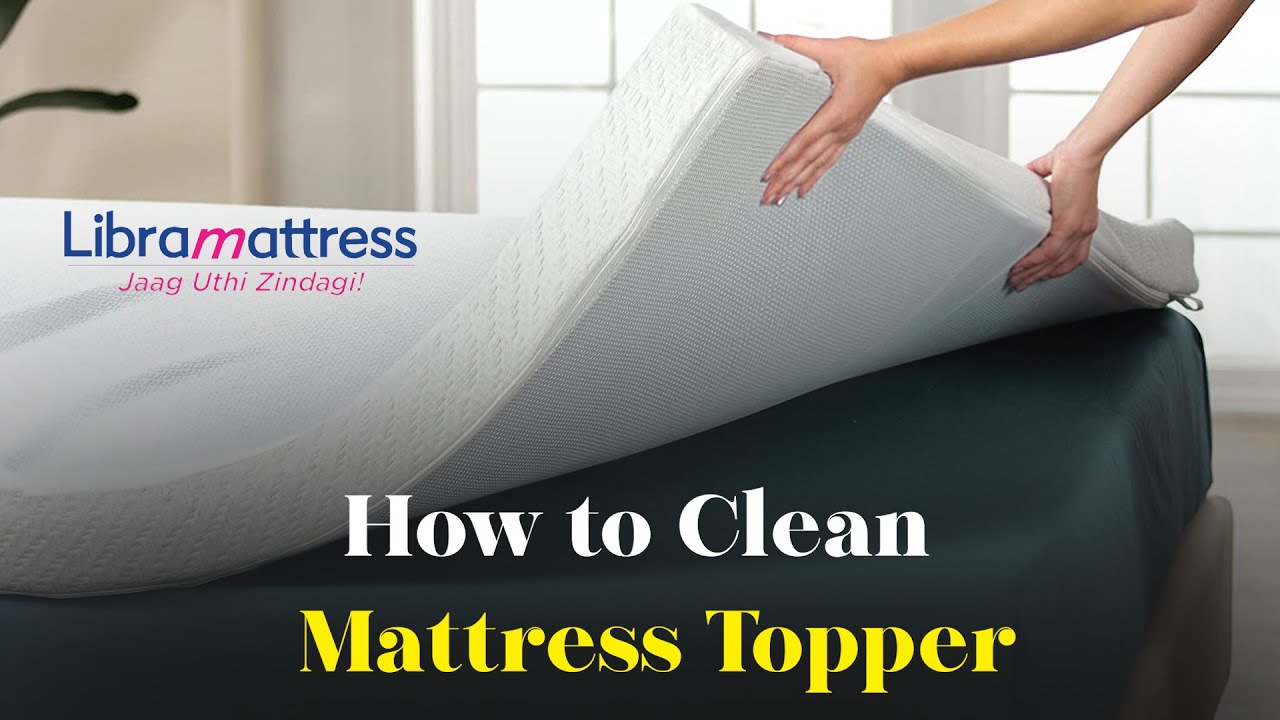 Vacuuming your topper every 1-2 months removes dust and allergens before they accumulate.
Source: youtube
Vacuuming your topper every 1-2 months removes dust and allergens before they accumulate.
Source: youtube
When to Replace Your Mattress Topper
Even with perfect care, all mattress toppers have a limited lifespan. Replacing a worn-out topper improves sleep quality and prevents back pain from lack of support. Signs it’s time to replace your topper include: permanent sag or indentations deeper than 1 inch that don’t bounce back when you press on them; persistent musty odors that don’t go away after deep cleaning; visible mold or mildew growth that can’t be removed; torn seams, ripped fabric, or exposed filling that can’t be repaired; or a noticeable drop in comfort and support that makes it hard to get comfortable at night. Most toppers last 2-5 years, depending on material: foam and latex toppers typically last 4-5 years with proper care, while down and fiberfill toppers last 2-3 years before the filling compresses permanently. If you’re unsure if your topper needs replacing, check our guide to signs your topper needs replacing for a full checklist.
 Permanent sag and lingering odors are key signs it's time to replace your topper.
Source: wikihow
Permanent sag and lingering odors are key signs it's time to replace your topper.
Source: wikihow
Frequently Asked Questions About Cleaning Mattress Toppers
How often should I clean my mattress topper?
Wash removable covers every 1-2 weeks, vacuum the topper surface every 1-2 months, spot-clean stains as soon as they happen, and deep clean the entire topper 2-4 times per year, depending on use. If you have allergies, pets, or sweat heavily at night, increase deep cleaning to every 1-2 months.
Can I machine wash all mattress toppers?
No. Only toppers explicitly marked as machine-washable on the care label (usually polyester, fiberfill, and some down toppers) can go in the washing machine. Foam, latex, wool, and most high-end down toppers are not machine-washable, as the agitation can tear the material, damage filling, or cause felting.
How long does it take for a mattress topper to dry after cleaning?
Drying time depends on material and thickness: thin fiberfill toppers take 4-6 hours to dry, thick down toppers take 12-24 hours, and foam/latex toppers take 8-12 hours if spot cleaned, or up to 24 hours if deep cleaned. Always test for dampness by pressing firmly on the thickest part of the topper — if it feels cool or damp, it needs more drying time.
Can I use bleach on a mattress topper?
Avoid chlorine bleach on almost all mattress toppers, as it can degrade foam, damage latex, fade fabric, and irritate skin. Only use bleach if the care label explicitly states it is safe, and always dilute it heavily with water. For whitening or disinfecting, use a hydrogen peroxide solution (1 part 3% hydrogen peroxide to 2 parts cool water) as a safer alternative, testing it on a hidden spot first.
Will baking soda remove all odors from a mattress topper?
Baking soda works well for mild odors from sweat and food, but it may not eliminate strong odors from urine, vomit, or mold. For persistent odors, use an enzymatic cleaner designed for bedding, or leave the topper outside in direct sunlight (for non-foam toppers) for a few hours to kill odor-causing bacteria.
Can I steam clean a mattress topper?
Only steam clean a topper if the care label explicitly approves it. High heat from steam can break down memory foam and latex, cause wool to felt, and damage down filling. For foam toppers, stick to spot cleaning with a damp cloth instead of steam cleaning.
 Common questions about cleaning different types of mattress toppers.
Source: turmerry
Common questions about cleaning different types of mattress toppers.
Source: turmerry
Final Tips for a Fresh, Long-Lasting Mattress Topper
Cleaning your mattress topper doesn’t have to be a hassle — following the right steps for your topper type will keep it fresh, supportive, and allergen-free for years. Always start by checking the care label, spot clean stains immediately, dry the topper completely before use, and protect it with a washable cover to reduce how often you need to deep clean. Small, consistent habits make the biggest difference: a quick vacuum every month and rotating the topper regularly will add 1-2 years to its lifespan, saving you money on replacements. For more expert tips on extending the life of your bedding, check out our guides to pillow care tips and sustainable bedding choices to build a healthier, longer-lasting sleep setup.
 A clean, well-maintained topper improves sleep comfort and lasts for years.
Source: realsimple
A clean, well-maintained topper improves sleep comfort and lasts for years.
Source: realsimple
Conclusion
Cleaning your mattress topper the right way doesn’t require harsh chemicals or hours of labor — it just takes matching your method to your topper’s material, acting fast on stains, and committing to full drying every time. The small, consistent habits we covered, like monthly vacuuming, using a breathable waterproof protector, and rotating the topper 180 degrees regularly, will add 1-2 years to its lifespan, cut down on allergens in your sleep space, and save you money on premature replacements. If you need brand-specific guidance for a specialty topper, our Cuddle Bed topper care steps break down exact instructions for popular models. Start with one small task this week: spot-clean any existing stains, vacuum your topper surface, and add a protector if you don’t already have one. For more expert-backed sleep and bedding care tips, browse our full library of guides to build a healthier, more comfortable sleep setup.

Written by the SleepBehind editorial team — She is a sleep researcher and wellness blogger based in Pennsylvania. Passionate about helping people optimize their sleep.