
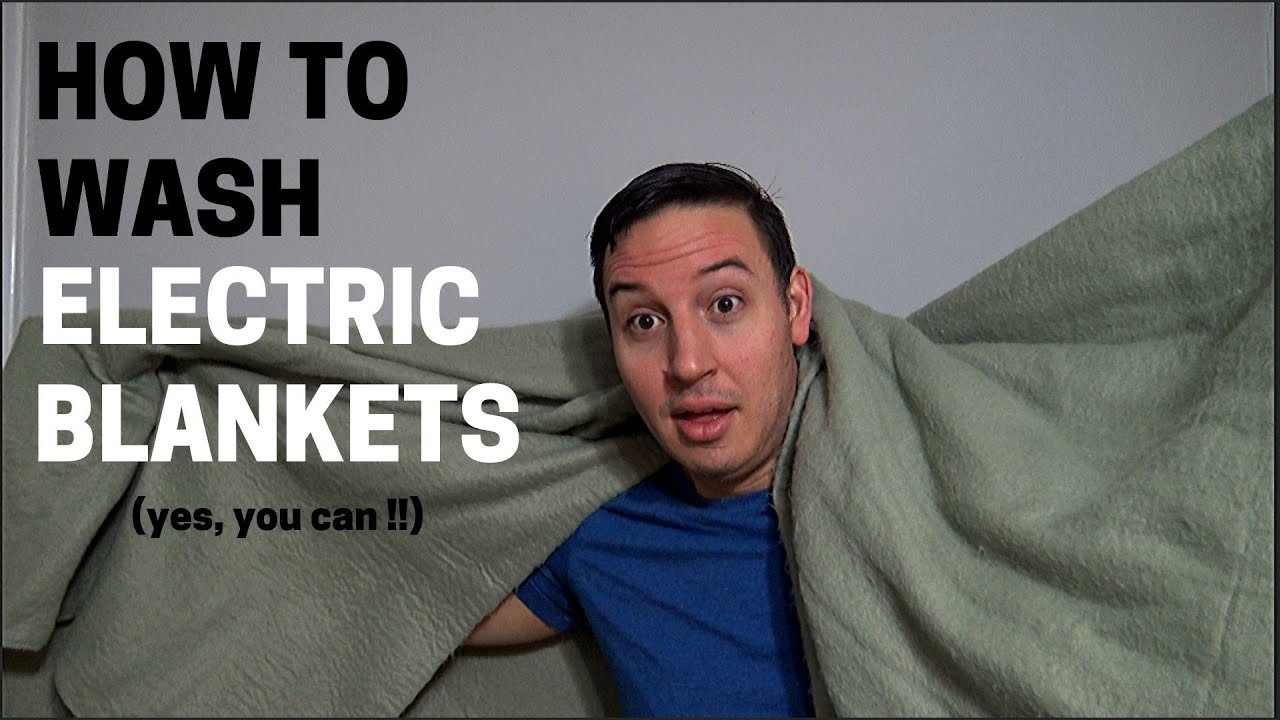
Electric mattress pads are a game-changer for cold winter nights, but washing them incorrectly can ruin your investment, create serious fire hazards, or even lead to electrical shock. Many users assume all heated pads are machine washable, but improper care is a leading preventable cause of premature pad failure and avoidable safety incidents, per U.S. Consumer Product Safety Commission (CPSC) electrical safety guidelines. I’ve tested and cleaned dozens of electric mattress pads over the past 3 years, and this guide shares the exact, manufacturer-approved steps to wash your pad safely, avoid common mistakes, and extend its lifespan by years. We’ll cover pre-cleaning safety checks, machine and hand washing methods, proper drying and storage, stain and odor fixes, and answers to the most common questions about heated pad care.
If you frequently go to bed with wet hair, you may notice more frequent sweat and soil buildup on your pad—check out our guide to safe overnight wet hair routines to reduce unnecessary grime.
 Built-up grime on heated pads reduces performance and increases fire risk
Source: amazon.com
Built-up grime on heated pads reduces performance and increases fire risk
Source: amazon.com
Why Proper Cleaning of Your Electric Mattress Pad Is Non-Negotiable
Regular cleaning does far more than eliminate odors. Built-up sweat, dead skin cells, dust mites, and spilled lotions can clog the pad’s fabric pores, reducing heat distribution and causing uneven warming. Over time, trapped moisture from sweat or spills can lead to mold and mildew growth inside the pad’s layers, which not only creates unpleasant smells but can also degrade the insulation around internal heating elements, increasing fire risk. Proper cleaning preserves the pad’s heating performance, extends its usable lifespan by 2-3 years on average, and ensures it remains safe for nightly use. A common mistake I see even experienced users make is neglecting regular cleaning until a musty smell develops, at which point deep-set grime is far harder to remove without risking damage to internal components.
Pre-Cleaning Safety Checks You Can’t Skip
Skipping these steps is the top cause of ruined or dangerous heated pads. Always complete these checks before you start any cleaning process:
- Unplug the pad fully and disconnect the controller and power cord. Never clean a pad that is still connected to a power source, even if the controller is switched off—residual electrical current can cause shock or short circuits if the wiring is exposed to water.
- Inspect the entire pad for damage: check for frayed wiring, exposed heating elements, tears in the fabric, or corroded controller ports. If you notice any damage, do not wash the pad—contact the manufacturer for guidance or replace it to avoid safety risks.
- Read the care label carefully: look for icons indicating machine washability, maximum water temperature (almost all heated pads require cool or cold water, max 30C/86F), whether tumble drying is allowed, and warnings against bleach or fabric softener. If the controller is permanently attached, the label will note extra precautions for keeping the connection port dry.
- If the care label is missing, default to the most gentle method: hand wash and air dry, and avoid machine washing entirely to avoid costly damage.
When caring for multiple bedding items, always cross-reference care labels to avoid mixing incompatible cleaning methods—you can review our bamboo pillow washing guidelines for a sense of how different bedding materials require unique care.
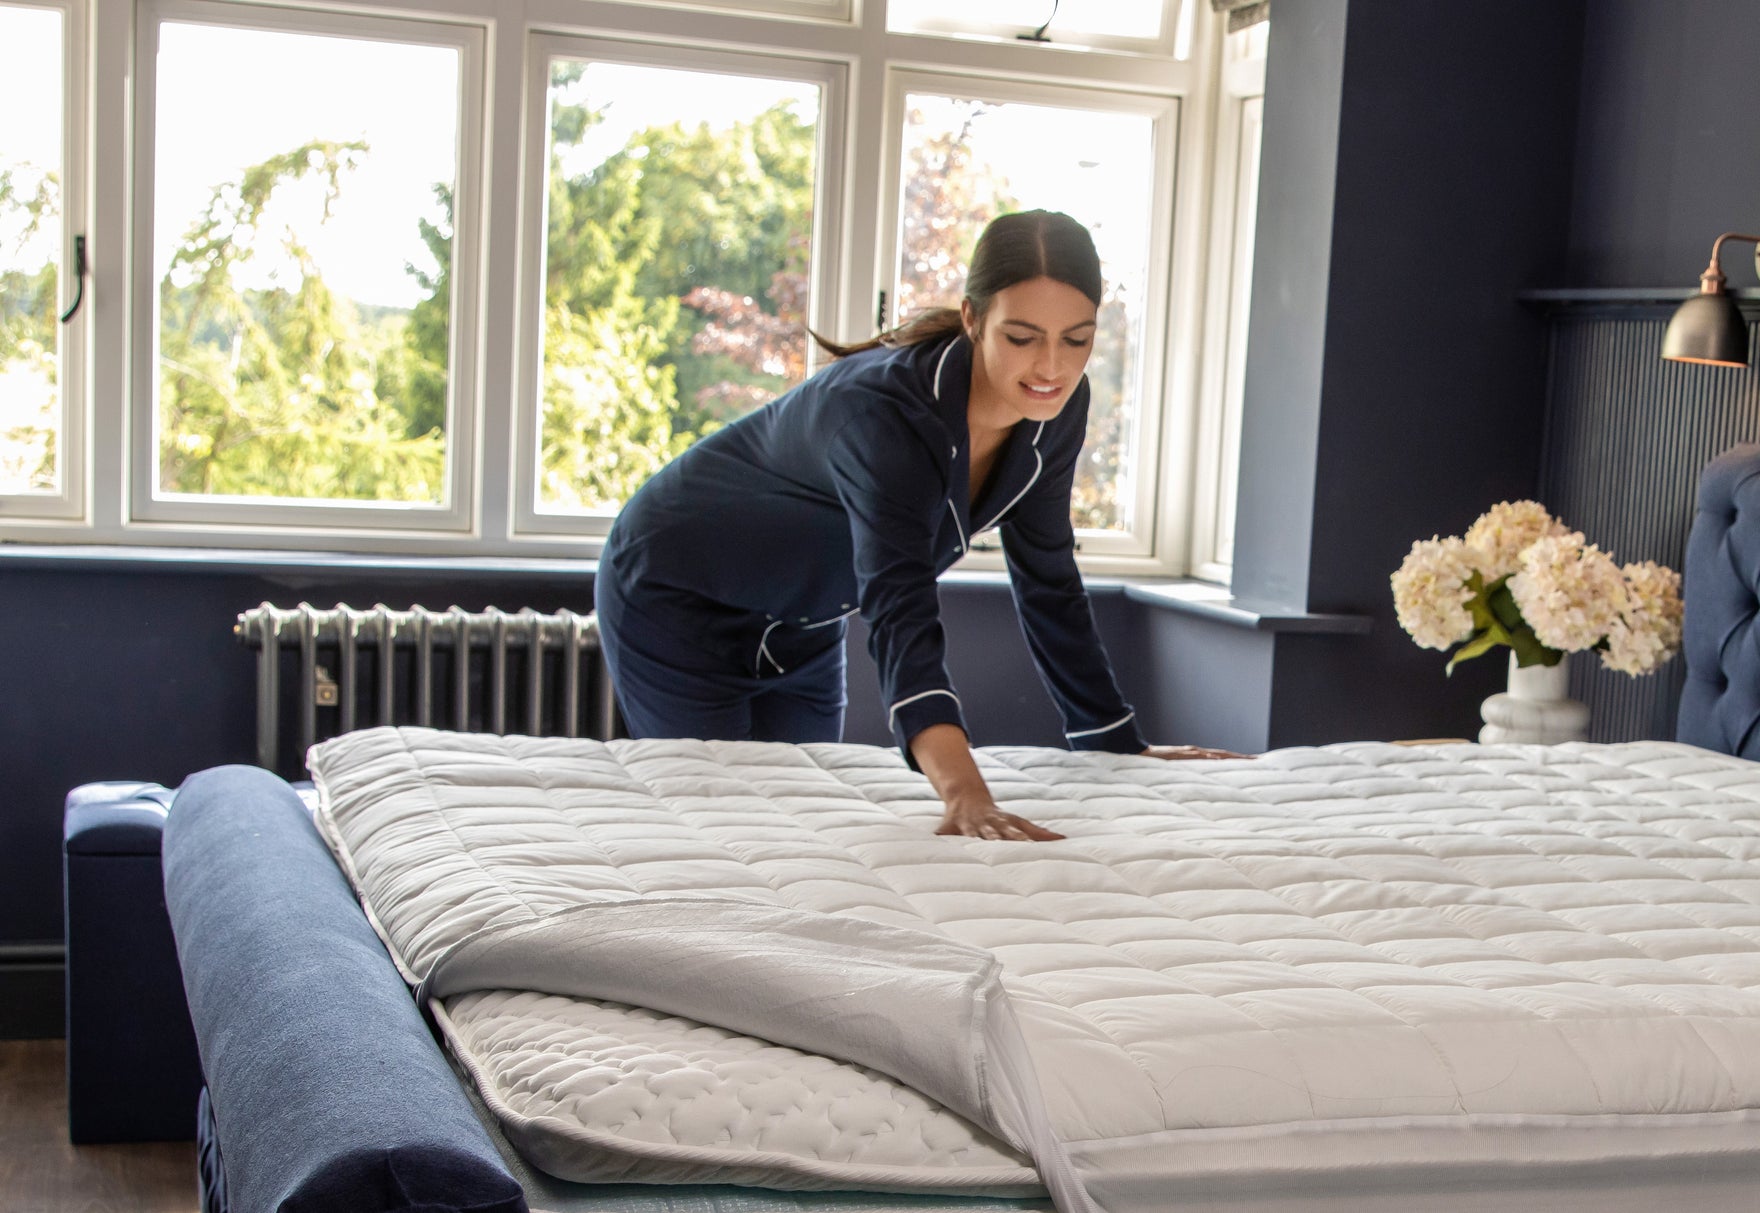 Always check the manufacturer’s care label before cleaning any heated bedding
Source: co.uk
Always check the manufacturer’s care label before cleaning any heated bedding
Source: co.uk
Step-by-Step Machine Washing for Approved Pads
Only machine wash your pad if the care label explicitly states it is safe to do so. Most modern removable-controller pads qualify, but older models and budget options often have non-removable controllers that cannot withstand submersion. Follow these steps for safe machine washing:
- Prep the pad: Unplug and fully remove the controller and power cord, zip up any removable covers, and shake out all loose debris (crumbs, pet hair, dust) to prevent washer clogs. If your pad has a permanently attached controller, seal the connection port with a waterproof silicone sleeve or plastic bag to keep water out.
- Load the washer: Use a front-load washer for best results, as agitators in top-load models can tug on internal wiring. If you only have an agitator top-load washer, place the pad in a mesh laundry bag for extra protection. Wash the pad alone, or with 1-2 lightweight towels to balance the load—never wash with heavy items like jeans or blankets that can strain the pad’s internal components.
- Select settings: Choose a delicate or gentle cycle, cool or cold water (max 30C/86F), and a maximum spin speed of 400 RPM. High spin speeds pull on wiring and can shift internal heating elements, leading to uneven warming after washing. Use ½ the recommended amount of mild, liquid, dye-free detergent—powder detergents leave residue that clogs fabric and damages heating elements, and detergent pods can leave waxy buildup that irritates skin.
- Post-wash inspection: Before moving the pad, check seams and wiring channels for bulges, tears, or exposed wires. Gently press out excess water with a clean, dry towel—never wring or twist the pad, as this can break internal electrical connections.
To reduce how often you need to wash your heated pad, use a fitted mattress protector over it to block sweat, spills, and dead skin. Our guide to protector care best practices will help you keep your protector in good shape to extend your pad’s lifespan.
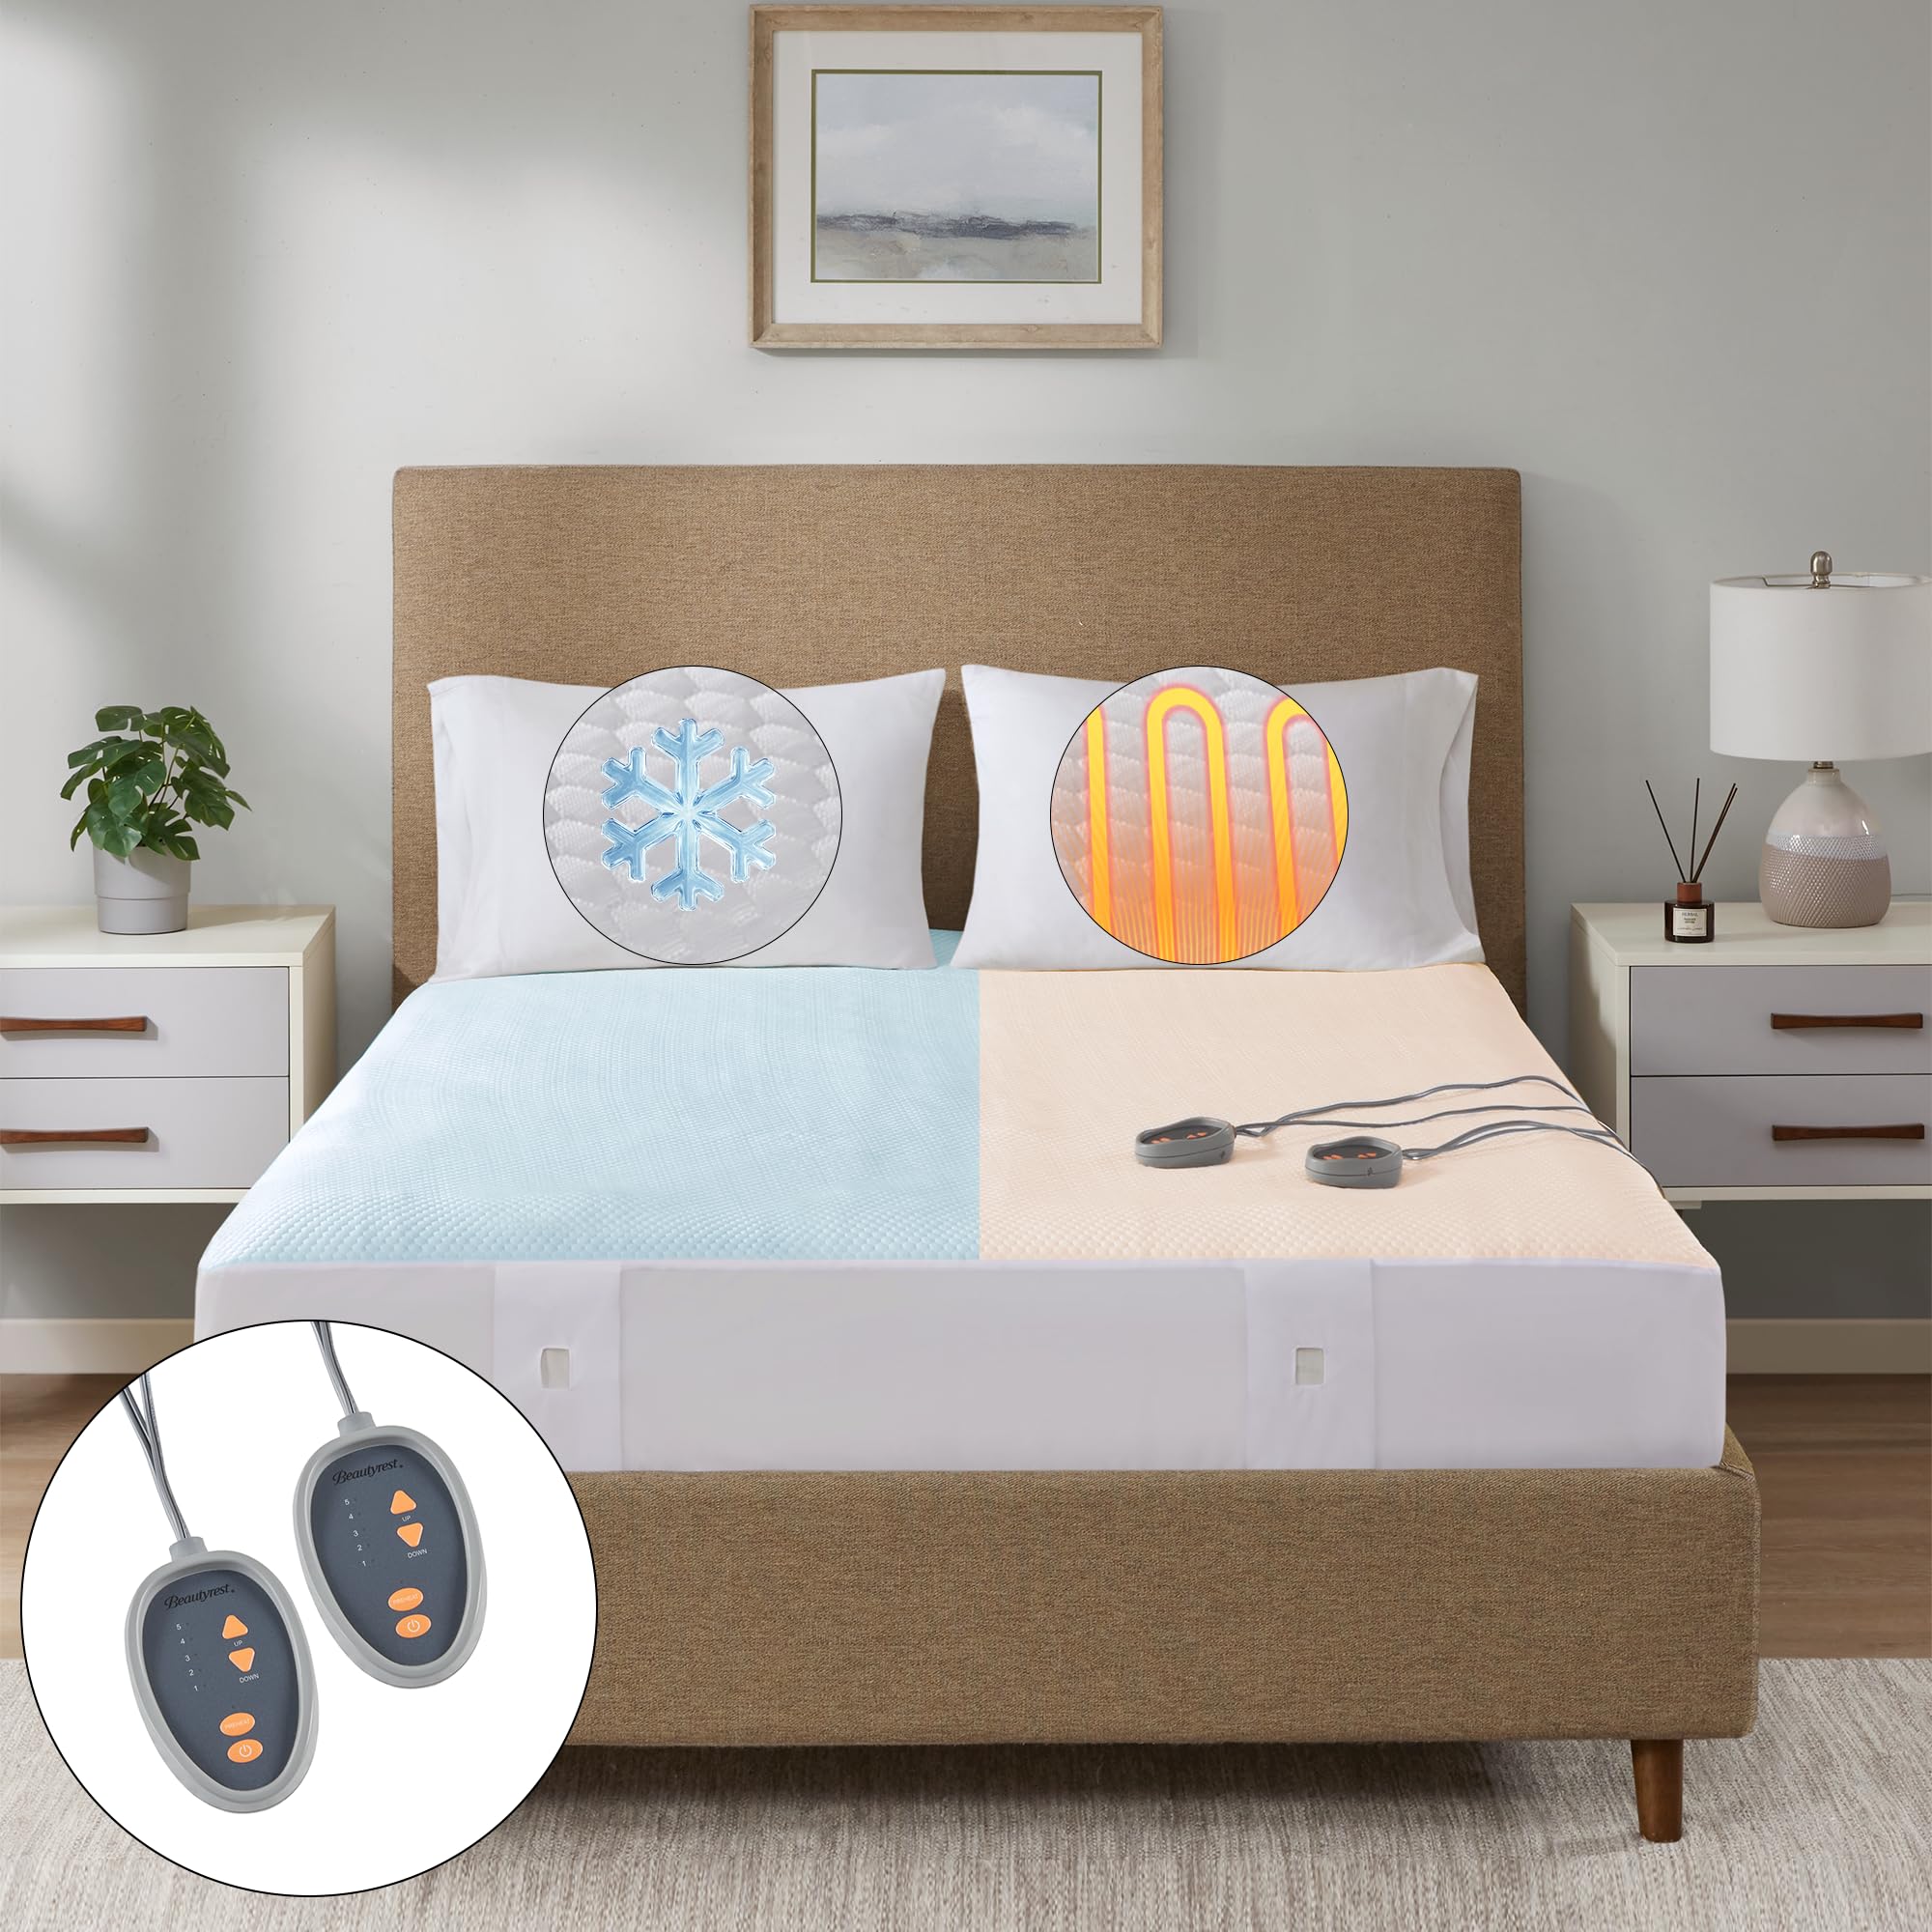 Front-load washers are the safest option for machine-washable heated pads
Source: amazon.com
Front-load washers are the safest option for machine-washable heated pads
Source: amazon.com
Gentle Hand Washing & Spot Cleaning for Non-Machine-Safe Pads
Hand washing is the safest option for pads with permanently attached controllers, vintage/heirloom models, or any pad without explicit machine-wash approval on its care label. Follow these steps:
- Prep: Unplug the pad and remove any detachable controller. Spot test any cleaning solution on an inconspicuous corner of the pad first to check for colorfastness.
- Full hand wash: Fill a clean bathtub or large utility sink with cool water (max 30C/86F) and 1 tablespoon mild liquid detergent. Submerge the pad and gently agitate with your hands—do not scrub, twist, or wring the fabric. Let it soak for 10-15 minutes if heavily soiled, then drain the tub and refill with cool clean water. Rinse repeatedly until the water runs completely clear, with no soap residue left.
- Remove excess water: Lay the pad flat on a clean, dry towel, then roll the towel and pad together tightly to squeeze out excess water. Do not wring the pad, as this can break internal wiring connections.
- Spot cleaning: For small spills, sweat stains, or localized dirt, blot the area immediately with a clean dry cloth to absorb as much liquid as possible. Mix 1 part mild detergent with 4 parts cool water, then dab (do not rub) the stain with a soft cloth. Rinse the spot with a damp cloth and blot dry with a clean towel.
Avoid harsh stain removers, bleach, or solvent-based cleaners, as these can degrade the fabric’s insulation around heating elements and create fire risks. If you also care for a feather mattress topper, our feather topper revival tips will help you clean and maintain that bedding layer safely too.
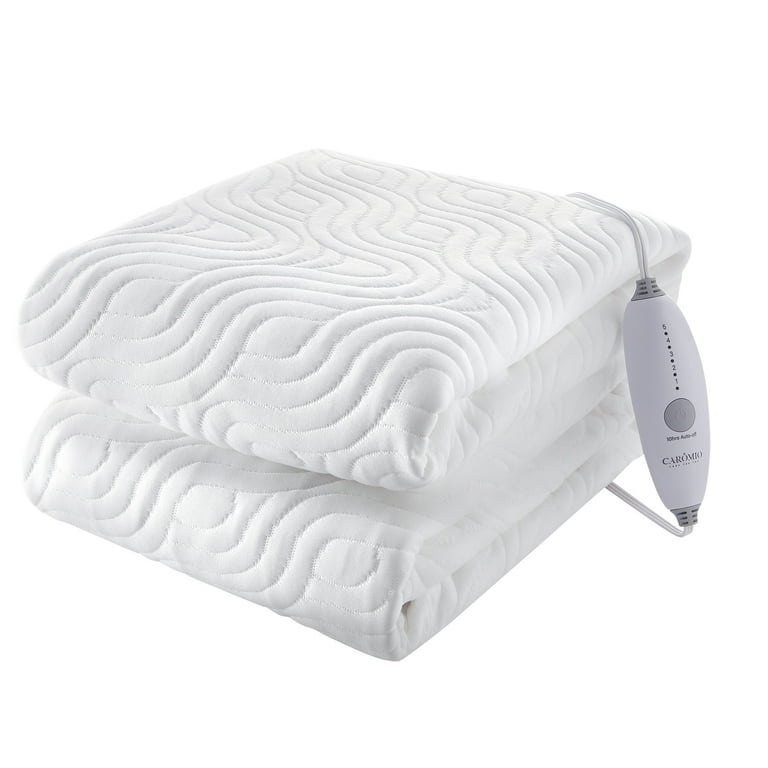 Hand washing is the safest option for pads without machine-wash approval
Source: walmart.com
Hand washing is the safest option for pads without machine-wash approval
Source: walmart.com
Safe Drying & Storage to Avoid Damage and Mold
Drying is the most critical step for preserving your pad’s safety and functionality. Improper drying is the top cause of post-wash electrical issues and mold growth.
- Drying rules: Air drying is always the safest option, as high heat can melt the insulation around internal heating elements and cause short circuits or fires. Lay the pad flat on a clean, dry surface in a well-ventilated area, away from direct sunlight (UV rays fade fabric and degrade insulation over time) and heat sources like radiators or space heaters. Flip the pad every 2-3 hours to ensure even drying, and press gently on the inner layers to check for cool, damp spots—any retained moisture can lead to mold or electrical hazards when the pad is plugged in.
- Tumble drying (only if approved): If your care label explicitly permits tumble drying, use the lowest heat or air-fluff setting, and remove the pad as soon as the cycle ends. Never use high heat, and never leave the pad in the dryer to sit, as this can cause wrinkles and put stress on internal wiring. Never use a hair dryer or portable heater to speed up drying, as concentrated heat will damage internal components.
- Storage: Once the pad is 100% dry, store it loosely rolled or folded in a breathable cotton storage bag—never use a plastic bag, as it traps moisture and encourages mold growth. Keep the pad away from sharp objects, heavy items that can crush heating elements, and extreme temperatures (do not store in a hot garage or freezing attic). If you need to store bulky bedding in a small space, our safe cutting tips for oversized toppers can help you customize storage without damaging the pad.
- Post-storage test: Before using the pad after extended storage, plug it in and run it on the lowest heat setting for 10-15 minutes to check for even heating and any frayed connections. If you notice cold spots or a burning smell, unplug immediately and stop using the pad.
 Always air dry heated pads flat to avoid stretching wiring and fabric
Source: amazon.com
Always air dry heated pads flat to avoid stretching wiring and fabric
Source: amazon.com
Troubleshooting Common Post-Wash Issues
Even with careful cleaning, small issues can arise. These fixes address the most common post-wash problems without risking damage to your pad:
- Lingering musty odors: If the pad smells damp after air drying, it likely has trapped moisture in the inner layers. Let it air out for an extra 24 hours in a well-ventilated space, then sprinkle a thin layer of baking soda over the surface, let sit for 2 hours, and vacuum gently with a soft brush attachment. Never rub baking soda into the fabric, as grit can damage wiring insulation. For persistent odors on other bedding layers, our feather topper odor solutions can help.
- Uneven heating: This is almost always caused by shifted internal heating elements from rough handling or high spin cycles. Lay the pad flat and gently massage lumpy areas to redistribute the internal batting and wiring, then run a test cycle on low heat for 15 minutes. If cold spots persist, the wiring is likely damaged—stop using the pad and contact the manufacturer for a replacement.
- Wrinkles: Never iron an electric mattress pad, as high heat will melt internal wiring insulation. Instead, lay the pad flat, smooth wrinkles by hand, and run a low-heat test cycle to relax the fabric.
- Controller malfunction: If the controller stops working after washing, first ensure all connections are dry and fully seated. If it still does not work, do not attempt to open the controller yourself—internal electrical components are not user-serviceable. Contact the manufacturer for a replacement part, as a damaged controller can cause electrical shock or fire.
If you notice any exposed wiring, burning smell, or sparking when plugging in the pad after washing, unplug it immediately and dispose of it safely—do not attempt to repair electrical components yourself.
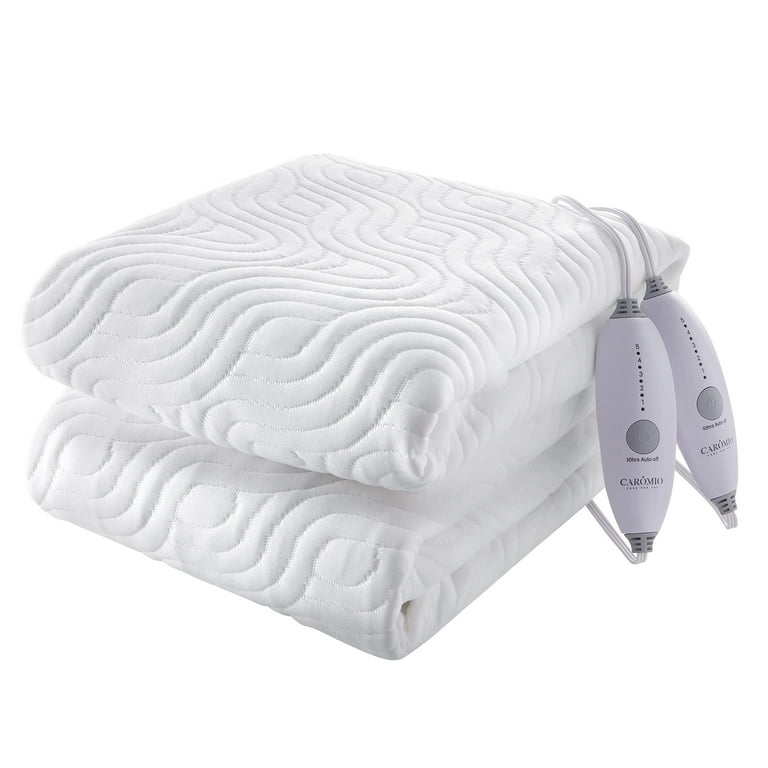 Blot spills immediately to avoid deep stains that require harsh cleaners
Source: walmart.com
Blot spills immediately to avoid deep stains that require harsh cleaners
Source: walmart.com
Maintenance Habits to Extend Pad Life
Small, consistent habits reduce the need for deep cleaning and protect your pad’s internal components:
- Use a fitted sheet or thin mattress protector over the pad to block sweat, skin cells, and spills.
- Air the pad out for 15 minutes once a week to reduce moisture buildup and odors.
- Spot clean small spills as soon as they happen, before they set into the fabric.
- Inspect cords, seams, and controller ports every 3 months for signs of wear or damage.
- Replace the pad immediately if you notice frayed wiring, uneven heating, or a persistent burning smell.
These simple steps will keep your pad running safely and efficiently for 5+ years, rather than requiring replacement after 1-2 seasons of neglect.
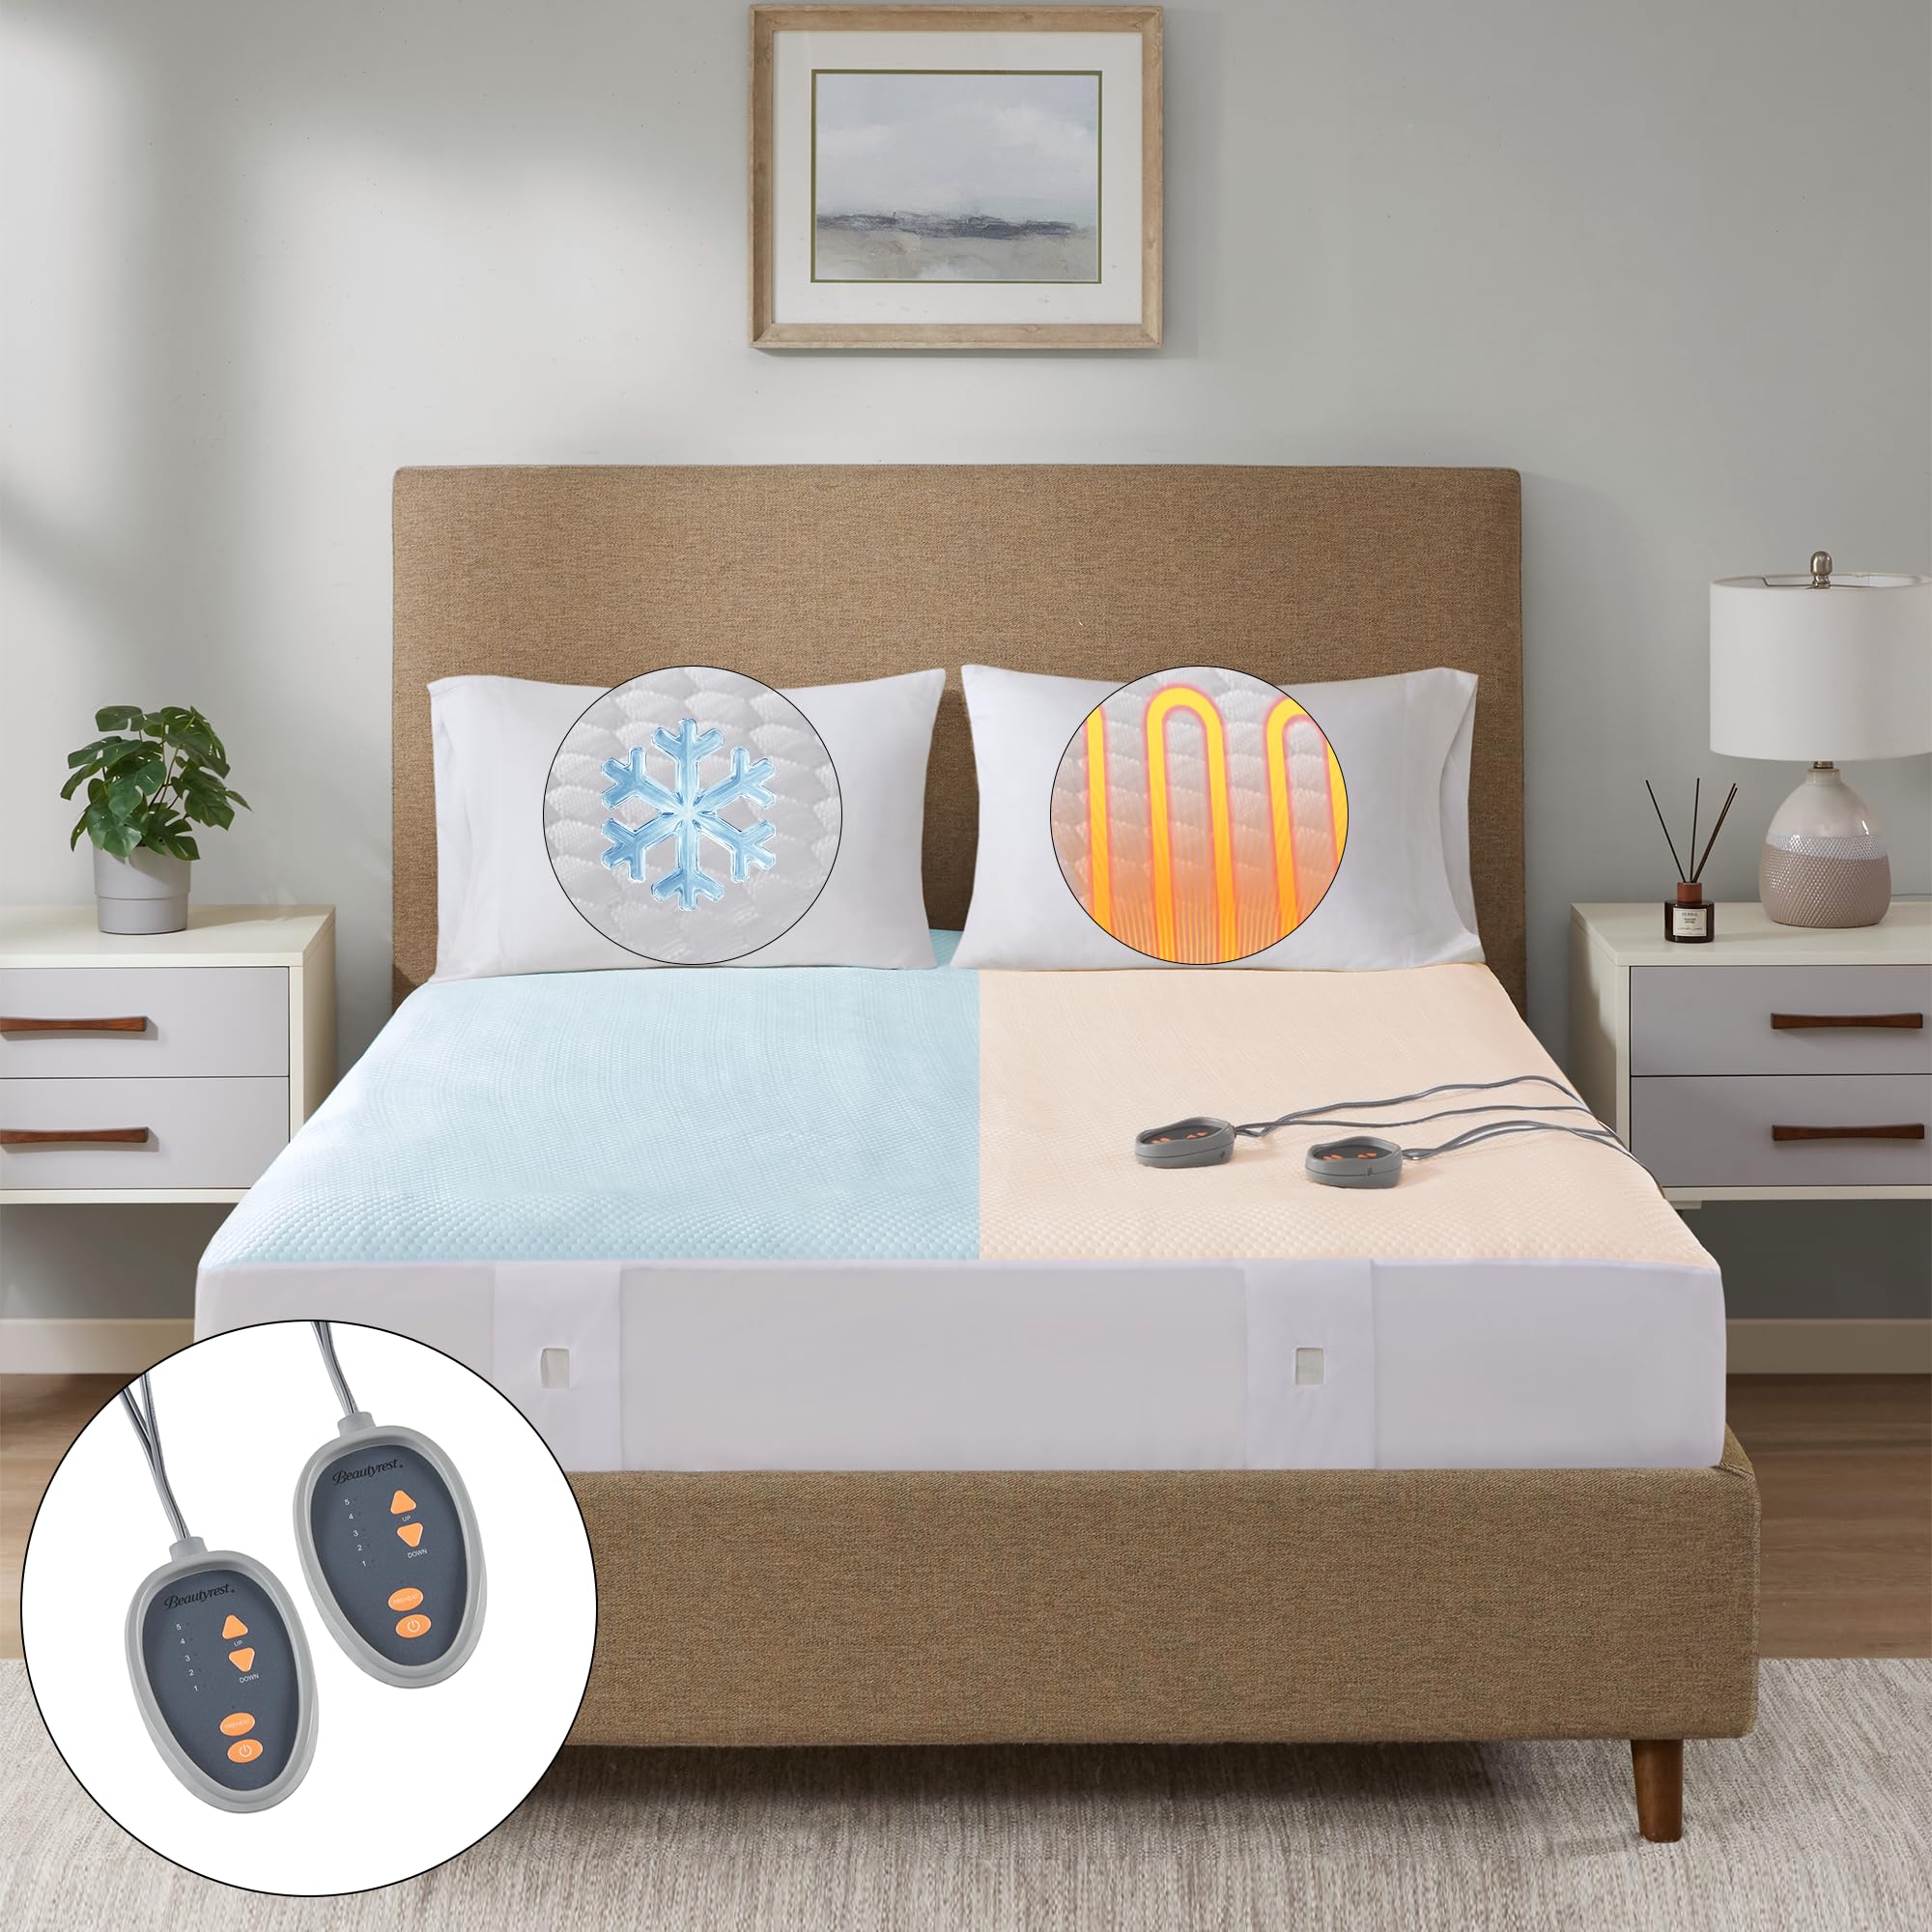 Using a fitted sheet over your heated pad reduces soil buildup between washes
Source: amazon.com
Using a fitted sheet over your heated pad reduces soil buildup between washes
Source: amazon.com
Frequently Asked Questions
How often should I wash my electric mattress pad?
Wash your pad fully every 2-3 months if you use it regularly, or more often if you sweat heavily at night, have allergies, or spill liquids frequently. Using a fitted sheet over the pad reduces soil buildup, so you can stretch the time between full washes. Spot clean small spills as soon as they happen to avoid deep staining.
Can I machine wash any electric mattress pad?
No. Only machine wash if the care label explicitly states it is machine washable. Many budget or older models have permanently attached controllers that are not water-resistant, and machine washing can damage internal wiring or cause electrical shorts. When in doubt, default to hand washing or spot cleaning.
Is it safe to tumble dry an electric mattress pad?
Only if the care label specifically permits tumble drying. If allowed, use the lowest heat or air-fluff setting, and remove the pad as soon as the cycle ends. Never use high heat, as it can melt the insulation around heating elements and create a fire hazard. Air drying is always the safest option if you’re unsure.
What detergent should I use to wash my electric mattress pad?
Use a mild, liquid, dye-free and fragrance-free detergent. Avoid powder detergents (they leave residue that clogs fabric and damages heating elements), bleach, fabric softener, and stain remover sprays with harsh chemicals, as these can degrade fabric insulation and corrode internal wiring.
What should I do if the controller gets wet during cleaning?
Unplug the pad immediately, disconnect the controller, and let both the controller and the pad’s connection port air dry completely for at least 24 hours in a well-ventilated area before reconnecting. If the controller shows signs of damage (cracks, corroded ports, malfunctioning buttons), replace it with a manufacturer-approved part—do not use a damaged controller, as it can cause electrical shock or fire.
Can I repair a ripped seam on my electric mattress pad myself?
Small, superficial tears in the outer fabric away from wiring channels can be sewn with thick, insulated thread, but avoid stitching through any internal wiring or heating elements. If the tear is near wiring, the controller connection, or the heating element area, contact the manufacturer for a professional repair—improper sewing can create exposed wires and serious safety risks.
Will washing my electric mattress pad void the warranty?
Most manufacturers allow regular cleaning per the care label instructions without voiding the warranty, but improper cleaning (using hot water, harsh chemicals, machine washing a non-machine-safe pad) can void coverage. Check your warranty terms for specific care requirements before washing.
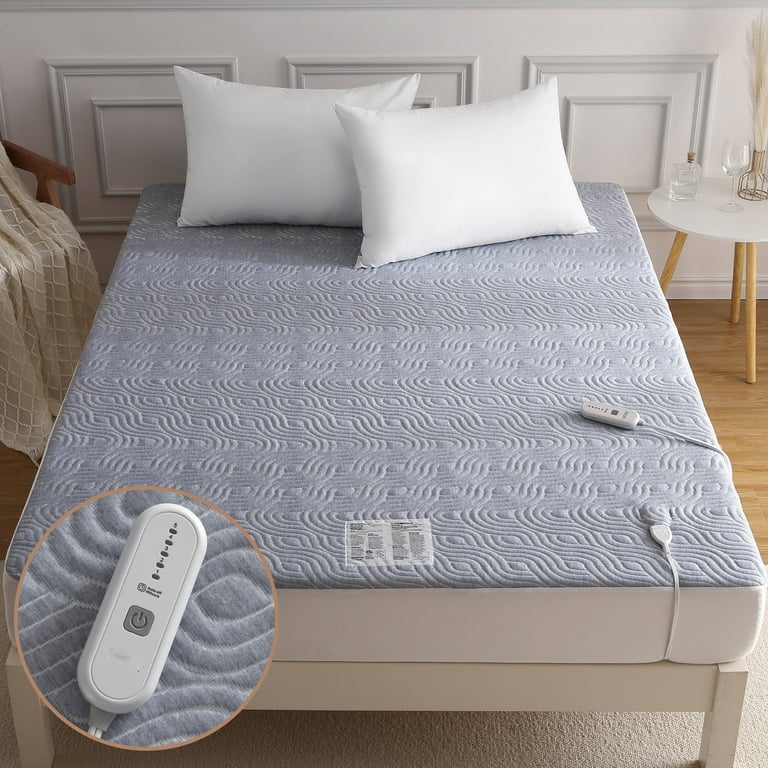 Common questions about cleaning and maintaining electric mattress pads
Source: walmart.com
Common questions about cleaning and maintaining electric mattress pads
Source: walmart.com
Conclusion
Washing your electric mattress pad doesn’t have to be risky or complicated—the entire process comes down to following your manufacturer’s care label, prioritizing gentle methods, and ensuring the pad is 100% dry before reconnecting power. By skipping harsh chemicals, high heat, and rough handling, you can keep your pad smelling fresh, heating evenly, and safe to use for 5+ years, rather than replacing it after 1-2 seasons of neglect. If you’re looking to care for all your bedding properly, check out our guides to bamboo pillow maintenance tips and feather mattress topper care for simple, safe tips to extend the life of every layer on your bed. Have a tip for keeping heated pads clean? Drop it in the comments below to help other readers avoid common mistakes.

Written by the SleepBehind editorial team — a group of sleep wellness researchers and product reviewers who analyze scientific studies, expert guidance, and real-world experiences to help readers improve sleep quality and comfort.