I’ve cleaned dozens of foam mattress toppers over the past decade, and watched friends ruin expensive toppers with well-intentioned but damaging cleaning hacks. This guide to how to clean mattress topper foam uses only tested, manufacturer-approved steps that won’t void your warranty or damage the foam’s supportive structure. You’ll learn exact product ratios, drying timelines, and troubleshooting tips for every type of stain and foam, so you can keep your topper fresh, supportive, and safe for years without replacement.
 Image source: thespruce
A clean topper lasts longer and supports better sleep hygiene
Image source: thespruce
A clean topper lasts longer and supports better sleep hygiene
Why Proper Foam Topper Cleaning Is Non-Negotiable
Foam is a porous material that traps dead skin, sweat, dust mites, allergens, and spills deep in its cell structure over time. If left uncleaned, this buildup breaks down the foam’s supportive properties, causing sagging and soft spots that ruin sleep comfort, while also triggering allergy flare-ups, skin irritation, and persistent musty odors. Excess moisture from untreated spills or improper cleaning also creates ideal conditions for mold growth, which poses serious respiratory health risks. Industry care guidelines consistently note that most prematurely replaced foam toppers are damaged by avoidable cleaning mistakes, not normal wear and tear, and most manufacturer warranties require regular gentle cleaning to stay valid. You can also read our guide on how to wear sleeping mask.
What You’ll Need (And What to Skip)
Using the right supplies is half the battle — gentle, non-toxic products clean effectively without damaging foam, while harsh chemicals cause irreversible harm.
Safe Essential Supplies
- Mild, fragrance-free liquid detergent or gentle dish soap (no added bleach, brighteners, or enzymes)
- Baking soda (for odor neutralization)
- White distilled vinegar (for mild disinfecting and odor removal)
- Clean spray bottle (for applying diluted solutions)
- Soft microfiber cloths or sponges (no abrasive scrubbers)
- Upholstery attachment for your vacuum
- Clean white towels (for blotting, to avoid dye transfer)
- Fans or a well-ventilated, shaded drying area
- Enzyme cleaner (formulated for biological stains like urine, sweat, or pet accidents)
- Optional: 3% hydrogen peroxide (for set-in pigment stains, test first)
What to Absolutely Avoid
- Bleach, ammonia, or harsh all-purpose cleaners: these break down foam’s polymer structure, cause yellowing, and release toxic fumes.
- Soaking or submerging the topper unless the manufacturer explicitly permits full washing.
- High-heat drying (space heaters, hair dryers, direct hot sun): this warps foam, causes shrinkage, and accelerates material breakdown.
- Abrasive scrub brushes or scouring pads: these tear foam cells, leaving permanent rough spots.
- Machine washing or spinning: agitation damages foam, and spin cycles cannot remove excess water from dense foam, leading to mildew.
Before you start, remove the topper from your bed, take off any removable cover, and check the manufacturer’s care label for brand-specific restrictions — many proprietary foam blends require specialized care steps to avoid damage.
 Image source: realsimple
All supplies are gentle to avoid damaging porous foam
Image source: realsimple
All supplies are gentle to avoid damaging porous foam
Step-by-Step Safe Cleaning Process
These steps work for all standard foam types (memory foam, egg crate, shredded foam) and address every common mess, from fresh spills to set-in organic stains.
1. Pre-Clean Prep
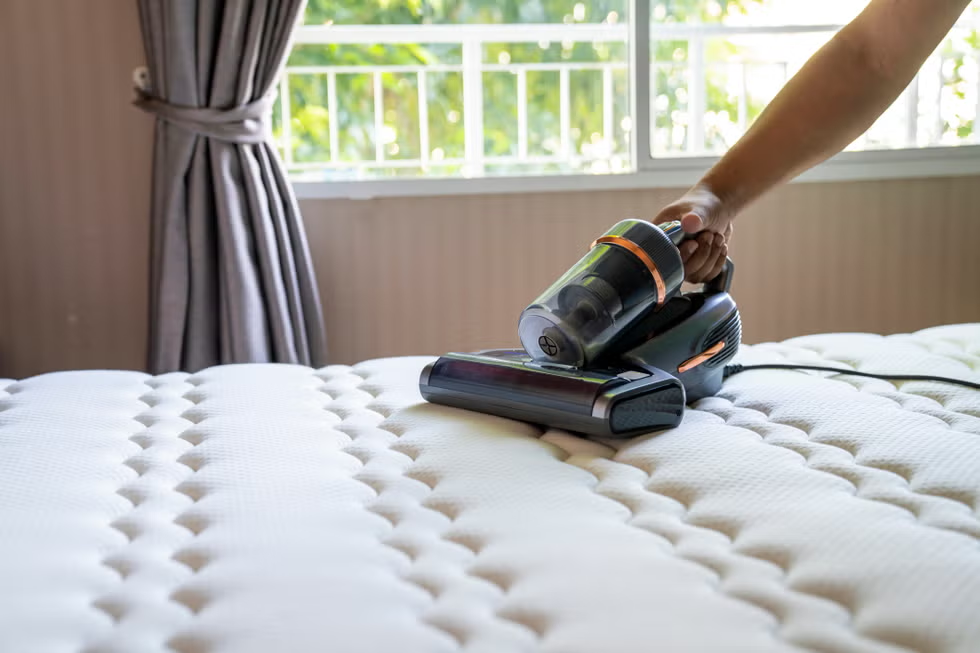
Start by vacuuming both sides of the topper thoroughly with your upholstery attachment, using slow, overlapping passes to pick up dust, dead skin, dust mites, and loose debris. Pay extra attention to seams and crevices, where buildup tends to accumulate. Next, inspect the entire surface for stains, mold, or deep soiling: mold appears as black, gray, or green specks, often accompanied by a musty, earthy odor. Take photos of problem areas to track progress as you clean. If your topper has a removable cover, wash it first following its care instructions — this prevents dirt from the cover from transferring back to the clean foam. Always confirm full submersion is safe for your model before attempting a full wash, as most foam toppers cannot tolerate being soaked.
2. Spot-Clean Surface Stains
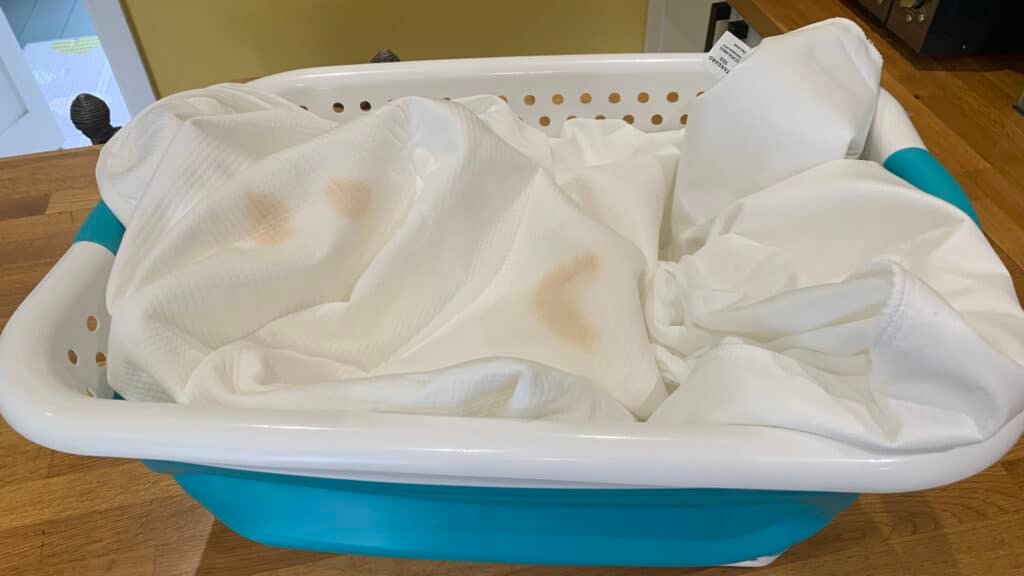
For fresh spills, food, or makeup stains, mix 1 teaspoon of mild, fragrance-free liquid detergent with 1 cup of warm (not hot) water. Dampen a clean microfiber cloth with the solution, then wring it out thoroughly so it is just damp, not dripping — excess water is the top cause of foam damage. Blot the stain from the outer edges inward to avoid spreading it, pressing gently instead of scrubbing. Rinse the cloth with clean water, wring out excess, and blot the area again to remove any soap residue, which can attract more dirt over time. Press a clean, dry white towel into the stain to absorb as much moisture as possible, then let air dry for 30 minutes before proceeding.
3. Treat Organic Stains (Urine, Sweat, Pet Accidents)
Organic stains require a different approach, as regular soap only masks odor and does not break down the proteins and uric acid crystals that cause persistent smells. Apply an enzyme cleaner formulated for biological stains directly to the affected area, following the product’s recommended dwell time (usually 10-15 minutes). Blot the area with a clean, damp cloth to lift the broken-down stains, then press with a dry towel to remove excess moisture. For set-in organic stains, you can let the enzyme cleaner sit for up to 30 minutes for deeper penetration, but never let the foam stay wet for more than an hour before drying.
4. Deodorize Deep-Seated Odors
Even after stain removal, trapped odors can linger in the foam’s core. Sprinkle a thin, even layer of baking soda across the entire surface of the topper — for a 3-inch queen topper, use roughly 1 cup of baking soda. For stronger odors, mix the baking soda with 5-10 drops of lavender or tea tree essential oil (optional) for a fresh scent. Let the baking soda sit for at least 8 hours, or up to 24 hours for very strong smells, in a well-ventilated area. After the dwell time, vacuum the entire surface thoroughly with the upholstery attachment to remove all baking soda residue.
5. Full Washing (Only If Manufacturer-Approved)
Very few foam toppers are safe for full submersion, so only attempt this step if the care label explicitly permits it. Fill a clean bathtub with cool water and 1 tablespoon of mild detergent, mixing gently to avoid suds. Submerge the topper, pressing it gently into the water to remove soil — do not wring, twist, or scrub, as this damages the foam. Drain the tub, refill with cool clean water, and press the topper gently to rinse out all soap residue. Repeat the rinse step if the water still looks sudsy.
6. Drying (The Most Critical Step)
Improper drying is the #1 cause of mold, mildew, and ruined foam toppers. Start by pressing clean, dry towels into all sides of the topper to absorb as much surface moisture as possible. Place the topper flat on a clean, dry surface in a well-ventilated, shaded area (avoid direct sun and heat sources). Position at least two fans to blow air across all sides of the topper to speed evaporation. Drying time varies by thickness: 2-inch toppers take 24 hours, 3-inch take 30 hours, and 4-inch take 36-48 hours. To check if the topper is fully dry, press firmly into the thickest part of the foam — if it feels cool or damp to the touch, it needs more drying time. Never place a damp topper back on your bed or inside its cover, as this will cause mildew to grow within 24 hours. In practice, I always add an extra 2 hours of drying time beyond what feels necessary, as trapped moisture in the foam core is impossible to see until mold grows.
 Image source: thespruce
Blotting, not scrubbing, prevents tearing foam cell structure
Image source: thespruce
Blotting, not scrubbing, prevents tearing foam cell structure
Special Care Tips By Foam Type
Different foam textures require slightly adjusted techniques to avoid damage:
- Memory foam: The densest, least porous foam type, so it traps water most easily. Avoid all soaking, use minimal moisture for spot cleaning, and deodorize for at least 12 hours for strong odors. Never use heat to dry, as this warps the foam’s shape.
- Egg crate / convoluted foam: The raised ridges have more surface area for dirt and odor buildup. Use a soft, clean toothbrush to gently agitate baking soda into the crevices during deodorizing, and vacuum slowly to pick up all residue. Blot stains gently to avoid flattening the ridges.
- Shredded foam toppers: These have a loose fill inside a fabric outer cover. First, unzip the cover and wash it separately in cold water on a delicate cycle, then dry fully before proceeding. Blot stains gently on the foam fill to avoid shifting the shreds, and dry the cover and foam separately to prevent mildew.
- Hybrid foam / feather toppers: If your topper combines foam with natural fill like down or feathers, follow specialized care steps for hybrid styles to avoid damaging the delicate feather layer, which clumps and molds easily when wet. If you need to revive a flattened feather layer after cleaning, our guide to reviving a flattened feather topper covers safe fluffing steps that won’t damage natural fill.
 Image source: wikihow
Different foam textures require tailored cleaning approaches
Image source: wikihow
Different foam textures require tailored cleaning approaches
Preventive Care To Extend Your Topper's Lifespan
Regular maintenance cuts down on deep cleaning needs and extends your topper’s usable life by 2-3 years on average:
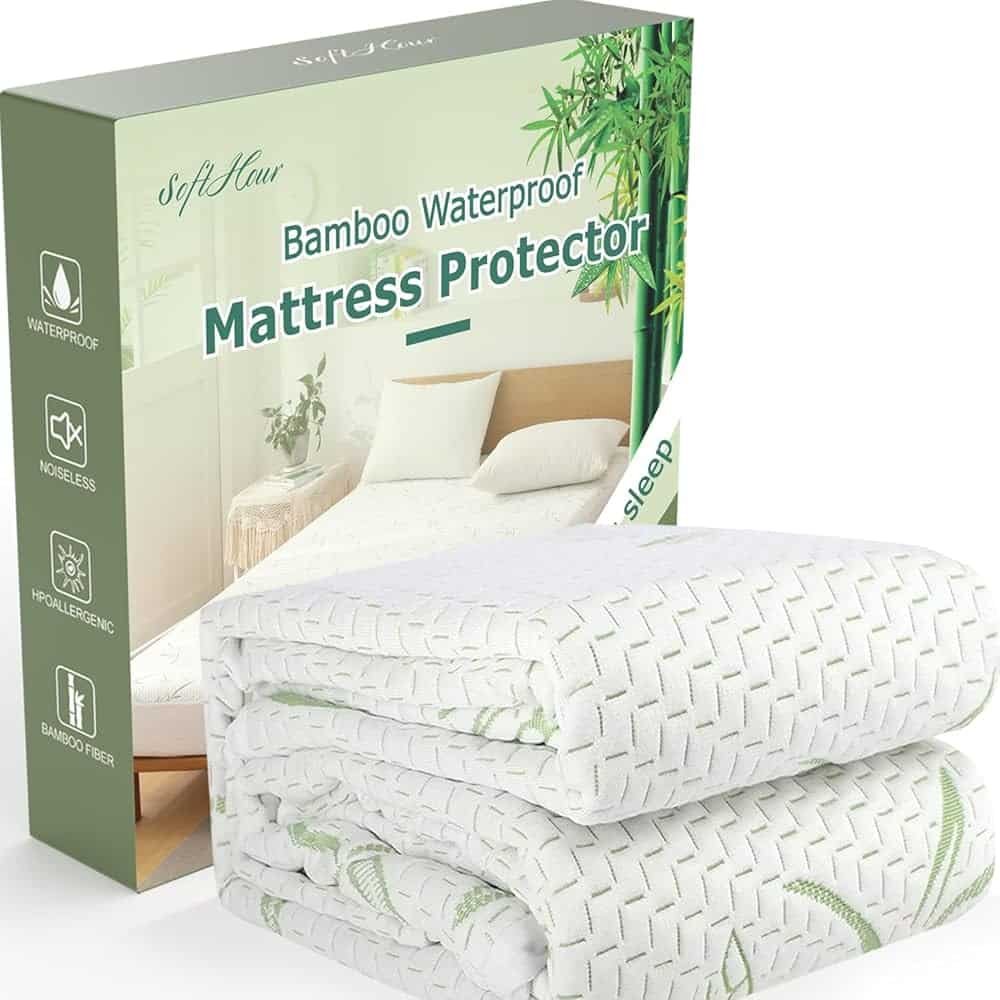
- Use a waterproof, washable mattress protector on top of the topper to block spills, sweat, and allergens. Wash the protector monthly, and follow proper protector cleaning steps to avoid damaging its waterproof layer.
- Rotate the topper 180 degrees every 3 months, and flip it top-to-bottom every 6 months to distribute wear evenly and prevent sagging.
- Vacuum the topper surface monthly with the upholstery attachment to remove dust, dead skin, and dust mites.
- Air the topper out in a shaded, well-ventilated area for 2-3 hours once a month to reduce trapped odors — never leave it in direct hot sun, which breaks down foam materials.
- If you regularly go to bed with wet hair, wear a protective sleep cap to block excess moisture from seeping into the foam and causing mildew.
- Treat fresh stains immediately: blot spills as soon as they happen, before they have time to set into the foam’s core.
 Image source: thespruce
Shaded, well-ventilated air drying prevents sun damage and warping
Image source: thespruce
Shaded, well-ventilated air drying prevents sun damage and warping
Common Cleaning Mistakes That Ruin Foam Toppers
Even small missteps can cause permanent, irreversible damage to your topper. Avoid these common errors:
- Using bleach or harsh chemical cleaners: These break down the foam’s polymer structure, causing it to crumble, yellow, and lose its supportive properties over time. They can also trigger allergic reactions and respiratory irritation.
- Soaking or submerging the topper without approval: Foam acts like a sponge, absorbing water deep into its core. Even if you dry the surface, trapped moisture will cause mold growth within 24-48 hours, leading to musty odors and health risks.
- Scrubbing stains aggressively: Rubbing or scrubbing tears the foam’s cell structure, leaving permanent rough spots, thin areas, or soft spots that ruin the topper’s support.
- Using high heat to speed drying: Space heaters, hair dryers, or direct hot sun warp the foam, cause it to shrink, and accelerate material breakdown, leading to premature sagging.
- Putting a damp topper back on the bed: Even 1-2% residual moisture is enough to grow mildew, which will spread across the entire topper and require replacement.
- Skipping the care label: Every brand uses slightly different foam blends, and ignoring the manufacturer’s instructions will almost always void your warranty and cause damage. A common mistake I see is using homemade cleaning recipes with essential oils or vinegar in high concentrations, which can degrade foam coatings over time.
 Image source: realsimple
Harsh chemicals like bleach permanently break down foam material
Image source: realsimple
Harsh chemicals like bleach permanently break down foam material
Troubleshooting Stubborn Stains, Mold, and Persistent Odors
Even with proper cleaning, some issues require extra attention:
- Set-in pigment stains (coffee, wine, makeup): Mix 1 part 3% hydrogen peroxide with 2 parts cool water, test on an inconspicuous corner first, then blot gently onto the stain. Let sit for no more than 5 minutes, then rinse with a damp cloth and dry thoroughly. Do not use this method on colored foam, as it may cause bleaching.
- Persistent odors after cleaning: Repeat the baking soda deodorizing step, letting it sit for 24 hours in a well-ventilated area. For very strong smells, spray a 50/50 mix of white vinegar and water lightly over the surface, let sit 10 minutes, then blot dry and air out fully.
- Mold growth: Mold exposure can cause respiratory irritation, allergic reactions, and other health issues, per CDC mold remediation guidelines, so never ignore musty odors or visible mold. For small, surface-level specks, spray a 50/50 mix of white vinegar and water lightly, let sit 10 minutes, blot dry, and air in a shaded, well-ventilated area for 24 hours. If mold covers more than a few square inches, has a strong earthy smell, or has penetrated deep into the foam, the topper is not safe to use — replace it immediately to avoid health risks. If you’re unsure whether damage is repairable, learn signs your topper is unsafe to keep to avoid unnecessary health risks.
 Image source: youtube
Visible mold requires immediate action to avoid health risks
Image source: youtube
Visible mold requires immediate action to avoid health risks
How To Clean Mattress Topper Foam: Quick Checklist
Use this checklist to ensure you don’t skip any critical steps:
- Remove the topper from the bed and take off the removable cover
- Vacuum both sides thoroughly with the upholstery attachment
- Spot-clean stains with mild detergent and blot, no scrubbing
- Use enzyme cleaner for organic stains, follow dwell time instructions
- Deodorize with baking soda for 8-24 hours, vacuum thoroughly
- Only fully wash if the manufacturer explicitly allows it
- Dry flat in a shaded, well-ventilated area with 2+ fans
- Confirm the topper is fully dry (no cool/damp spots) before putting it back on the bed
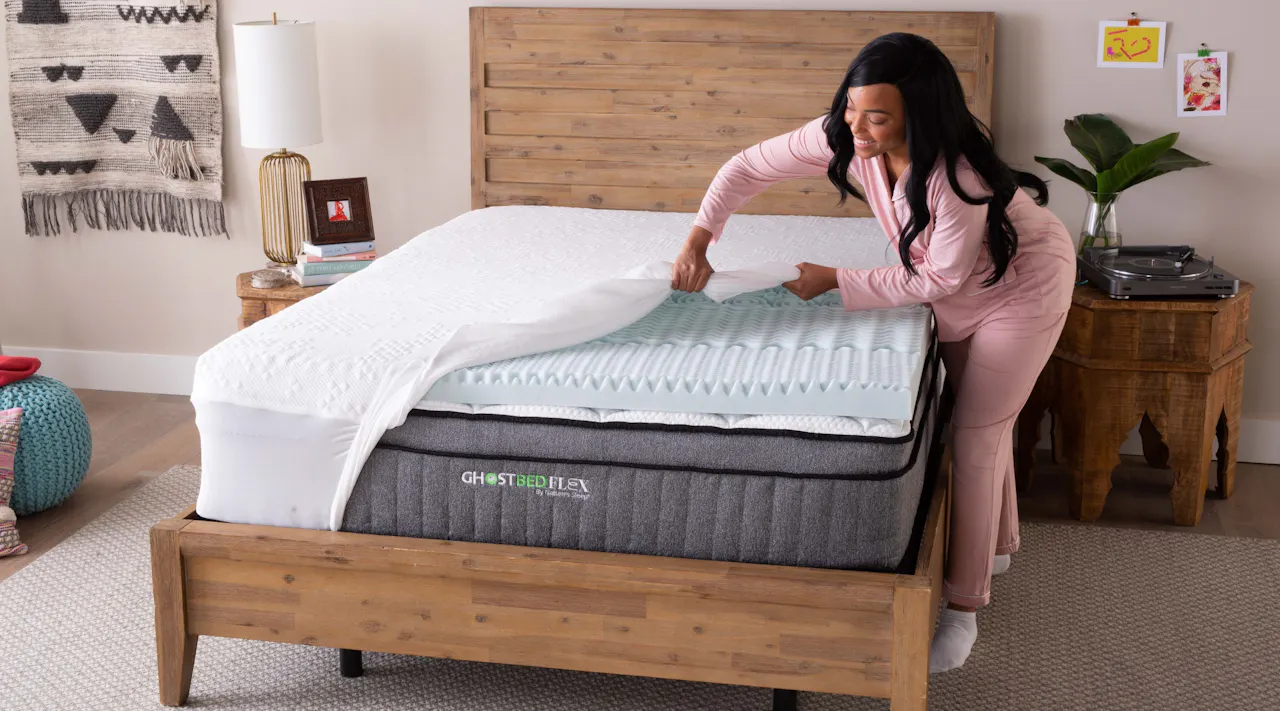 Image source: ghostbed
Follow this checklist to avoid missing critical drying steps
Image source: ghostbed
Follow this checklist to avoid missing critical drying steps
Frequently Asked Questions
Can I wash a foam mattress topper in the washing machine?
Almost no foam mattress toppers are safe for machine washing. The agitation tears foam cells, and the machine cannot fully rinse or dry dense foam, leading to waterlogging, mildew, and permanent damage. Only wash in a machine if the manufacturer explicitly states it is machine-washable, and even then, use a delicate cycle with cold water, mild detergent, and no spin cycle. Always air dry fully, never use a machine dryer.
How long does it take to dry a foam mattress topper?
Drying time depends on thickness, humidity, and ventilation: 2-inch toppers take 24 hours, 3-inch take 30-36 hours, and 4-inch take 36-48 hours in average humidity. In high-humidity climates, add an extra 12-24 hours. To confirm the topper is fully dry, press firmly into the thickest part of the foam — if it feels cool or damp to the touch, it needs more drying time. Never use heat sources to speed drying, as this warps the foam.
What is the best cleaner for urine on foam?
An enzymatic cleaner formulated for biological stains is the only safe and effective option. These cleaners break down the uric acid crystals that cause persistent urine odor and staining, unlike regular soap which only masks smells temporarily. Avoid any cleaner with ammonia, as it reacts with urine to create toxic fumes. Apply the cleaner per product instructions, let it sit for the full recommended dwell time, blot gently with a clean cloth, and dry thoroughly.
Can I use bleach or hydrogen peroxide on foam?
Never use bleach on foam: it breaks down the foam’s polymer structure, causes permanent yellowing, and releases harmful fumes. Diluted 3% hydrogen peroxide (1 part peroxide to 2 parts cool water) can lift set-in organic stains, but always test on a hidden corner first, and do not let it sit for more than 5 minutes, as it can bleach the foam’s color and weaken the material over time.
How often should I clean my foam mattress topper?
Vacuum the topper surface monthly to remove dust, dead skin, and allergens. Deodorize with baking soda every 3-6 months, or more often if you have pets, allergies, or sleep hot. Spot-clean stains immediately as they occur — fresh stains are 5x easier to remove than set-in ones. Deep clean (full spot treatment and deodorizing) every 6-12 months, or when you notice persistent odors or visible soiling.
Will cleaning ruin memory foam?
No, as long as you follow manufacturer guidelines and avoid over-wetting. Memory foam is designed to be durable, but excessive moisture, harsh chemicals, or high heat will break down its supportive structure over time, causing sagging, crumbling, or loss of its contouring properties. Always use minimal moisture and allow for complete, unassisted air drying.
Can I use a steam cleaner on my foam mattress topper?
No, steam cleaners inject excess moisture into the foam core, which takes far longer to dry than surface cleaning and almost always leads to mold growth. Even if the surface feels dry, trapped steam will cause mildew inside the foam within a few days, leading to musty odors and health risks.
What should I do if my topper smells like mildew after cleaning?
If you notice a musty mildew smell after cleaning, the topper was not dried thoroughly enough. If the smell is faint, sprinkle baking soda over the entire surface, let sit for 24 hours in a well-ventilated area, then vacuum thoroughly. If the smell persists, the mildew has likely penetrated the foam core, and the topper should be replaced to avoid health risks.
 Image source: realsimple
Always test cleaning solutions on an inconspicuous area first
Image source: realsimple
Always test cleaning solutions on an inconspicuous area first
Conclusion
Cleaning a foam mattress topper doesn’t require harsh chemicals or complicated steps — the key is using gentle products, minimal moisture, and thorough, unassisted drying. With regular preventive care like using a washable cover and rotating the topper, you can extend its lifespan by 2-3 years, saving you the cost of frequent replacements. If you’ve followed these steps and still have a stained or damaged topper, check out our guide to deep cleaning severely soiled mattresses for extra-tough messes. If you have a feather or hybrid topper, our guide to reviving a flattened feather topper covers safe deodorizing and fluffing steps that won’t damage natural fill. Have a cleaning tip that worked for you? Share it in the comments below.

Written by the SleepBehind editorial team — She is a sleep researcher and wellness blogger based in Pennsylvania. Passionate about helping people optimize their sleep.