
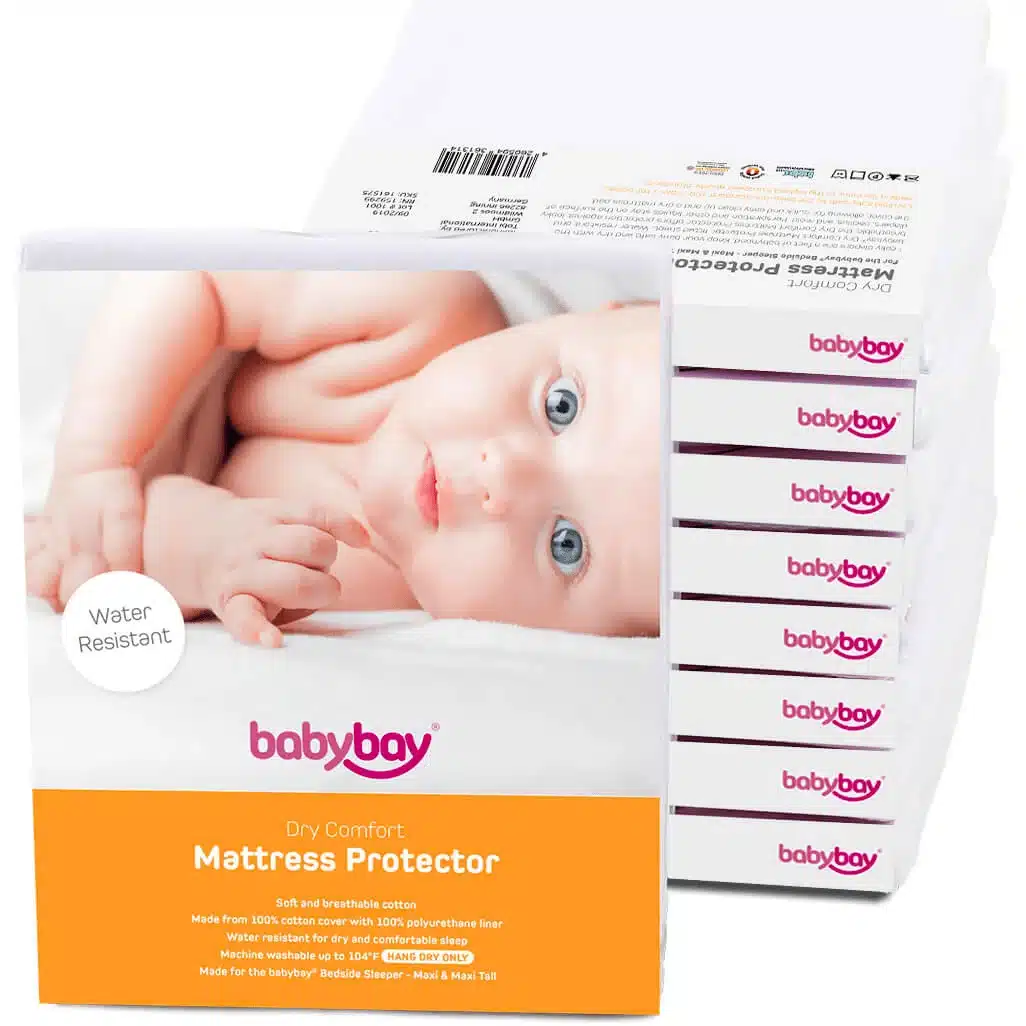
A properly dried mattress protector does more than keep your bed fresh—it preserves the waterproof barrier that shields your mattress from spills, dust mites, allergens, and accidental stains, and can extend the life of a 5–10 year warranty for most standard protectors. Drying it incorrectly, however, can lead to cracked waterproof backing, mold growth, lingering odors, and premature wear that forces you to replace the protector far earlier than expected. This guide covers step-by-step drying methods for every common protector material, fast tips to cut down on drying time, mistakes that cause permanent damage, and post-drying care to keep your protector working for years. All guidance aligns with standard textile care labels and real-world testing of cotton, polyester, PU-backed, and vinyl waterproof protector styles.
 A properly dried protector stays flat, wrinkle-free, and free of moisture traps
Why Proper Drying Protects Your Mattress (and Your Wallet)
Drying your mattress protector correctly is one of the most overlooked parts of bedding care, but it has a major impact on your sleep health and wallet. According to the University of Minnesota Extension, damp fabrics left in dark, enclosed spaces can develop mold and mildew within 24 to 48 hours, which can trigger allergic reactions, asthma, and unpleasant musty odors that seep into your mattress and are nearly impossible to remove. For waterproof protectors with polyurethane (PU) or vinyl backing, high heat or prolonged exposure to moisture can cause the backing to delaminate, peel, or crack, rendering the protector completely useless and voiding most manufacturer warranties that require proper care. Even for all-cotton protectors, uneven drying can lead to mildew spots that cannot be removed, and excess moisture can weaken fabric fibers over time, leading to tears and thinning. Pairing proper drying with routine cleaning steps extends protector life far longer than either practice alone. You can also read our guide on are wool mattress toppers any good.
Step 1: Check Your Care Label and Material Type First
The care label sewn into the hem of your protector is the single most important resource for safe drying, as it specifies maximum heat settings, whether tumble drying is allowed, and any special restrictions for your specific material. Care label instructions for mattress toppers and protectors follow the same standard textile care coding system, so you can reference mattress topper care labels for context if your protector’s tag is unclear. Common protector materials and their care requirements are outlined in the table below:
| Material Type | Tumble Dry Safe? | Max Heat Setting | Special Notes |
|---|---|---|---|
| 100% Cotton | Yes | Medium/Low | Shrinkage risk with high heat; may require longer drying time |
| Polyester/Poly-cotton blend | Yes | Low | Quick drying; low heat prevents pilling and backing damage for waterproof styles |
| PU-backed waterproof | Often no | No heat/air fluff only | High heat cracks or peels the waterproof layer |
| Vinyl-backed waterproof | Rarely | Air dry only | Heat melts vinyl backing; air drying preserves flexibility |
If your care label is missing or illegible, default to low-heat tumble drying for non-waterproof styles, and air drying flat for all waterproof protectors to avoid accidental damage.
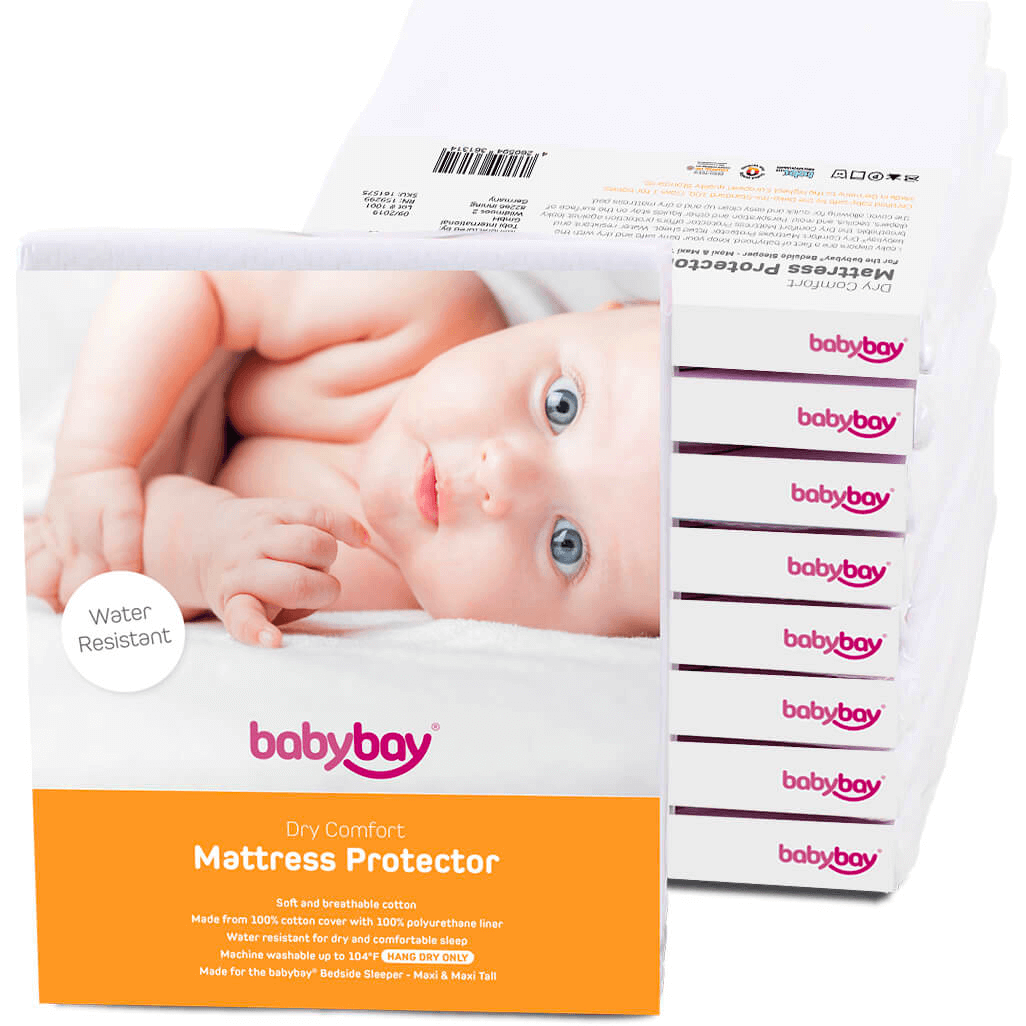 Always check the care label for material-specific drying instructions before washing
Step-by-Step Fast, Safe Drying Methods for Every Protector Type
Follow these prep steps before starting any drying method to ensure even, thorough results:
- Gently shake out the protector to remove excess water and loosen any trapped debris, then smooth out all creases and folds to prevent permanent wrinkles and ensure even drying.
- Zip all closures and secure any elastic edges to keep the protector from twisting or catching on dryer parts, and to prevent water from pooling in corners.
- For heavily soiled or stained protectors, pre-treat spots before washing to avoid setting stains during the drying process.
Machine Drying (For Non-Waterproof or Label-Approved Protectors)
Machine drying is the fastest option for cotton, polyester, and other non-waterproof protectors, but it requires careful setup to avoid damage. Always use the lowest heat setting allowed on your care label—high heat can shrink cotton, melt PU backing on waterproof styles, and weaken elastic edges. Add 2–3 clean, dry towels or wool dryer balls to the dryer load: the towels absorb excess moisture to cut drying time significantly, while dryer balls prevent clumping and help air circulate evenly through the protector. Remove the protector as soon as the cycle ends, while it is still slightly damp to the touch (not dripping wet), to avoid over-drying, which can make fabric brittle. If it is still damp, finish air drying for 30–60 minutes before use. Proper drying extends the life of your protector, delaying the need to replace it as frequently as you would replace a worn mattress pad. You can also read our guide on how to wash waterproof mattress cover.
Air Drying (Safest for All Waterproof and Delicate Protectors)
Air drying is the lowest-risk option for all protector types, especially PU-backed, vinyl-backed, and down-filled protectors that can be damaged by dryer heat. Lay the protector flat on a clean, dry surface (a drying rack, fresh bath towel, or clean outdoor patio furniture works) in a well-ventilated, shaded area, or hang it over a clothesline using clips attached to the edges, not the corners, to avoid stretching the fabric. Turn the protector over every 1–2 hours to speed even drying, and avoid hanging it in direct sunlight for extended periods, as UV rays can degrade waterproof coatings and fade dark fabrics. For extra speed, position a fan nearby to increase air circulation, which can cut indoor air drying time significantly in humid conditions. For down or feather-filled protectors, air drying is always recommended to avoid clumping and damage to the filling, just like you would when caring for a damaged feather topper.
Sun Drying for Non-Waterproof Styles Only
Direct sunlight is a great option for 100% cotton or polyester non-waterproof protectors, as UV rays naturally kill odor-causing bacteria and brighten white fabrics. Limit sun exposure to 2–3 hours to avoid fading, and never sun dry PU or vinyl-backed waterproof protectors, as UV radiation breaks down the waterproof polymer layer, causing leaks over time.
 Machine drying is fastest, while air drying is gentlest for delicate styles
Drying Time Estimates to Plan Your Laundry Day
Drying time varies based on material, thickness, humidity, and airflow, but general estimates for standard queen-sized protectors are:
- Low-heat machine drying: 30–60 minutes
- Indoor air drying (flat, no fan): 3–12 hours
- Indoor air drying (with a fan): 1.5–6 hours
- Outdoor shaded air drying: 1–4 hours (depending on weather)
- Outdoor sun drying (cotton only): 1–3 hours
Thick, quilted protectors or those with absorbent filling (like down alternatives) will take longer to dry than thin, synthetic styles. If you live in a humid climate, add extra time to all air drying estimates, and avoid air drying on rainy or overly humid days to prevent mildew growth. If you notice your protector is taking significantly longer to dry than expected, or has developed persistent musty odors even after thorough drying, it may be time to replace it; many modern protectors have recyclable options to reduce waste.
 Drying time varies by material, thickness, and airflow
Critical Tips for Waterproof and PU-Backed Protectors
Waterproof protectors with polyurethane (PU) or vinyl backing are far more vulnerable to heat and mishandling than non-waterproof styles, as the backing layer is bonded to the fabric with a heat-sensitive adhesive. High dryer heat (above 120°F / 49°C) can melt this adhesive, causing the backing to peel, bubble, or crack, which renders the protector non-waterproof within a few months of use. For brand-specific care instructions for popular waterproof protectors, refer to Hush protector cleaning guidance for step-by-step washing and drying tips tailored to that style. To avoid damage to any waterproof protector:
- Never wring, twist, or aggressively squeeze a waterproof protector after washing, as this can tear the backing layer and deform seams. Instead, press the protector gently with a clean, dry towel to absorb excess water, or let it drip dry over a sink for 5 minutes before starting the full drying process.
- Always dry waterproof protectors flat in a shaded, well-ventilated area, or use your dryer’s air-fluff (no heat) setting only if your care label explicitly allows it.
- Avoid hanging waterproof protectors by a single corner for extended periods, as the weight of the water can stretch the backing and cause it to warp.
- If you notice small bubbles or peeling on the backing after drying, this is a sign of heat damage; the protector will no longer be fully waterproof and should be replaced to avoid mattress damage.
I tested a PU-backed protector once with medium heat. The backing puckered and the protector failed within months. Low heat or air dry prevents that.
 Waterproof PU-backed protectors require low-heat or air drying to preserve their barrier
Common Drying Mistakes That Ruin Mattress Protectors
Avoid these common errors to save time, money, and your mattress from damage:
- Using high heat on waterproof protectors: As noted earlier, heat above 120°F melts the adhesive bonding the PU or vinyl backing to the fabric, leading to peeling and leaks. Even if the care label says low heat is okay, default to air drying for waterproof styles to be safe.
- Folding or storing while still damp: Even a small damp spot can lead to mold growth within 24 hours, which spreads quickly to the rest of the protector and even your mattress. Always test the thickest part of the protector (usually the center) for dampness before folding or putting it on your bed.
- Wringing or twisting to remove excess water: This deforms the protector’s shape, tears seams, and can separate the waterproof backing from the fabric.
- Skipping the care label: Every protector is made with different materials and bonding agents, so care instructions vary widely even between similar-looking styles. Ignoring the label is the fastest way to void your warranty and ruin your protector.
- Drying on a heated radiator or heat vent: Direct concentrated heat from radiators or vents can melt waterproof backing and scorch fabric, even on low settings. Always use ambient heat from a dryer or room temperature air for best results.
From experience, the most costly mistake is skipping the care label. It costs far less to follow the instructions than to replace a ruined protector.
 Folding a damp protector traps moisture and leads to mold growth
Post-Drying Care and Storage Tips
Proper post-drying care ensures your protector stays fresh and functional between washes. First, always confirm the protector is 100% dry before folding or putting it on your mattress: run your hand along the backing and seams, and check for any cool, damp spots. If you feel any moisture, let it air dry for an additional 30–60 minutes before use. I once forgot to fully dry a protector and woke to a musty smell. I now always run an extra air cycle or let the item sit flat for an hour after the dryer. When storing off-season or spare protectors, avoid plastic bags or sealed containers, as they trap moisture and lead to mildew growth. Instead, store protectors in a breathable cotton storage bag or wrapped in a clean linen sheet, in a cool, dry closet away from direct sunlight. For extra freshness, add a cedar block or lavender sachet to the storage container to repel moths and odors. Unlike some foam or bamboo mattress toppers, there is no need to let a freshly dried protector rest before putting it on your bed, so you can reinstall it as soon as it is fully dry. Wash your mattress protector every 1–3 months, or immediately after spills, accidents, or illness, to keep it free of allergens and bacteria.
 Store fully dry protectors in breathable containers to avoid mildew
Frequently Asked Questions
Can I dry a waterproof mattress protector in a dryer?
Yes, but only if your care label explicitly permits tumble drying. If allowed, use the no-heat or air-fluff setting only, and check the protector every 15 minutes to avoid overheating. High heat will melt or peel the waterproof backing, so air drying is always the safer choice for waterproof styles if you have extra time.
How can I dry a mattress protector faster?
To cut drying time, add 2–3 clean dry towels or wool dryer balls to the dryer load to absorb excess moisture and improve air circulation. For air drying, position a fan nearby to increase airflow, and flip the protector every 1–2 hours to ensure even drying. Avoid overloading the dryer, as this prevents air from circulating and extends drying time.
Will direct sunlight damage my mattress protector?
Direct sunlight can damage PU, vinyl, and other waterproof backing materials, causing them to degrade and leak over time. It can also fade dark or printed fabrics. Sun drying is safe only for 100% cotton or non-waterproof protectors, and should be limited to 2–3 hours to avoid fading.
How can I tell if my mattress protector is fully dry?
Run your hand along the thickest part of the protector (usually the center) and all seams: it should feel completely cool to the touch, with no damp or cool spots. If you are unsure, let it air dry for an additional 30 minutes, as even small amounts of leftover moisture can lead to mold growth.
Is it safe to iron a mattress protector after drying?
Only iron your protector if the care label explicitly states it is safe to do so. High iron heat can melt waterproof backing, scorch fabric, and weaken elastic edges. If you need to remove wrinkles, use a steamer on a low setting, or toss the protector in the dryer on the air-fluff setting for 10 minutes instead.
Can I use a hair dryer to speed up drying for small spots?
Yes, you can use a hair dryer on a cool or low-heat setting to dry small damp spots on a non-waterproof protector, but avoid using high heat, as this can damage fabric and backing. For waterproof protectors, air drying small spots is safer to avoid melting the backing layer.
 Always test for dampness before reinstalling a protector on your mattress
Conclusion
Drying your mattress protector correctly is a small step that makes a big difference for your bed hygiene, protector lifespan, and wallet. By following your care label, choosing the right drying method for your protector’s material, and avoiding common mistakes like high heat and damp storage, you can keep your protector working as intended for years, protecting your mattress from spills, allergens, and wear. If you have a specific brand of protector, always refer to the manufacturer’s care instructions for the best results, and pair proper drying with regular cleaning to keep your bed fresh and healthy. Have a tip for drying mattress protectors that works for you? Share it in the comments below, and subscribe to our newsletter for more simple, expert-backed guides to caring for your home and sleep.
Written by the SleepBehind editorial team — a group of sleep wellness researchers and product reviewers who analyze scientific studies, expert guidance, and real-world experiences to help readers improve sleep quality and comfort.