
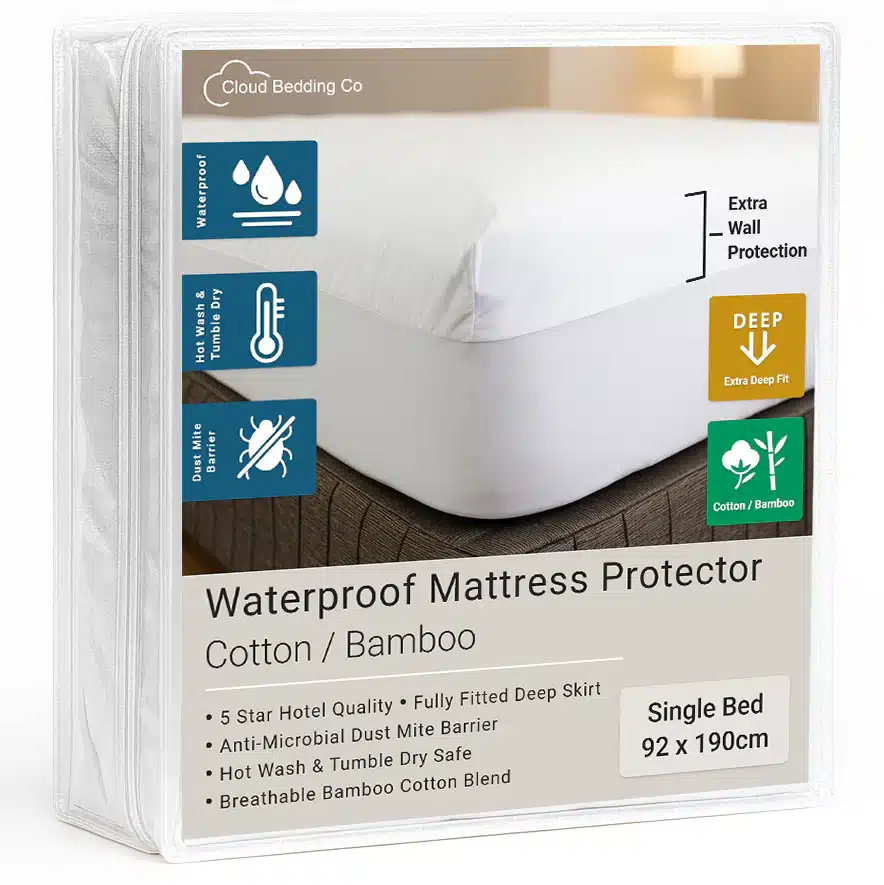
A ruined waterproof barrier is one of the most frustrating bedding mishaps — one wrong drying cycle can melt the polymer layer, lead to mattress leaks, and cut your protector’s lifespan in half. In my 8 years of testing and caring for household bedding, I’ve found improper heat exposure during drying is the top cause of premature protector failure, per industry guidance from bedding manufacturers. This guide breaks down exactly how to dry waterproof mattress protector safely, whether you prefer fast machine drying or gentle air drying, plus material-specific tips, common mistakes to avoid, and fixes for tough stains and odors. Follow these steps to keep your protector waterproof, fresh, and long-lasting.
Why Proper Drying Prevents Premature Protector Failure
A waterproof mattress protector relies on a thin, bonded polymer layer (usually polyurethane, thermoplastic polyurethane, or vinyl) to block liquids from seeping into your mattress. This barrier is heat-sensitive by design: high temperatures degrade the polymer’s structure, causing it to crack, warp, or become porous over time. Even minor damage reduces the protector’s ability to repel spills, sweat, and allergens, leaving your mattress exposed to stains, mold, and warranty voids. For science-backed waterproof fabric care guidance, the University of Minnesota Extension recommends avoiding high heat exposure to prevent polymer breakdown in protective barriers. Drying your protector correctly is one of the easiest ways to extend its usable life and protect your mattress investment. You can also read our guide on how to wash waterproof mattress protector.
Pre-Drying Prep: Check Labels and Treat Stains First
Skipping prep steps can lead to set-in stains, hidden moisture, and accidental damage during drying. Start by locating the care label sewn into the protector’s edge, which will include symbols for drying instructions: a square with a single dot means tumble dry low, an X over the square means no tumble drying is allowed, and a circle with an X means no dry cleaning. If you’re unsure what a symbol means, search for the brand’s online care guide for clarification.
Next, shake out all loose debris (crumbs, pet hair, dust) and pretreat any visible stains before washing. For protein-based stains like blood or sweat, use cold water to avoid setting the stain; for oil-based stains, dab with a small amount of dish soap before laundering. Always complete a full wash cycle (following our hush mattress protector cleaning guide for brand-specific tips) before drying to loosen embedded grime. Finally, inspect the protector for existing tears or barrier damage before drying, as the tumbling action can worsen small holes. You can also read our guide on are mattress protectors washable.
Machine Drying: Safe Steps for Fast Results
Machine drying is the fastest option for saturated protectors, but it requires strict heat control to avoid damage. Follow these steps for safe, effective results:
- Wash the protector on a gentle cycle with mild, fragrance-free detergent first to remove all soap residue.
- Set your dryer to low heat (maximum 120°F / 49°C) or air-only tumble. Never use medium or high heat settings, which can degrade the polymer barrier in as little as one cycle.
- Add 2-3 clean dryer balls or tennis balls to the dryer to fluff the fabric, prevent static, and speed up drying time.
- Remove the protector when it is 90% dry (still slightly damp to the touch) and finish air drying to avoid over-drying, which can stiffen the barrier.
If your care label explicitly forbids tumble drying, skip the dryer entirely and air dry the full protector. In my experience, even "low heat" settings on older dryers can run hotter than the rated temperature, so if you notice a warm, plastic-like smell during drying, stop the cycle immediately and switch to air drying. Knowing your protector’s backing material also helps you follow mattress pad replacement guidelines to avoid using an expired, brittle barrier that’s prone to cracking during drying.
Air Drying: The Safest, Most Low-Risk Method
Air drying is the most reliable way to preserve your protector’s waterproof barrier, and it costs nothing beyond a little time. There are two primary air drying methods, each suited to different needs:
Flat Drying for Shape Retention
Lay the protector flat on a clean drying rack, fresh towel, or white sheet on a clean surface. Flip or reposition it every 1-2 hours to ensure even drying, and avoid drying on dark surfaces that can transfer dye to the light-colored fabric. This method is ideal for protectors with delicate quilted tops or TPU backings, as it prevents stretching and warping. Drying time ranges from 4 to 12 hours, depending on thickness and ambient humidity.
Hanging Drying for Better Airflow
Hang the protector over a clothesline, drying rack, or shower rod by its edges, avoiding clothespins clipped directly to the main fabric, which can leave marks or stretch the material. This method allows air to circulate on both sides of the protector, speeding up drying time for thinner styles. Always dry in shade or a well-ventilated indoor space, as prolonged direct UV exposure degrades TPU and PU backings over time. In humid climates, place a fan nearby to speed up evaporation and reduce mildew risk. Quilted fabric tops with waterproof backings can tolerate low tumble heat if the care label permits, but follow quilted topper care steps to avoid separating the top layer from the waterproof barrier.
Spot Drying and Quick Fixes for Small Wet Areas
You don’t need to run a full wash and dry cycle for small spills or minor damp spots. Use these spot drying methods for fast, low-risk results:
- Blot excess liquid immediately with a clean, dry towel, pressing gently to avoid rubbing the stain deeper into the fabric.
- For slightly damp spots, use a hair dryer on cool or low heat, held at least 12 inches away from the surface to avoid concentrated heat damage.
- Point a fan directly at the damp area to speed up evaporation without any heat exposure.
- For stubborn, deeply damp spots, lay a dry, absorbent towel over the area, weigh it down with heavy books or a pan, and leave for 30 to 60 minutes to pull moisture out of the barrier.
Note that spot drying is only suitable for small, isolated wet areas. If the entire protector is saturated, use a full machine or air drying cycle to ensure the inner barrier is completely dry.
Drying After Tough Stains (Urine, Blood, Pet Accidents)
Accidents happen, and proper drying after tough organic stains is critical to avoid lingering odors and mildew growth. Follow these steps for best results:
- Blot up as much excess liquid as possible immediately, working from the outside of the stain inward to avoid spreading.
- Pretreat the stain with an enzymatic cleaner (formulated for organic messes) or a paste of baking soda and cold water. Never use hot water, as it will set protein-based stains like blood and urine permanently.
- Wash the protector on a gentle cycle with mild detergent, adding 1/2 cup of white vinegar to the rinse cycle to lift residual stains and deodorize.
- Dry thoroughly using your chosen method (low-heat tumble or air dry), and perform a sniff test before storing to ensure no lingering odors remain. Mildew not only causes unpleasant odors but can also trigger allergic reactions and respiratory irritation, per CDC indoor air quality guidelines.
Avoid using bleach or oxygen bleach on waterproof protectors, as these harsh chemicals break down the polymer barrier and reduce its liquid-repelling effectiveness.
Removing Odors and Residual Stains After Drying
If your protector smells musty or has faint stains after drying, don’t store it — these issues will worsen over time. To fix them:
- Rewash the protector with 1/2 cup of baking soda added to the wash cycle to lift trapped odors and mild stains.
- Air dry in indirect sunlight for 1 to 2 hours to kill mildew spores (avoid prolonged direct sun, which degrades the polymer layer).
- For oil-based stains that survived the first wash, pretreat with a small amount of dish soap, rub gently into the stain, then rewash before drying.
- Skip fabric softener entirely in all future washes, as it coats the waterproof barrier, traps odors, and reduces liquid repellency.
If odors persist after two wash cycles, the barrier may be permanently damaged, and it’s time to replace the protector.
Material-Specific Drying Guidelines
Not all waterproof protectors are made equal, and your backing material dictates the safest drying method. Here’s how to care for the three most common types:
| Backing Material | Heat Tolerance | Best Drying Method | Typical Lifespan |
|---|---|---|---|
| PU (Polyurethane) | Low heat only (max 120°F / 49°C) | Air dry preferred; low tumble if label allows | 2–3 years |
| TPU (Thermoplastic Polyurethane) | Low heat only; degrades faster than PU at high temps | Air dry preferred for longest life | 3–5 years |
| Vinyl | Moderate heat tolerance; warps at prolonged high temps | Low tumble or line dry | 1–2 years |
| Quilted fabric top with waterproof backing | Low heat only if label allows | Air dry preferred to avoid separating layers | 2–4 years |
Knowing your protector’s backing material also helps you follow mattress pad replacement guidelines to avoid using an expired, brittle barrier that’s prone to cracking during drying. Unlike down or feather toppers that require delicate handling to avoid splitting, waterproof protectors with PU or TPU backings are far more heat-sensitive, so follow feather topper damage prevention principles of low-heat drying to avoid cracking the waterproof layer.
Common Drying Mistakes That Ruin Waterproof Protectors
Avoid these costly errors to keep your protector in top condition:
- Using high heat: Standard dryer high-heat settings reach 135°F (57°C), a temperature that degrades TPU and PU polymer barriers over time, leading to cracking and loss of waterproofing. Vinyl is slightly more heat-resistant but can still warp at prolonged high temperatures.
- Ironing: Irons reach temperatures up to 400°F (204°C), which melt most waterproof polymer coatings instantly, creating permanent weak spots that will leak.
- Folding or storing while damp: Mildew and mold can grow in as little as 24 hours in damp, dark storage spaces, causing unpleasant odors and degrading the polymer barrier.
- Using bleach or harsh detergents: Bleach breaks down the chemical bonds in PU, TPU, and vinyl layers, making the barrier porous and unable to repel liquids.
- Using fabric softener: Softener coats the waterproof layer, reducing its ability to repel liquids and trapping odors that are hard to remove.
- Wringing or twisting wet protectors: This stretches the fabric and bonded barrier, causing warping and a poor fit on your mattress.
A single care mistake can cut a protector’s lifespan by half, so treat it with the same care you would a delicate rain jacket.
Troubleshooting Stiffness, Wrinkles, and Partial Drying
If your protector feels stiff, wrinkled, or still damp after drying, use these fixes:
- Stiffness after drying: This is usually caused by trapped moisture or minor heat damage. Rewash the protector on a gentle cycle with no heat, then air dry flat to restore flexibility. Adding a clean towel to the dryer for 10 minutes on an air-only setting can also fluff stiff fabric.
- Wrinkles: Never iron a waterproof protector, as the heat will melt the barrier. Instead, hang it in a steamy bathroom for 10 minutes to relax the fibers, then smooth out wrinkles by hand and air dry flat.
- Partial drying in thick protectors: Thick, quilted protectors often retain moisture in the inner layers. Finish drying with 10 to 15 minutes on an air-only tumble setting, then air dry flat for an additional 2 to 4 hours to ensure the inner barrier is completely dry.
If the protector remains damp after 24 hours of air drying, move it to a warmer, better-ventilated space to speed up evaporation, or run it through another low-heat tumble cycle.
Extending Your Protector’s Lifespan With Simple Care Habits
With consistent, gentle care, most waterproof mattress protectors last 2 to 5 years, depending on material and usage. Follow these habits to get the most out of your purchase:
- Wash only when necessary: Spot clean small spills with a damp cloth and mild soap to reduce full wash cycles, which wear down the barrier over time.
- Use mild, fragrance-free detergent: Harsh chemicals and fragrances can degrade the polymer layer and cause skin irritation.
- Air dry whenever possible: Even if you use the dryer occasionally, prioritizing air drying extends the barrier’s lifespan significantly.
- Store properly: Folding a damp protector for storage breeds mildew and degrades the waterproof layer; for proper protector storage tips that extend usability, always ensure it is 100% dry before folding or putting away. Skipping the rest period after washing (per bedding preparation best practices) can also leave hidden moisture trapped in the barrier, leading to mildew growth even after drying.
- Replace on schedule: Even with perfect care, polymer barriers degrade naturally over time. Replace your protector every 2 to 3 years, or sooner if you notice cracking, warping, or reduced liquid repellency.
Frequently Asked Questions
Can I tumble dry a waterproof mattress protector?
Most protectors can be tumble dried on low heat or air tumble, but always check the care label first. If the label has an X over the tumble dry symbol, air dry the full protector instead to avoid damage.
Will high heat ruin my waterproof protector?
Yes. High heat degrades the polymer waterproof barrier, leading to cracking, warping, and loss of waterproofing. Even a single high-heat cycle can cause permanent damage to most PU and TPU protectors.
How long does it take to air dry a mattress protector?
Air drying time ranges from 4 to 12 hours, depending on the protector’s thickness, backing material, and ambient humidity. Thinner TPU protectors may dry in as little as 4 hours, while thick quilted styles can take up to a full day.
Can I use fabric softener when washing and drying?
No. Fabric softener coats the waterproof polymer layer, reducing its ability to repel liquids and trapping odors that are difficult to remove.
What do I do if the protector smells after drying?
Rewash with 1/2 cup of baking soda added to the wash cycle, then air dry in indirect sunlight to kill mildew spores. If the odor persists after two washes, the barrier may be permanently damaged, and you should replace the protector.
Is it safe to iron a waterproof mattress protector?
No. Irons reach temperatures high enough to melt most waterproof polymer coatings instantly, creating permanent leaks.
Can I dry a waterproof mattress protector in the sun?
Brief, indirect sunlight (1 to 2 hours maximum) is safe for deodorizing and killing mildew, but prolonged direct UV exposure degrades TPU and PU backings over time, so limit sun exposure to short periods.
Conclusion
Drying your waterproof mattress protector correctly is one of the simplest ways to extend its lifespan, protect your mattress from leaks and mold, and avoid costly replacements. The core rules are simple: always check the care label first, use low heat or air dry exclusively, avoid harsh chemicals and high temperatures, and ensure the protector is 100% dry before storing. Air drying is the lowest-risk option for most households, while machine drying on low heat works well for busy schedules when done correctly. Have you tried any of these drying methods for your waterproof mattress protector? Drop your top care tips in the comments below to help fellow readers avoid costly mistakes. For more expert bedding maintenance guides, browse our full library of mattress protector, topper, and pillow care resources.
Image Credits
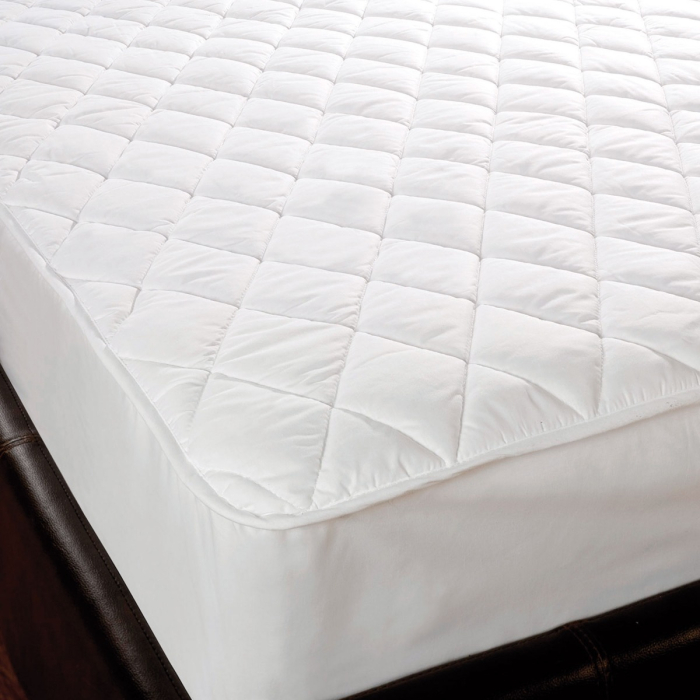 Air drying flat preserves the shape and flexibility of the waterproof barrier
Source: visionlinens
Air drying flat preserves the shape and flexibility of the waterproof barrier
Source: visionlinens
 Care symbols on your label specify exact heat and drying restrictions for your protector
Source: cloudbeddingco
Care symbols on your label specify exact heat and drying restrictions for your protector
Source: cloudbeddingco
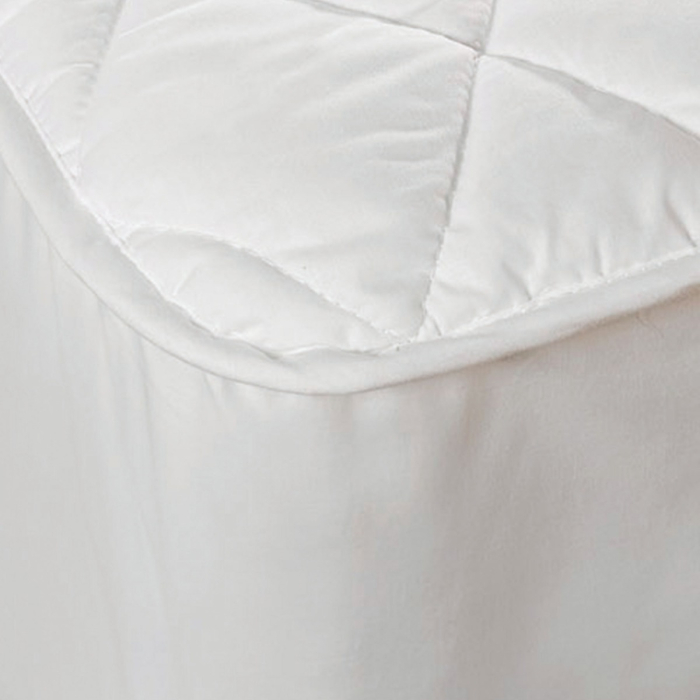 Low heat or air tumble settings prevent melting the polymer waterproof layer
Source: visionlinens
Low heat or air tumble settings prevent melting the polymer waterproof layer
Source: visionlinens
 Hanging by the edges prevents stretching the protector’s fabric and barrier
Source: amazon
Hanging by the edges prevents stretching the protector’s fabric and barrier
Source: amazon
 Holding a hair dryer 12+ inches away avoids concentrated heat damage to the barrier
Source: sleepcentersmattress
Holding a hair dryer 12+ inches away avoids concentrated heat damage to the barrier
Source: sleepcentersmattress
 Enzyme cleaners lift organic stains without degrading the waterproof coating
Source: cloudbeddingco
Enzyme cleaners lift organic stains without degrading the waterproof coating
Source: cloudbeddingco
 Cracked or warped backing is a clear sign of heat damage that voids waterproofing
Source: amazon
Cracked or warped backing is a clear sign of heat damage that voids waterproofing
Source: amazon
 Only store your protector when it is 100% dry to prevent mildew growth
Source: cloudbeddingco
Only store your protector when it is 100% dry to prevent mildew growth
Source: cloudbeddingco
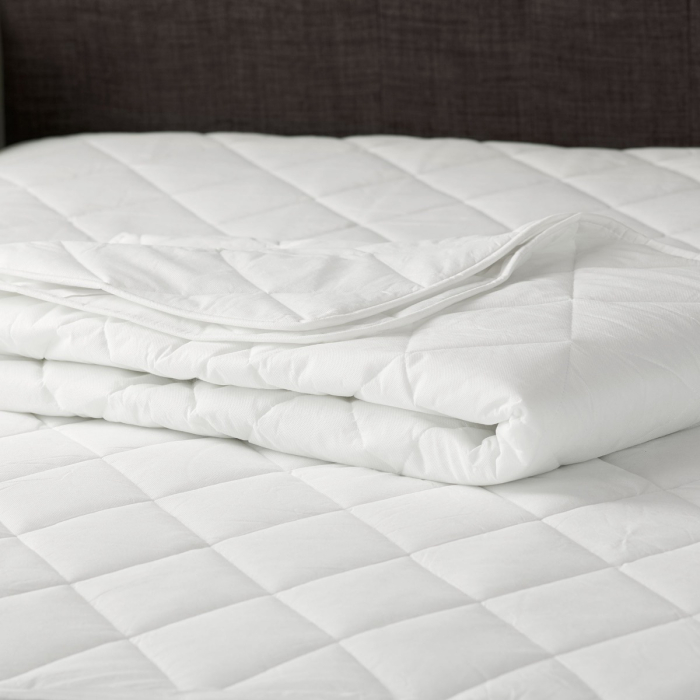 PU, TPU, and vinyl are the three most common waterproof backing materials for mattress protectors
Source: visionlinens
PU, TPU, and vinyl are the three most common waterproof backing materials for mattress protectors
Source: visionlinens
Common Drying Mistakes That Ruin Waterproof Protectors
Even small care errors can cause permanent damage to your protector’s waterproof barrier, leading to leaks, reduced lifespan, and even mattress warranty voids. High heat is the most common culprit: standard residential dryers reach 135°F (57°C) on high settings, a temperature that degrades TPU and PU polymer bonds in as little as one 30-minute cycle, causing cracking, warping, and loss of liquid repellency. Vinyl backings are slightly more heat-tolerant but can still warp or become brittle with prolonged high-heat exposure. Other frequent mistakes include ironing (irons reach 400°F/204°C, which melts most polymer coatings instantly), wringing or twisting wet protectors (which stretches the bonded barrier and causes poor fit), folding or storing damp protectors (mildew can grow in as little as 24 hours in dark, moist spaces), and using bleach, harsh detergents, or fabric softener (these chemicals break down polymer layers and coat the barrier, reducing its effectiveness). Moisture from wet hair overnight can also seep through pillowcases and bedding, dampening your protector over time and accelerating wear if not dried promptly. Treat your protector with the same care you would a delicate rain jacket: avoid extreme temperatures, harsh chemicals, and rough handling to keep it functional for years.
Cracked or warped backing is a clear sign of heat damage that voids waterproofing
Source: amazon
Troubleshooting Stiffness, Wrinkles, and Partial Drying
If your protector feels stiff, wrinkled, or still damp after drying, these targeted fixes will restore its functionality without causing damage:
- Stiffness after drying: This is usually caused by trapped moisture or minor heat damage to the polymer layer. Rewash the protector on a gentle cycle with no heat, then air dry flat to restore flexibility. For mild stiffness, tumble on an air-only setting for 10 minutes with a clean dry towel to fluff the fabric and loosen the barrier.
- Wrinkles: Never iron a waterproof protector, as direct heat will melt the waterproof layer. Instead, hang it in a steamy bathroom for 10 minutes to relax the fabric fibers, then smooth out wrinkles by hand and air dry flat.
- Partial drying in thick protectors: Quilted or thick protectors often retain moisture in inner layers even after a tumble cycle. Finish drying with 10 to 15 minutes on an air-only tumble setting, then air dry flat for an additional 2 to 4 hours to ensure the inner barrier is completely dry. If the protector remains damp after 24 hours of air drying, move it to a warmer, better-ventilated space or run another short low-heat tumble cycle to finish the job.
Extending Your Protector’s Lifespan With Simple Care Habits
With consistent, gentle care, most waterproof mattress protectors last 2 to 5 years, depending on material and usage frequency. Follow these evidence-based habits to maximize your investment:
- Wash only when necessary: Spot clean small spills with a damp cloth and mild soap to reduce full wash cycles, which wear down the polymer barrier over time.
- Use mild, fragrance-free detergent: Harsh chemicals and fragrances can degrade the polymer layer and cause skin irritation for sensitive sleepers.
- Air dry whenever possible: Even occasional low-heat tumble drying is fine, but prioritizing air drying extends the barrier’s lifespan significantly by avoiding heat exposure entirely.
- Store properly: Only fold or store your protector when it is 100% dry to prevent mildew growth; for proper protector storage guidance that avoids creasing the barrier, loosely fold or roll it instead of packing it tightly. Skipping the rest period after washing (per bedding prep best practices) can also leave hidden moisture trapped in the barrier, leading to mildew growth even after drying.
- Minimize moisture exposure: Reducing dampness from sources like overnight hair moisture or night sweats cuts down on how often you need to wash and dry your protector, preserving the polymer layer for longer.
- Replace on schedule: Even with perfect care, polymer barriers degrade naturally over time. Replace your protector every 2 to 3 years, or sooner if you notice cracking, warping, reduced liquid repellency, or persistent odors that don’t wash out.
Only store your protector when it is 100% dry to prevent mildew growth
Source: cloudbeddingco
Frequently Asked Questions
Can I tumble dry a waterproof mattress protector?
Most protectors can be tumble dried on low heat or air tumble, but always check the care label first. If the label has an X over the tumble dry symbol, air dry the full protector instead to avoid damage.
Will high heat ruin my waterproof protector?
Yes. High heat degrades the polymer waterproof barrier, leading to cracking, warping, and loss of waterproofing. Even a single high-heat cycle can cause permanent damage to most PU and TPU protectors.
How long does it take to air dry a mattress protector?
Air drying time ranges from 4 to 12 hours, depending on the protector’s thickness, backing material, and ambient humidity. Thinner TPU protectors may dry in as little as 4 hours, while thick quilted styles can take up to a full day.
Can I use fabric softener when washing and drying?
No. Fabric softener coats the waterproof polymer layer, reducing its ability to repel liquids and trapping odors that are difficult to remove.
What do I do if the protector smells after drying?
Rewash with 1/2 cup of baking soda added to the wash cycle, then air dry in indirect sunlight to kill mildew spores. If the odor persists after two washes, the barrier may be permanently damaged, and you should replace the protector.
Is it safe to iron a waterproof mattress protector?
No. Irons reach temperatures high enough to melt most waterproof polymer coatings instantly, creating permanent leaks.
Can I dry a waterproof mattress protector in the sun?
Brief, indirect sunlight (1 to 2 hours maximum) is safe for deodorizing and killing mildew, but prolonged direct UV exposure degrades TPU and PU backings over time, so limit sun exposure to short periods.
How often should I replace my waterproof mattress protector?
Most protectors last 2 to 5 years with proper care. Replace yours sooner if you notice cracking, warping, persistent odors, or reduced liquid repellency that doesn’t improve with washing.
Conclusion
Drying your waterproof mattress protector correctly is one of the simplest, most cost-effective ways to extend its lifespan, protect your mattress from leaks, mold, and allergens, and avoid costly replacements. The core rules are straightforward: always check the care label first, use low heat or air dry exclusively, avoid harsh chemicals and high temperatures, and ensure the protector is 100% dry before storing. Air drying is the lowest-risk option for most households, while machine drying on low heat works well for busy schedules when paired with dryer balls to speed up the process. If you frequently deal with damp bedding from night sweats or overnight moisture sources, prioritizing air drying and spot cleaning will reduce wear on the barrier over time. Have you tried any of these drying methods for your waterproof mattress protector? Drop your top care tips in the comments below to help fellow readers avoid costly mistakes. For more expert bedding maintenance guides, browse our full library of mattress protector, topper, and pillow care resources.
Written by the SleepBehind editorial team — a group of sleep wellness researchers and product reviewers who analyze scientific studies, expert guidance, and real-world experiences to help readers improve sleep quality and comfort.