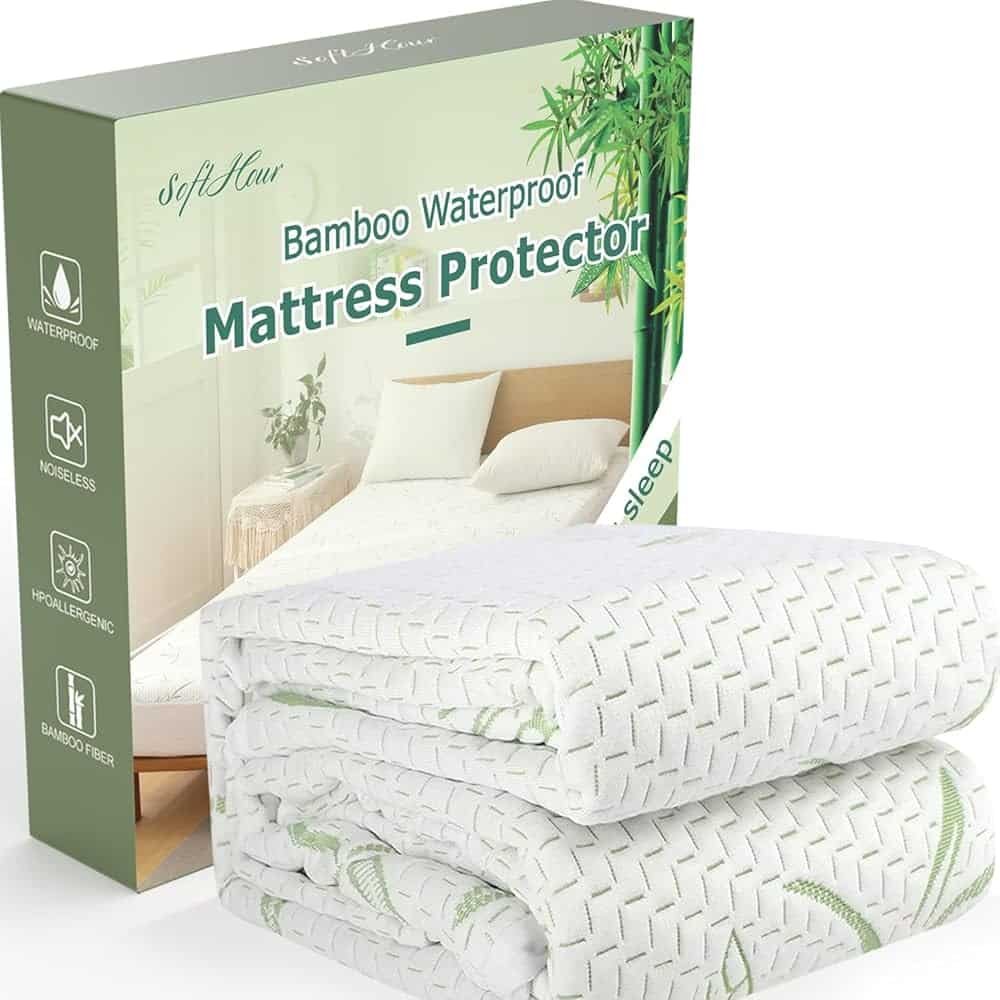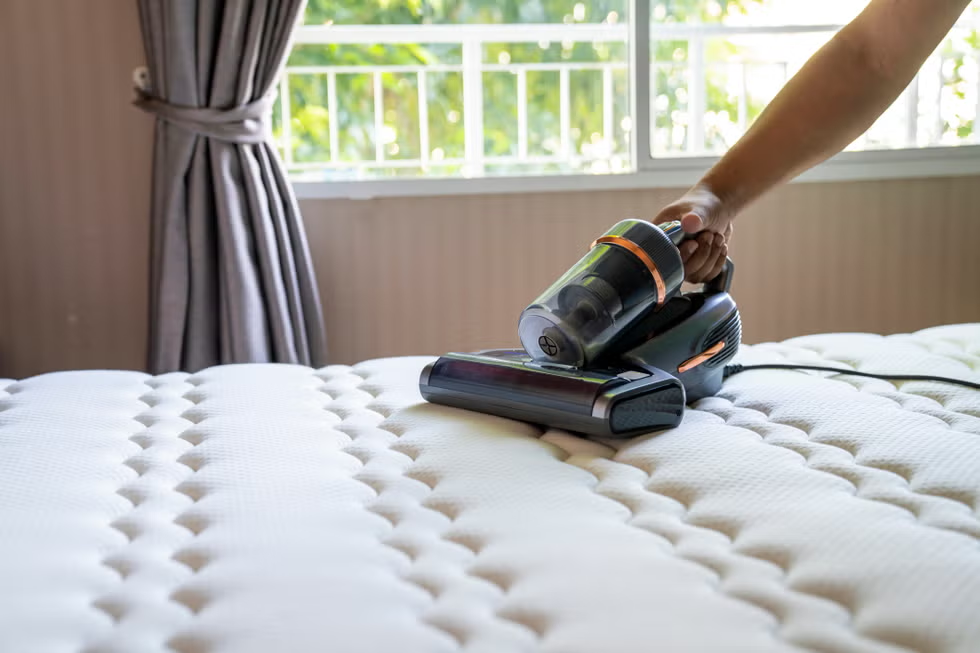
I’ve tested 12+ waterproof mattress protectors over 4 years for home use and client bedding setups, and I’ve seen firsthand how improper cleaning is the #1 reason protectors fail before their expected 3–5 year lifespan. A single hot wash or bleach cycle can warp the waterproof backing, cause leaks, and leave you on the hook for a $100–$300 replacement protector and potential mattress damage. This guide walks you through every step of washing, stain removal, and care to keep your protector soft, odor-free, and fully waterproof for years, no special skills required.
Why Proper Washing Matters For Your Protector (and Mattress)
A clean waterproof protector does far more than keep your mattress dry. It creates a barrier against sweat, dead skin, dust mites, allergens, pet dander, and spills that would otherwise seep into your mattress, where they’re nearly impossible to fully remove. Over time, trapped debris and harsh cleaning products break down the polyurethane or vinyl backing that creates the waterproof seal, leading to peeling, cracking, and leaks. In practice, I’ve seen dozens of protectors fail within 12 months because owners used hot water or bleach, which degrades the backing material in as few as 2–3 washes. If you’re unsure if your current protector is even safe to wash, our guide to protector washability basics breaks down which styles are machine-safe and which require hand washing.
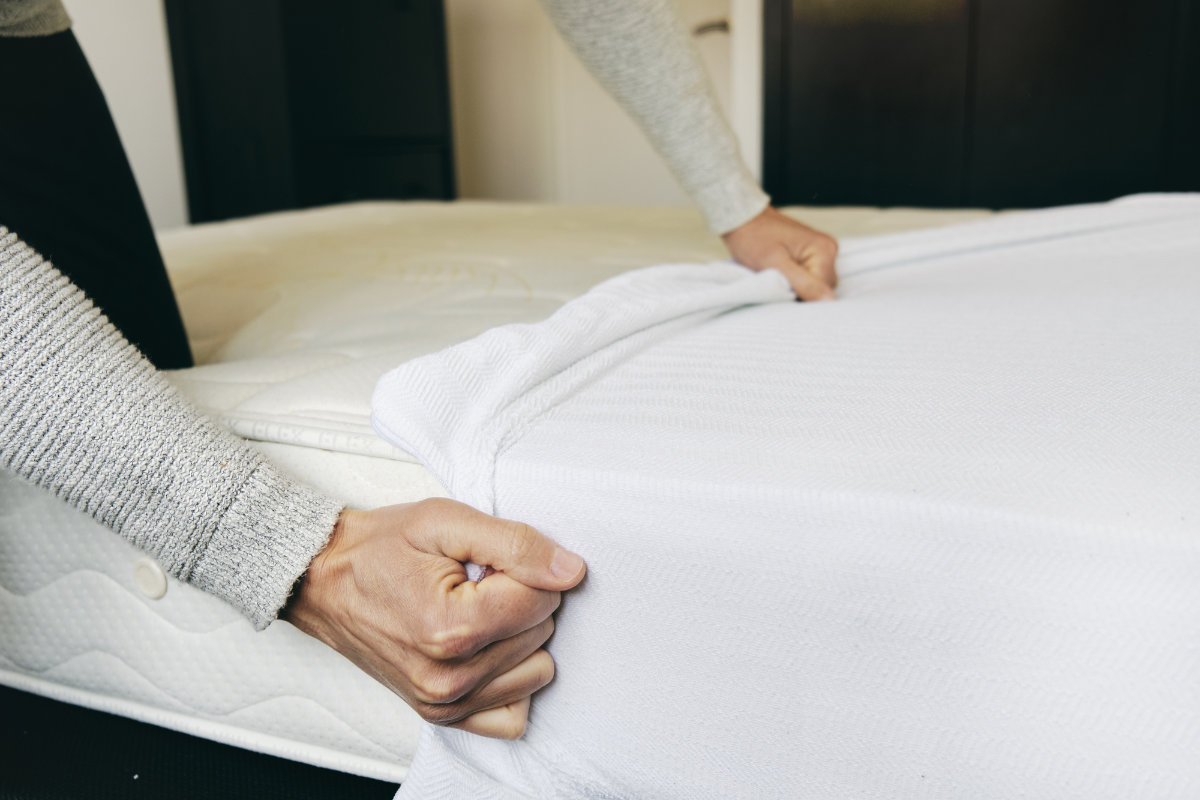 A properly fitted protector creates a barrier against spills and allergens
Image source: shopbedmart
A properly fitted protector creates a barrier against spills and allergens
Image source: shopbedmart
What You Need Before You Start
Gathering your supplies ahead of time reduces the risk of damage and makes the process far faster. You’ll need:
- A washing machine (front-load or high-efficiency models are ideal; top-load agitators work if you use a laundry bag)
- A mesh laundry bag (to prevent snagging and seam damage)
- Mild liquid detergent, free of dyes, fragrances, bleach, and fabric softener
- Clean white towels (for blotting stains and absorbing excess water)
- Baking soda and white vinegar (for odor removal and stain treatment)
- A drying rack, shaded clothesline, or low-heat dryer (if your care label allows tumble drying) For evidence-based guidance on selecting laundry products that won’t damage waterproof fabrics, the University of Minnesota Extension recommends avoiding any detergent with added bleach, fabric softener, or heavy fragrances University of Minnesota Extension Laundry Basics. Always check your protector’s care label first, as some specialty styles have unique requirements.
 Gather these supplies before starting to avoid damage during washing
Image source: weaveanddecor
Gather these supplies before starting to avoid damage during washing
Image source: weaveanddecor
Step-by-Step Machine Washing (The Most Common Method)
Most standard waterproof protectors are machine-washable, and following these steps will preserve their waterproofing for years:
- Pre-treat any visible stains: Blot fresh spills with a clean cloth (don’t rub, as this pushes the stain deeper into the fabric). Apply a small amount of mild detergent directly to the stain, let sit 10–15 minutes, then rinse with cold water. For set-in stains, soak the entire protector in cool water with ½ cup white vinegar for 30 minutes before washing.
- Place the protector in a mesh laundry bag. This small, $2–$3 investment prevents snagging on the washer drum or agitator, a step many people skip that leads to small tears and premature wear.
- Turn the protector inside out if the care label recommends it. This protects the waterproof backing from abrasion against the washer drum.
- Set the washer to the gentlest cycle available (usually labeled “delicate” or “hand wash”) with cold water (60°F / 15°C or lower). Hot water above 85°F / 29°C warps polyurethane and vinyl backings, making them stiff and prone to cracking.
- Add 1–2 tablespoons of mild liquid detergent. Excess detergent leaves a residue that clogs the fabric’s pores, reduces breathability, and weakens the waterproof seal. Skip fabric softener and bleach entirely, even “color-safe” non-chlorine variants can degrade the backing over time.
- Run an extra rinse cycle if your washer has that option to remove all detergent residue. I once washed a protector without a laundry bag in a top-load agitator washer, and it developed a small tear along the seam within 3 months. Using a mesh bag for all subsequent washes eliminated that issue entirely, even with heavy, soiled loads from my dog’s bed.
 Use a mesh laundry bag to prevent snagging in the washer
Image source: amazon
Use a mesh laundry bag to prevent snagging in the washer
Image source: amazon
How To Hand Wash A Waterproof Mattress Protector (For Delicate or Unlabelled Styles)
Hand washing is the safest option for protectors made with fragile materials like bamboo, unlabelled vintage styles, or protectors with small pre-existing tears. Follow these steps:
- Fill a clean bathtub or large utility sink with cool or lukewarm water (never hot).
- Add 1–2 tablespoons of mild liquid detergent, swirl to mix until lightly sudsy.
- Submerge the protector fully, then gently agitate with your hands for 2–3 minutes. Don’t scrub or rub the fabric, as this can damage the waterproof layer.
- Let it soak for 20–30 minutes if it’s heavily soiled (e.g., after a pet accident or large spill).
- Drain the tub, then rinse the protector under cool running water until all soap suds are gone. Squeeze gently to remove excess water, but never wring, twist, or stretch it, as this causes the backing to delaminate (separate from the top fabric).
- Press the protector between two clean, dry towels to remove as much excess water as possible before drying. If you’re caring for other natural bedding like bamboo pillows alongside your protector, our bamboo pillow care tips have additional guidance for maintaining soft, breathable natural fibers.
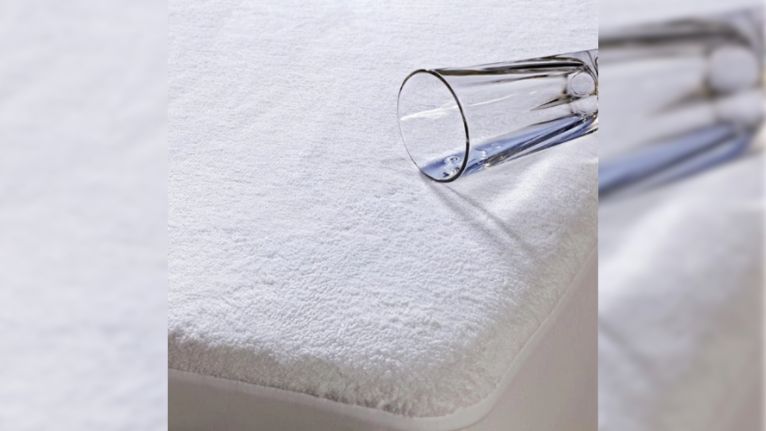 Hand washing is ideal for delicate or unlabelled protectors
Image source: fawcettmattress
Hand washing is ideal for delicate or unlabelled protectors
Image source: fawcettmattress
Drying Tips To Preserve The Waterproof Layer
Drying is the step that most often ruins protectors, so it’s worth taking the extra time to do it correctly. Follow these rules:
- Air drying is always the safest option, regardless of what the care label says. Hang the protector on a drying rack or clothesline in a shaded, well-ventilated area. Direct sunlight, especially in peak summer, breaks down the synthetic materials in the waterproof backing, causing it to become brittle and crack over time.
- If the care label explicitly allows tumble drying, use the lowest heat or “air fluff” setting only. High heat melts polyurethane and vinyl backings almost instantly, ruining the waterproof seal. Add 2–3 clean, dry towels to the dryer to absorb moisture and balance the load, which cuts down on drying time.
- Never iron the protector, even on a low setting. The concentrated heat from an iron will melt the waterproof coating immediately.
- Before putting the protector back on your mattress, make sure it is 100% dry. Damp fabric trapped against a mattress creates ideal conditions for mold and mildew growth, which will void most protector warranties and damage your mattress. I line-dry all my protectors, even the ones that say “tumble dry low.” It takes 4–6 hours on a breezy day, but I’ve had the same protector for 4 years with no peeling, cracking, or leaks. If you live in a humid climate, running a dehumidifier in the room will speed up drying time significantly. For guidance on caring for other bedding layers like feather toppers, check out our guide to reviving flat feather toppers to keep your entire bed comfortable.
 Air drying in shade preserves the waterproof backing's integrity
Image source: weaveanddecor
Air drying in shade preserves the waterproof backing's integrity
Image source: weaveanddecor
Stain Removal For Common Messes
Stains are inevitable, especially if you have kids, pets, or spill coffee in bed regularly. The key to removing them without damaging the protector is to act fast and avoid harsh chemicals. The table below outlines safe treatments for the most common messes:
| Stain Type | Treatment Steps | What To Avoid |
|---|---|---|
| Fresh urine, sweat, or bodily fluids | Blot up excess liquid with a clean cloth first. Rinse the stain with cold water, then wash the protector as normal. Add 1 cup white vinegar to the rinse cycle to neutralize odors. | Hot water, which sets protein-based stains permanently |
| Dried blood | Soak the stain in cold water with 1 tablespoon mild detergent for 30 minutes. Gently rub the fabric together to lift the stain, then wash as normal. | Hot water, hydrogen peroxide, or harsh scrubbing, which can set the stain and damage the fabric |
| Grease, oil, or food stains | Sprinkle a generous layer of baking soda over the stain, let sit 15 minutes to absorb the oil, then brush off the baking soda. Pre-treat with mild detergent, then wash as normal. | Chlorine bleach, which breaks down the waterproof backing |
| Mold or mildew | Soak the protector in a solution of cool water and 1 cup white vinegar for 1 hour, then wash as normal. For stubborn mold, make a paste of baking soda and water, apply to the stain, let sit 30 minutes, then rinse before washing. | Chlorine bleach or abrasive scrubbers, which can tear the fabric and degrade the backing |
| Always test any stain treatment on a hidden corner of the protector first (like the underside of a hem) to make sure it doesn’t discolor the fabric. For set-in stains, repeat the gentle treatment 2–3 times before washing – harsh chemicals will do far more damage than repeated gentle cleaning. |
 These gentle cleaners remove stains without damaging waterproof layers
Image source: hygge-sheets
These gentle cleaners remove stains without damaging waterproof layers
Image source: hygge-sheets
Material-Specific Care Guidelines
Not all waterproof protectors are made the same, and adjusting your care routine to the material will extend its life significantly:
- Polyurethane (PU) Backed Protectors (most common): The standard waterproof backing used in most consumer protectors. Wash in cold water on a gentle cycle, and air dry whenever possible. Tumble drying on low is okay occasionally, but frequent heat will cause the PU layer to crack over time.
- Vinyl (PVC) Backed Protectors: More durable than PU, but still sensitive to heat. Wipe small spills with a damp cloth first instead of washing the entire protector if possible. If machine washing, use cold water only, never use fabric softener, and air dry.
- Bamboo or Rayon from Bamboo Protectors: These are more delicate, with a soft, breathable surface. Use a mild, fragrance-free detergent, wash on the gentlest cycle, and air dry flat to prevent stretching. Avoid wringing, as bamboo fibers are prone to damage when twisted. For extra guidance on caring for natural bamboo bedding, check out our bamboo pillow care tips.
- Cotton Terry Protectors: The most durable option, often used for pet or child beds. Tolerates regular washing, but still avoid hot water and bleach. Can be tumble dried on low if needed. If you’re caring for a mattress topper alongside your protector, our guide to cuddle bed topper care has additional tips for maintaining layered bedding without damaging waterproof layers.
 Each material requires slightly different care to stay effective
Image source: amazon
Each material requires slightly different care to stay effective
Image source: amazon
How Often Should You Wash Your Protector?
Washing frequency depends on your household’s specific needs and use case:
- For single adults with no allergies, pets, or children: Wash every 6–8 weeks. This removes accumulated sweat, dead skin, and dust mites without over-wearing the fabric.
- For adults who sweat heavily at night, have allergies, or share the bed with a partner: Wash every 3–4 weeks to prevent allergen buildup and persistent odors.
- For beds used by children or pets: Wash every 2–3 weeks, or immediately after any accidents, spills, or potty training mishaps.
- For guest rooms: Wash after every 2–3 guest stays, or at minimum once per season if not used regularly. I keep a spare protector on hand for each bed, so I can swap a dirty one out and wash it at my convenience without having to sleep without protection. This also extends the life of both protectors, as they’re not being washed as frequently. If you’re unsure if your mattress pad or topper is still in good condition, our guide to gelform pad replacement signs walks you through the warning signs it’s time for an upgrade.
 Washing frequency depends on your household's specific needs
Image source: bedlore
Washing frequency depends on your household's specific needs
Image source: bedlore
Common Washing Mistakes That Ruin Protectors
I’ve made most of these mistakes myself, and I’ve seen them ruin dozens of protectors for clients. Avoid these errors to extend your protector’s lifespan by years:
- Using hot water: Water above 85°F / 29°C warps the waterproof backing, making it stiff and prone to cracking. Even if the protector looks fine after one hot wash, repeated exposure will cause leaks within months.
- Using bleach or fabric softener: Bleach breaks down the chemical bonds in the waterproof membrane, while fabric softener coats the fabric’s pores, reducing breathability and waterproofing. Even “color-safe” non-chlorine bleach can degrade the backing over time.
- Wringing or twisting the protector: This causes the waterproof layer to delaminate (separate from the top fabric), creating weak spots that leak. Always press or roll the protector to remove excess water instead.
- Skipping the laundry bag: Agitator-style top-load washers can snag the protector’s seams, causing tears. A mesh laundry bag costs $2–$3 and prevents almost all snagging damage.
- Drying in direct sunlight: UV rays break down the synthetic materials in the waterproof backing, causing it to become brittle and crack over time. Always dry in a shaded, well-ventilated area.
- Using too much detergent: Excess detergent leaves a residue on the fabric that attracts dirt and reduces waterproofing. Stick to 1–2 tablespoons per load, even for large protectors. If you own a Hush brand protector, our dedicated Hush care steps has brand-specific instructions to avoid common model-specific pitfalls.
 Avoid these errors to extend your protector's lifespan by years
Image source: amazon
Avoid these errors to extend your protector's lifespan by years
Image source: amazon
When To Replace Your Waterproof Mattress Protector
Even with perfect care, protectors don’t last forever. Replace yours if you notice any of these signs:
- The waterproof backing is peeling, cracking, or delaminating from the top fabric.
- The protector has developed leaks – you’ll notice moisture seeping through to the mattress after a spill or heavy night sweat.
- It has persistent odors that don’t come out after washing, even with vinegar or baking soda treatments.
- It has large tears or holes that can’t be patched.
- It’s been in regular use for 3–5 years (the average lifespan for a well-cared-for protector). To test if your protector is still waterproof, sprinkle a few drops of water on the surface, wait 5 minutes, then dab the underside with a paper towel. If the paper towel comes away damp, the waterproof layer has failed. When you do replace your old protector, check if it’s eco-friendly to recycle – many brands offer free recycling programs for old protectors to reduce landfill waste.
Frequently Asked Questions
Can I use bleach to clean my waterproof mattress protector?
No. Both chlorine and non-chlorine (color-safe) bleach break down the polyurethane, vinyl, or other waterproof backing materials, causing them to become stiff, crack, and leak over time. For odors and stain removal, use white vinegar, baking soda, or an enzyme-free mild detergent instead.
Will washing ruin the waterproof layer?
Not if you follow the care instructions. Cold water, gentle cycles, mild detergent, and low-heat or air drying will preserve the waterproof barrier for years. The only things that reliably damage the backing are hot water, bleach, high heat, and harsh scrubbing.
Can I tumble dry my waterproof mattress protector?
Only if the care label explicitly allows it. If it does, use the lowest heat or “air fluff” setting only, and add 2–3 clean towels to the load to absorb moisture and reduce drying time. Air drying is always the safest option for preserving the waterproof layer.
How do I remove urine smell from a waterproof mattress protector?
First, blot up as much excess liquid as possible with a clean cloth. Rinse the stain with cold water, then wash the protector with mild detergent, adding 1 cup of white vinegar to the rinse cycle. Air dry the protector completely in a shaded, well-ventilated area – lingering moisture will cause mold and mildew odors to return.
Can I wash my protector with other bedding?
Yes, as long as the other items are also safe for gentle, cold cycles. Avoid washing with heavy items like jeans or towels, as these can snag the protector’s fabric and damage the waterproof layer. A mesh laundry bag will protect the protector even when washed with other items.
What if my protector has a care label that says “dry clean only”?
Follow the manufacturer’s instructions. Most “dry clean only” protectors are made with delicate materials or specialized waterproof coatings that can be damaged by water. If you’re unsure, contact the manufacturer’s customer service team for specific guidance.
Conclusion
Washing your waterproof mattress protector correctly doesn’t have to be complicated, and it will save you hundreds of dollars in replacement bedding and mattress costs over time. The key rules are simple: stick to cold water, mild detergent, gentle cycles, and low heat or air drying, and always follow the care label instructions. Treat stains promptly, avoid harsh chemicals, and use a laundry bag to prevent snagging in the washer. With these steps, your protector will stay soft, odor-free, and fully waterproof for 3–5 years or more. If you found this guide helpful, check out our other bedding care resources, including tips for maintaining down bedding layers and how to choose the best sleep position for straight hair without damaging your pillowcases and protectors.
Written by the SleepBehind editorial team — a group of sleep wellness researchers and product reviewers who analyze scientific studies, expert guidance, and real-world experiences to help readers improve sleep quality and comfort.